It’s a beautiful fall day in Southern Oklahoma when Daniel Arms brings us to the Arms Family Homestead to show us his latest DIY project, an axe throwing target build. He embraces the gorgeous fall weather and tells us how much he enjoys going to the creek during this weather and getting in some fishing time. As he puts it, “There’s just somethin’ about fall in the air that makes you want to go outside and do some projects…” and we couldn’t agree more!
As Arms says, more time is spent outside in the fall, there’s just something about it, and that brings up the question of outdoor games. What to do with that outdoor time? The Arms family loves cornhole and mentions it’s a great patio game, but there’s got to be something else that can be enjoyed by the family. Arms notes that axe throwing is a game whose popularity has been on the rise. The only problem? It’s not cheap to go to an axe-throwing venue and they’re also typically in big cities; not always the most accessible. So, the only answer is to create your own axe-throwing target!
This DIY axe throwing target is a simple build that will last you for years to come. This is the sort of build you could do on your own or with a helping hand from your backyard crew. It’s fun for the whole family, and it’s so simple you can do it in an afternoon.
Arms starts out by giving the build a good think before diving in. Luckily, he’s done the thinking for you, so you can skip this step.
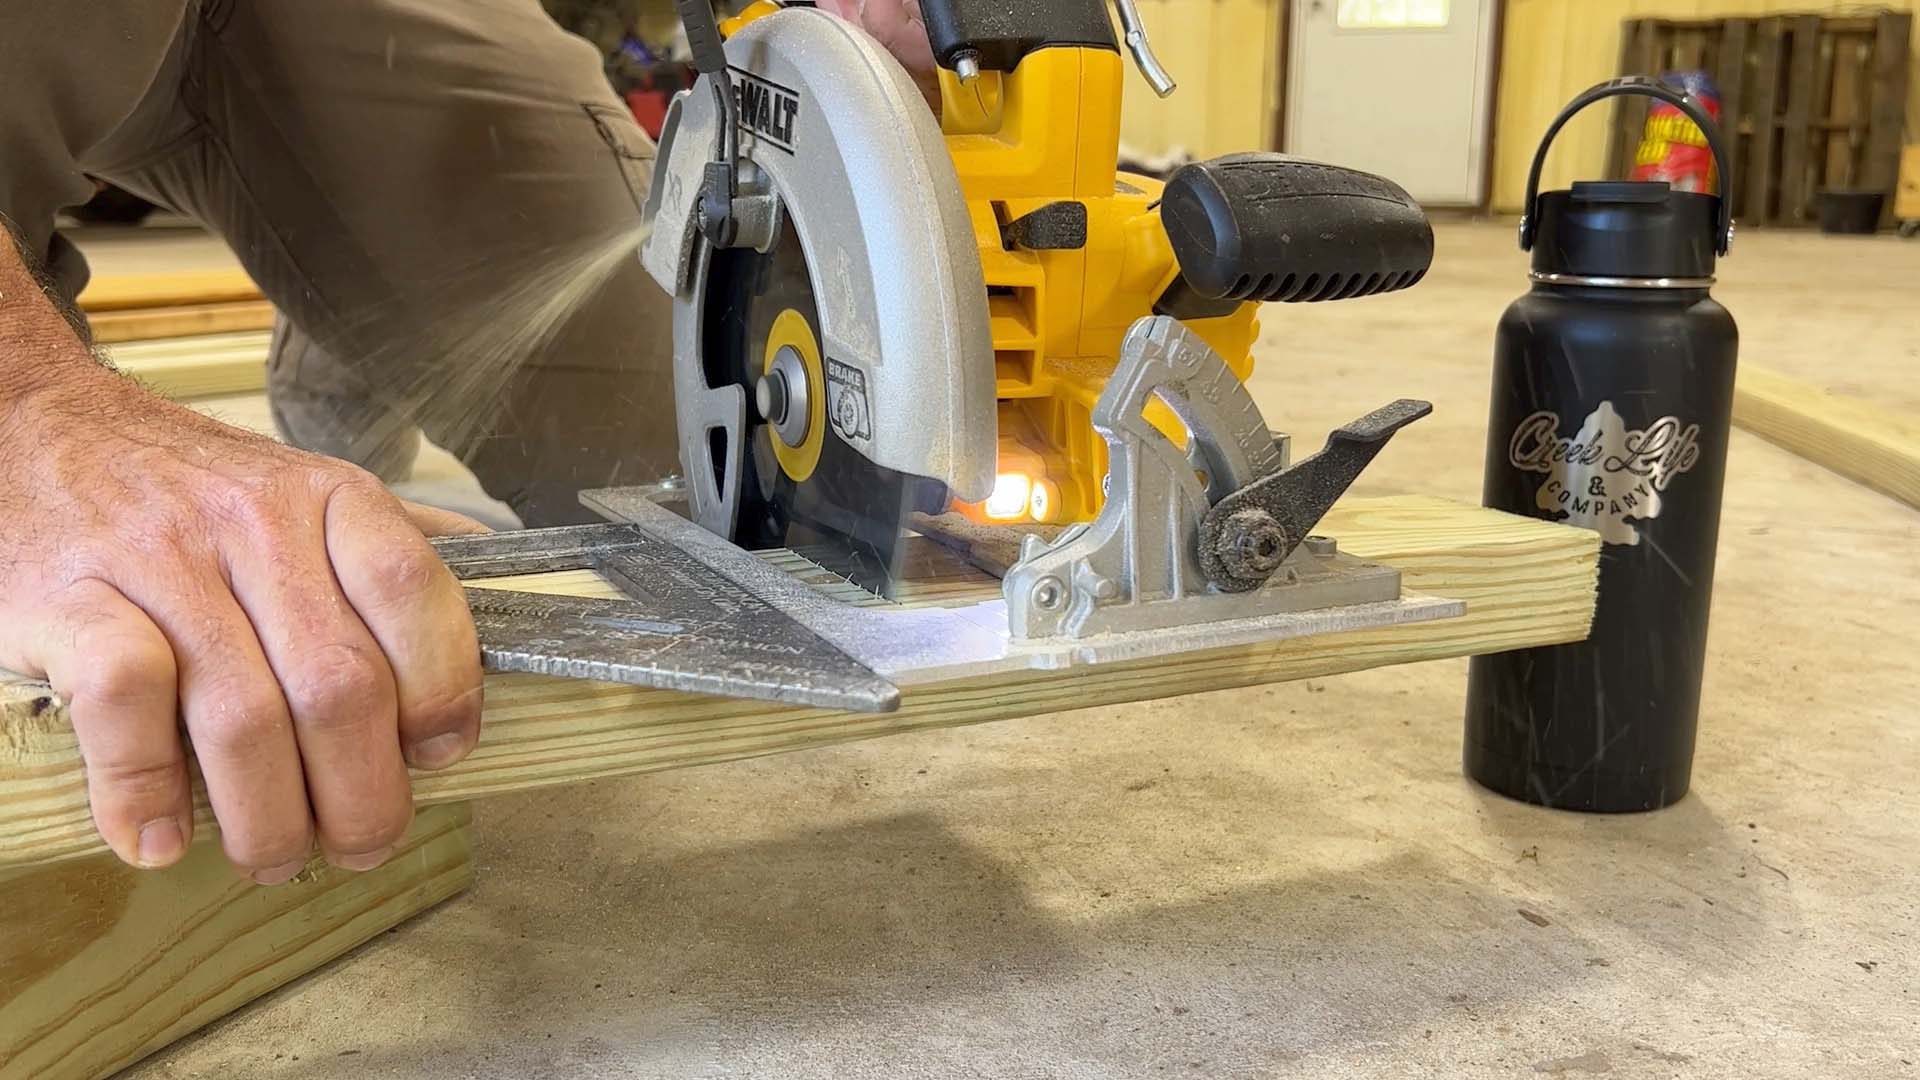
He begins with a few eight-foot 2×10 planks and a few eight-foot 2×4 planks. He cuts the 2x10s down into four-foot sections and lays them out flat. He starts in on the frame with the 2x4s, after cutting them to size. He attaches three of the 2×4 planks across the backs of the 2x10s (laid vertically) to keep them all together. He then screws together a frame around the board with the 2x4s.

After the target was done and framed, Arms begins to work on securing the legs. In this portion, he encourages creativity and resourcefulness with materials you might already have. In his case, he uses an old set of door hinges to secure his legs so they can fold up flat when he’s not using the target. Your target should stand as straight as possible, perpendicular to the ground, so the axes have the best chance of sticking. Ensure your legs or braces are long enough and at an angle that allows them to withstand repeated blows from your flying axes. If you don’t plan to move your target, skip the hinges, and attach the legs or braces with screws or nails. Or take advantage of a tree or other sturdy fixture that you can permanently anchor your new target.
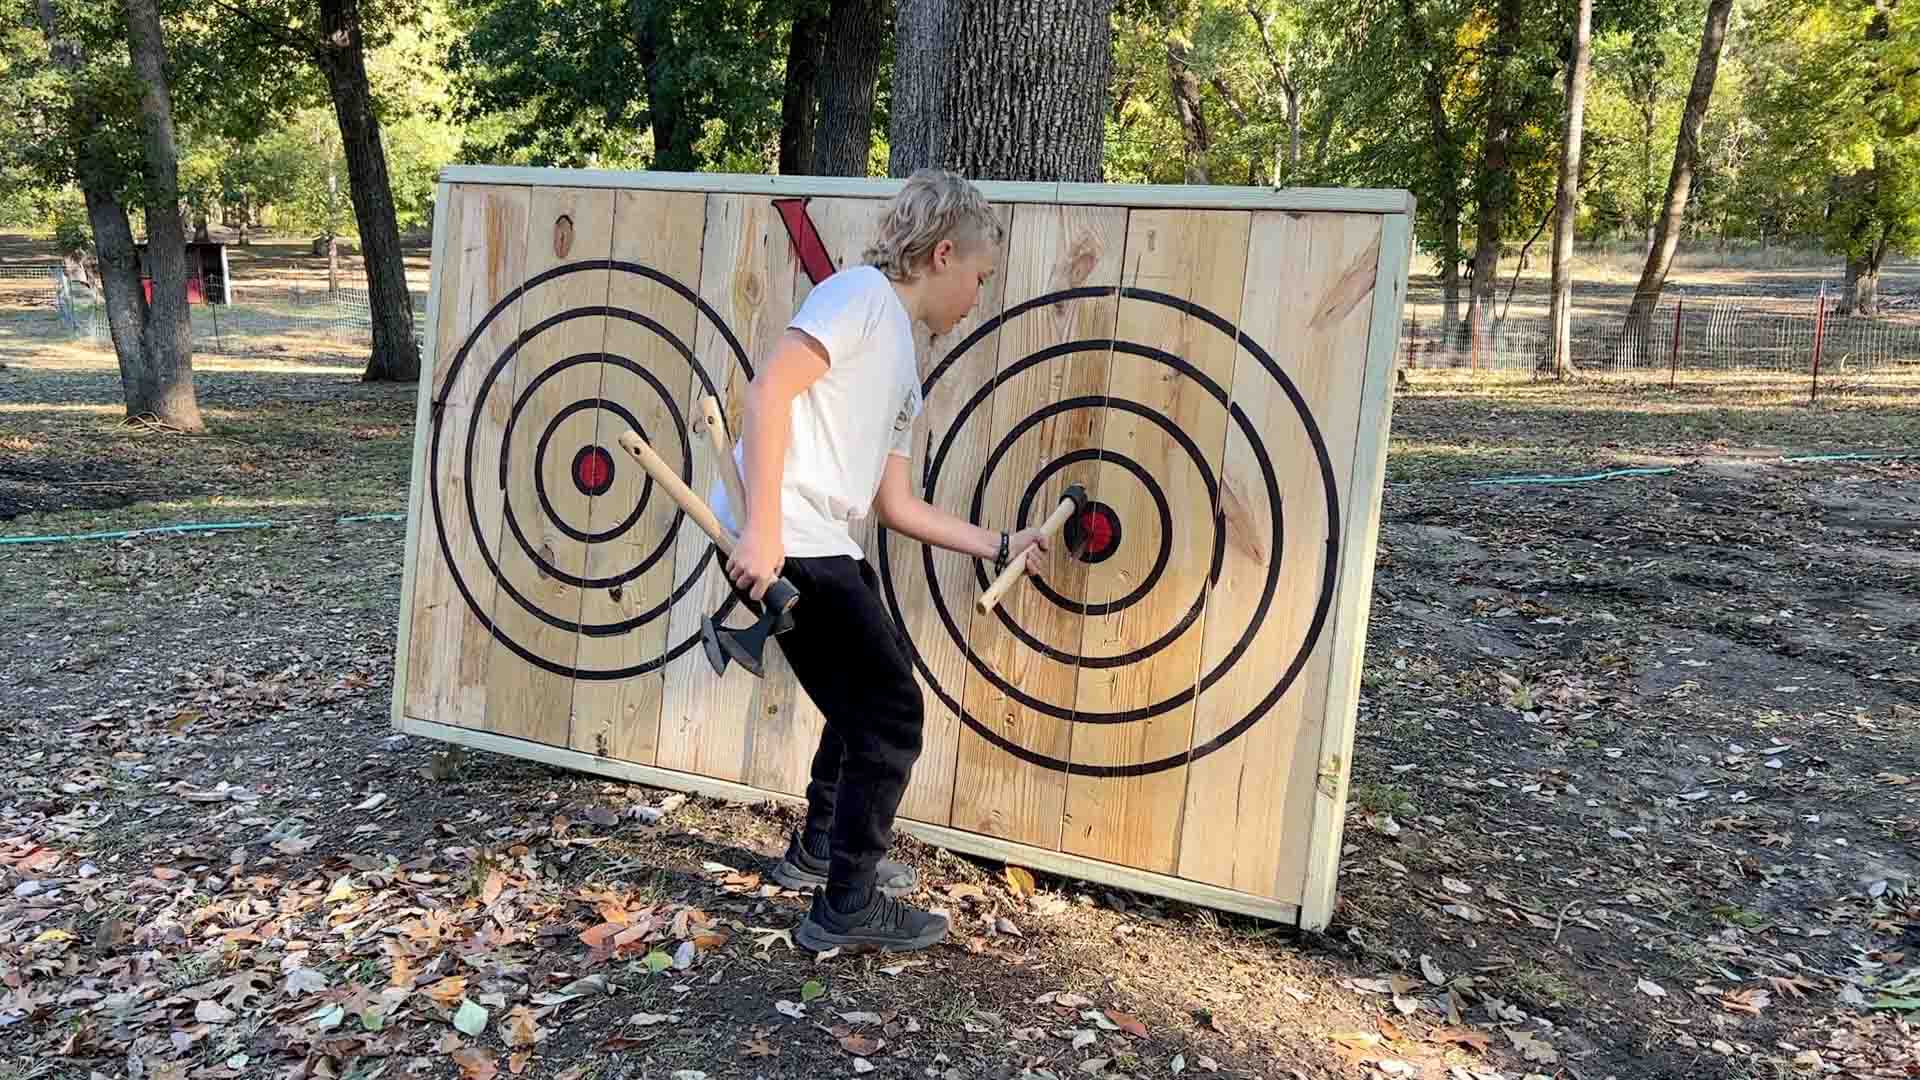
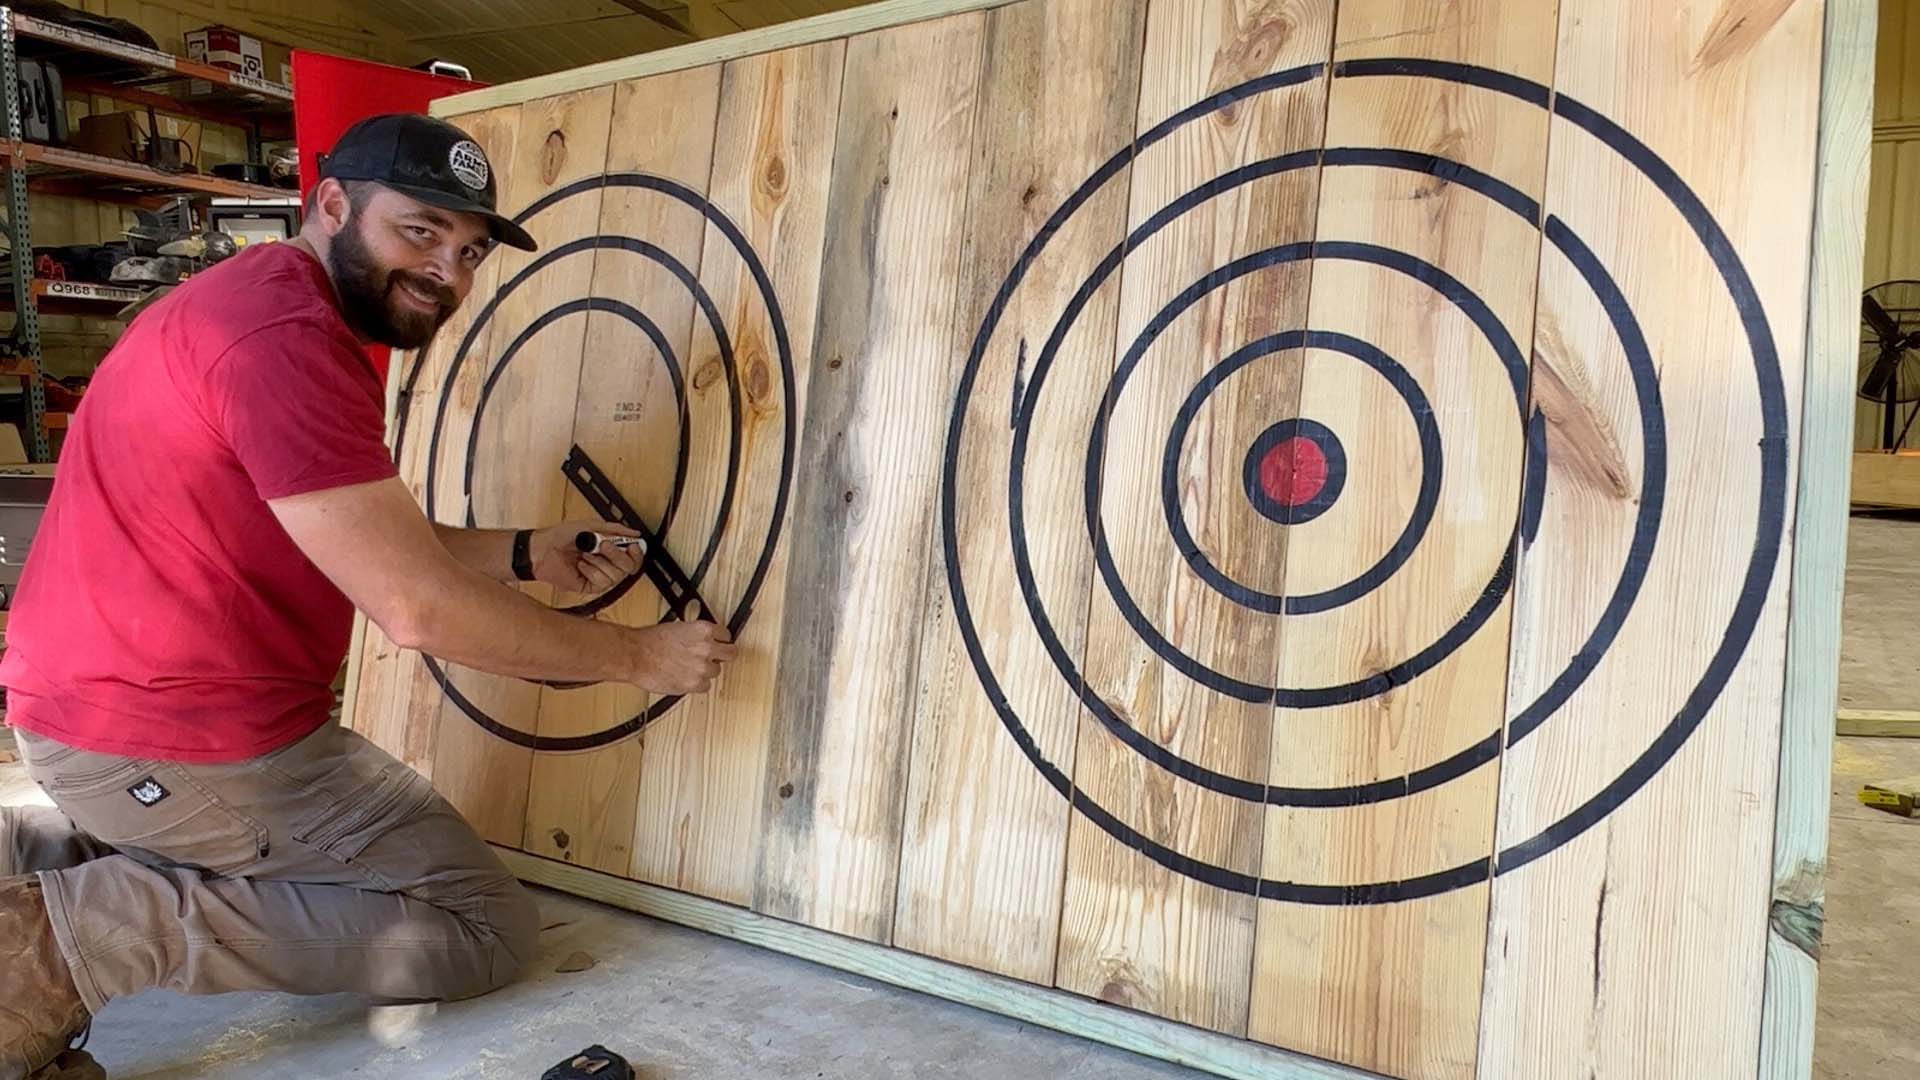
Now that the build is complete, it’s time to add the targets. Arms purchased a set from Amazon that has everything you need, including three different colored markers and a compass-like attachment that allows you to create the perfect circle on the target. However, as long as you’ve got a good, thick Sharpie and a piece of string, you’ll be able to get amazing circles for your target like Arms. Completing his well-proportioned targets, Arms decides to spray paint a great “x” at the top of his target as a nod to Exmark. We recommend that if you also want to decorate your target, you tape your homemade stencil down well to avoid the leaky “x” Arms wound up with.
All that’s left is to give it a try. Arms tells us he purchased some hatchets from Amazon, and they handle pretty well for beginners. Not too heavy, not too bulky. What are you waiting for? Get out there and get building! There’s no time like the fall to get yourself out there and try something new. Maybe this could be your new go-to hobby with friends and family. Or you could cut this build in half and make it a target for one person if you want to practice solo to get a leg up on the family game.