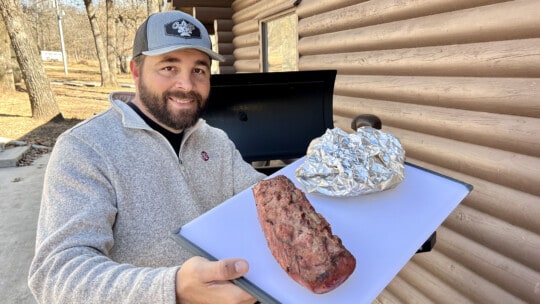
One of the most important steps in growing a successful garden is keeping animals out. So, a critter- and deer-proof fence plays a critical role in protecting it. In this video, Arms Family Homestead YouTube creator Daniel Arms discusses the steps he takes to set up a deer-proof fence around his garden. Arms has used his fence to keep deer—not to mention, rabbits, squirrels and goats—out for the last three years.
Fence Setup
To start, mow around the perimeter of where the fence is going to be, then unroll the electric fence netting. The netting Arms uses has steaks on the posts, making it easy to drive them into the ground.
Once the first roll of electric fence is installed, it’s time to install the gate. Premier One—the company that makes all of the fence equipment Arms is using—also sells many different types and sizes of fencing. Arms notes that there are fence options designed to specifically keep out sheep, goats, chickens and small animals. These fence options enable you to simply step over the fence to access your garden. Too tall to step over, the deer fence’s gate system provides walk-in access while keeping the rest of the fence electrified.
It’s important to place the fence’s energizer in an area that’s easy to turn off when entering the garden so you won’t be zapped. But, you can also build the fence in a way that allows you to open and close it without turning it off. It’s your choice.

RECOMMENDED VIDEO:
DIY Fencing Tips for Your Property
Are you struggling to select the right fence for your property? If so, check out these DIY fencing tips from landscape design pro and Done-In-A-Weekend Projects host, Doug Scott. In addition to outlining the most popular fence types and styles available, and the pros and cons of each, Scott also provides some practical pointers for installing your fence of choice.
Getting Electric
Now, it’s time to hook up the fence charger. The one Premier One recommends for Arms’ application is the solar-powered INTELLISHOCK 120.
Be sure to set it up so the solar charger catches the south-facing sun for as many hours of the day as possible. Arms notes that he’s used the same charger, and batteries, for three years, and it’s worked out really well. Only, if there’s been a week of cloud cover, has he encountered low batteries. In these instances, he just puts them on a charger for a day or two and they’re good to go again.
Premier One includes two grounding rods with the equipment. Arms had some issues with them the first couple of years, but now he’s traded them out and they’re all good. As long as the fence stays grounded, there shouldn’t be any issues. When placing the T-handle grounding rods, use a hammer to drive them all the way into the ground. Use a set of clamps to connect the main fence to the gate. Once the gate is connected, the rest of the fence will be electrified.
Arms extended his rural fence all the way around his high-tunnel greenhouse to keep his goats—and the occasional deer—from sneaking in.
Putting It to the Test
It’s very important to ensure your fence is electrified the first day it’s erected. Once deer approach—and immediately get zapped by—it, an instant mental barrier will be created. Arms also suggests applying apple-flavored scent liquid to the fence’s scent piece. That way, any animal will be drawn to that first. Then, when their tongue or nose touches it, they’ll get zapped (but not injured). In the end, an electric fence is as much a mental barrier as it is a physical barrier.


