You’re already dreaming about beautifying the backyard once warmer weekends arrive, right? Spring is the perfect time to transform your yard and garden with easy DIY backyard projects. There are virtually endless possibilities when it comes to backyard upgrades. That’s why we’ve created this roundup of some of our favorites. Whether you’re looking to plant a garden or pave a walkway, or fix-up a backyard problem area, we’ve got a DIY plan for you.
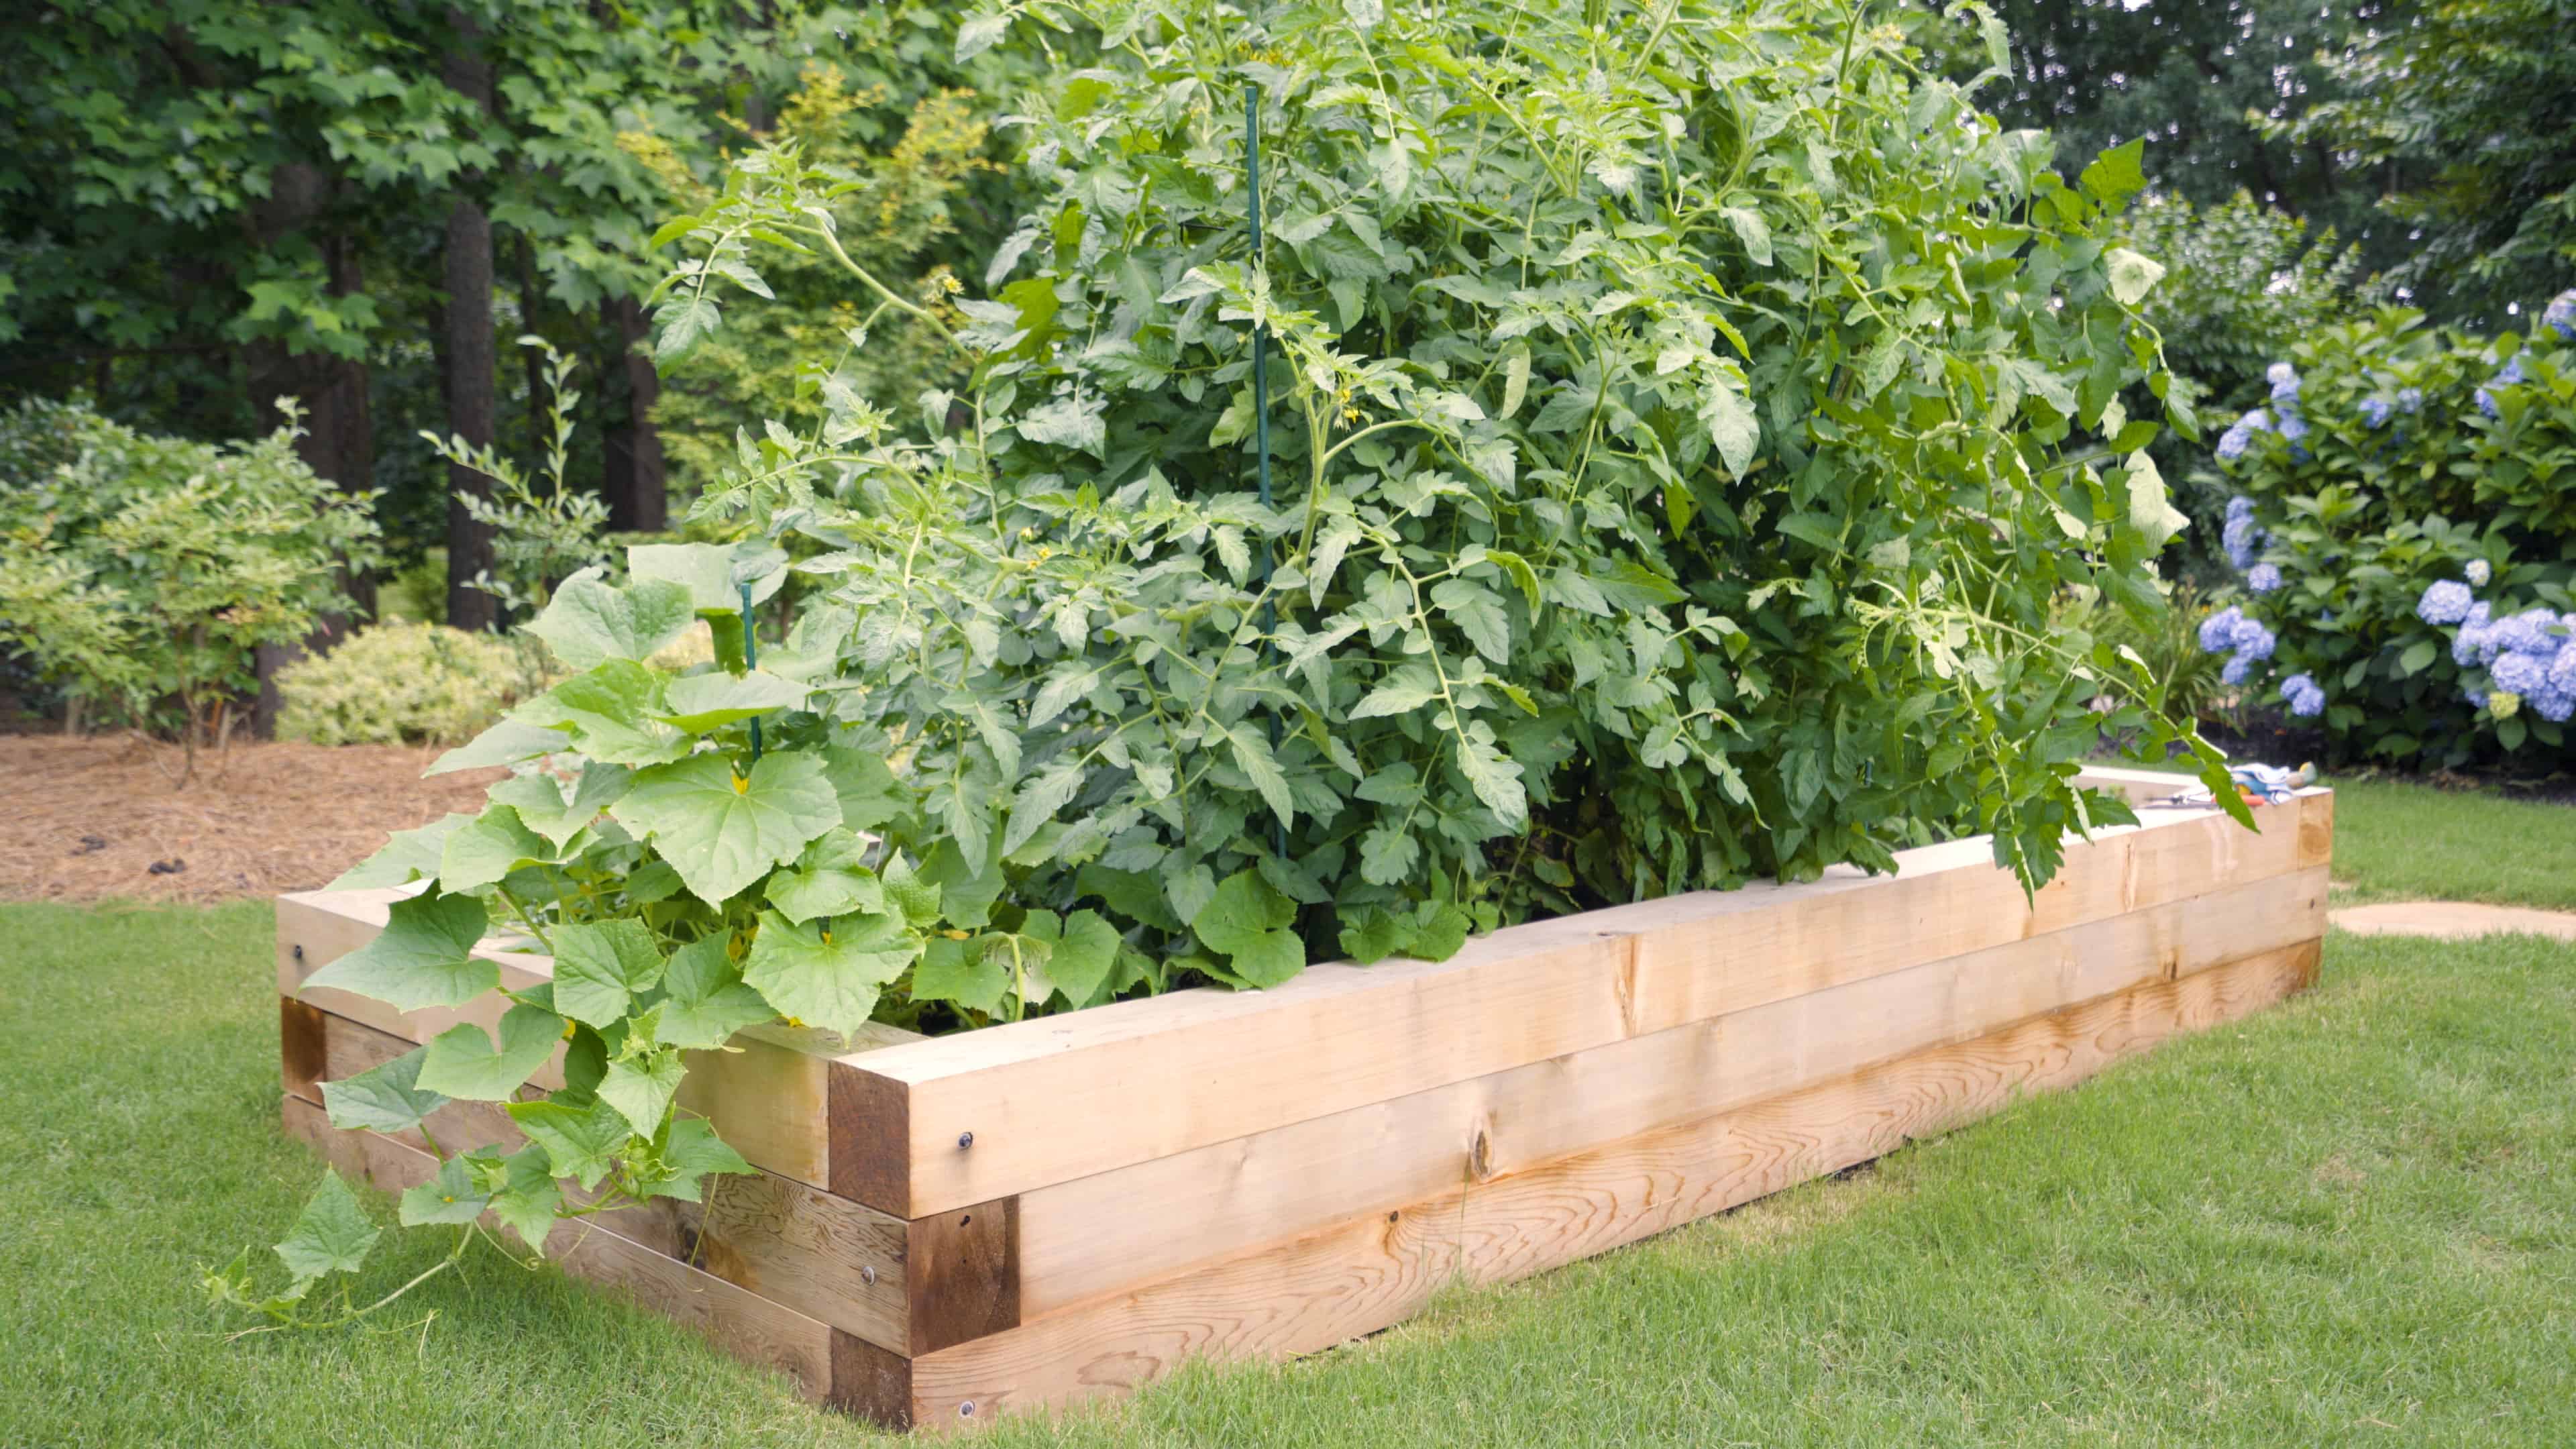
1. Build a Raised Garden Bed
If you are just getting started with gardening or you have limited space for growing, raised beds are a great option. A raised garden bed is a simple spring garden project that can be completed in a weekend. We even have a Backyard Life video to show you the steps to build a raised bed with downloadable plans: How to Build Raised Garden Beds
Raised Garden Bed Advantages
- Easy to facilitate the idea soil conditions for the plants you would like to grow
- Easy to work in and keep weed free
- Can be made to be any height to be more accessible
- An aesthetically beautiful hardscape feature
2. Unify Your Backyard Spaces
Spring’s a great time to consider building a new walkway to connect areas in your backyard. A big upside to this DIY backyard project is that walkways keep your lawn looking great by limiting foot traffic on your grass. There’s a wide array of materials and styles to choose from to best complement your home.
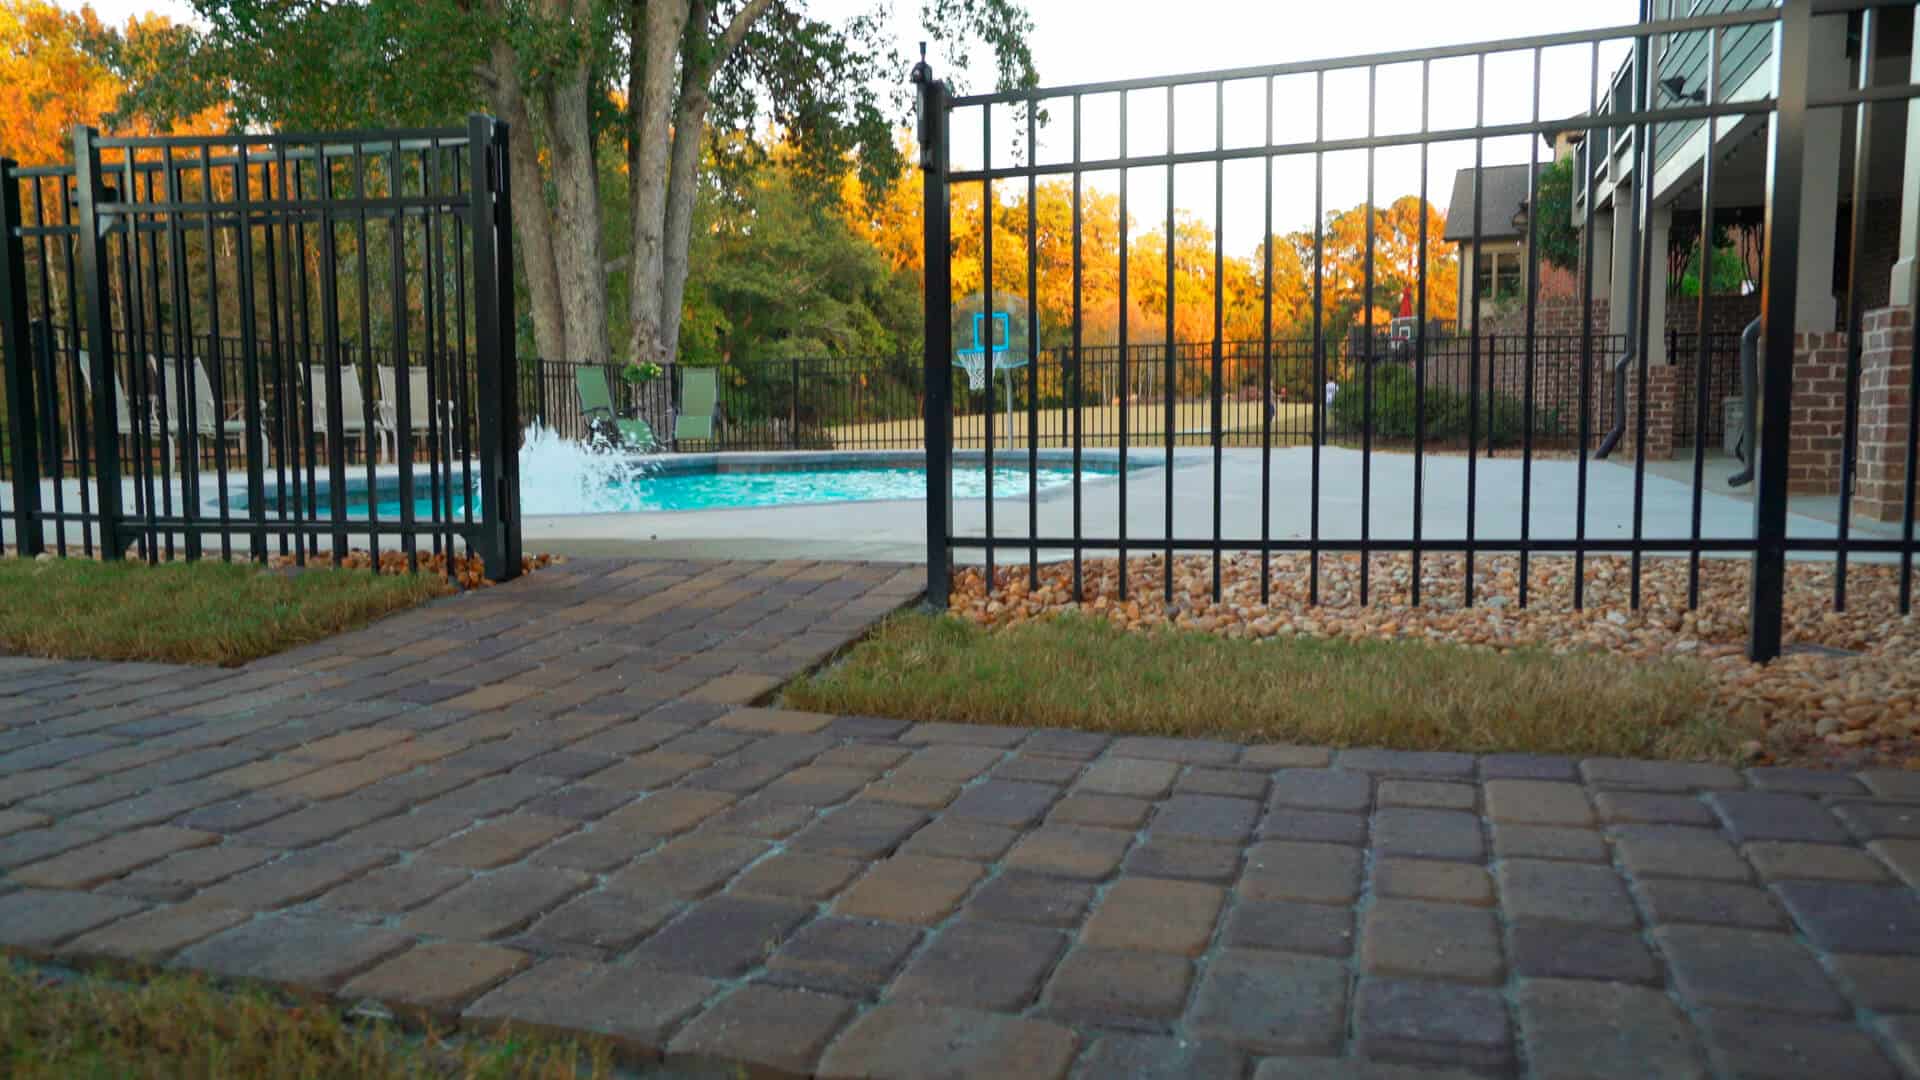
Walkway Materials
If you don’t have any backyard spaces to connect with a new walkway, there are hundreds of other amazing project ideas to add new features and functionality to your backyard. When you decide to add a new landscape feature, it is helpful to first decide the reason for your addition. This could be as simple as adding visual interest with a new flower bed or something a bit more complex like adding a water feature.
3. Add a Garden Trellis
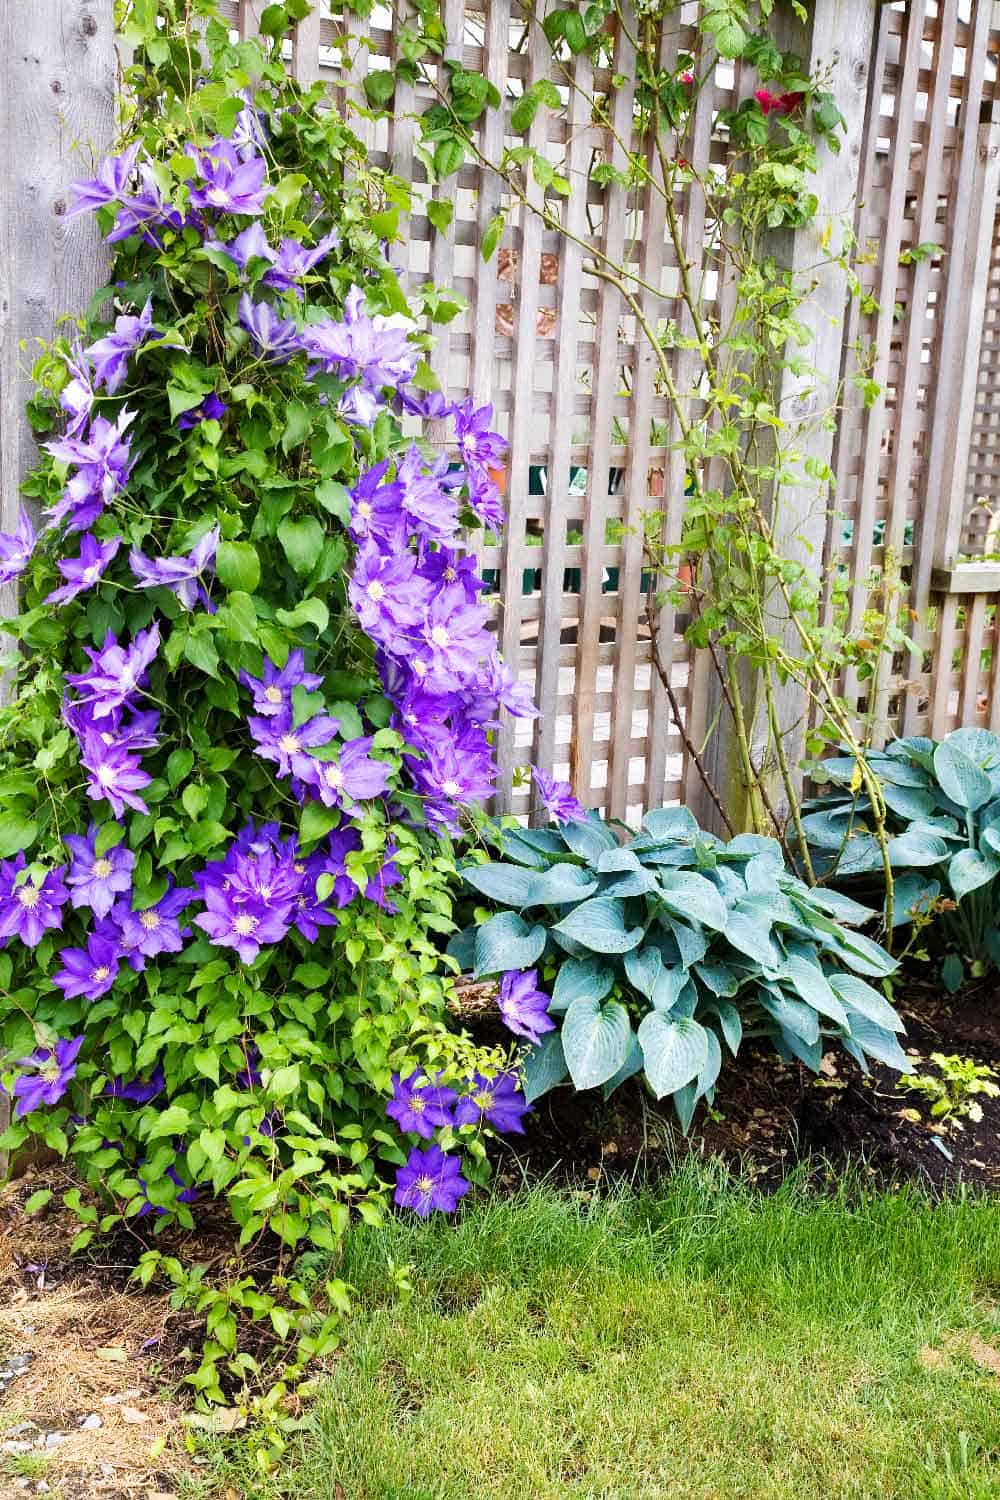
Looking for a way to grow climbing plants in a space efficient and beautiful way? If so, a garden trellis might be the solution you’re looking for.
Garden Trellis Ideas
4. Add New Seating
Outdoor seating areas come in many sizes, shapes, and colors. Before starting on this backyard project, you should first consider the space available and how you wish to use the area. For example, are you looking for a shady area to relax and read a book? If so, a hammock under a shady tree might be the option for you.
You may also want a place to site while the kids are playing on the swing set. If this is the case, a DIY cinderblock bench is a great option. You can also add paint or some pillows to give your bench seating a splash of color. This is an easy project that only requires a few 4x4s and cinderblocks.
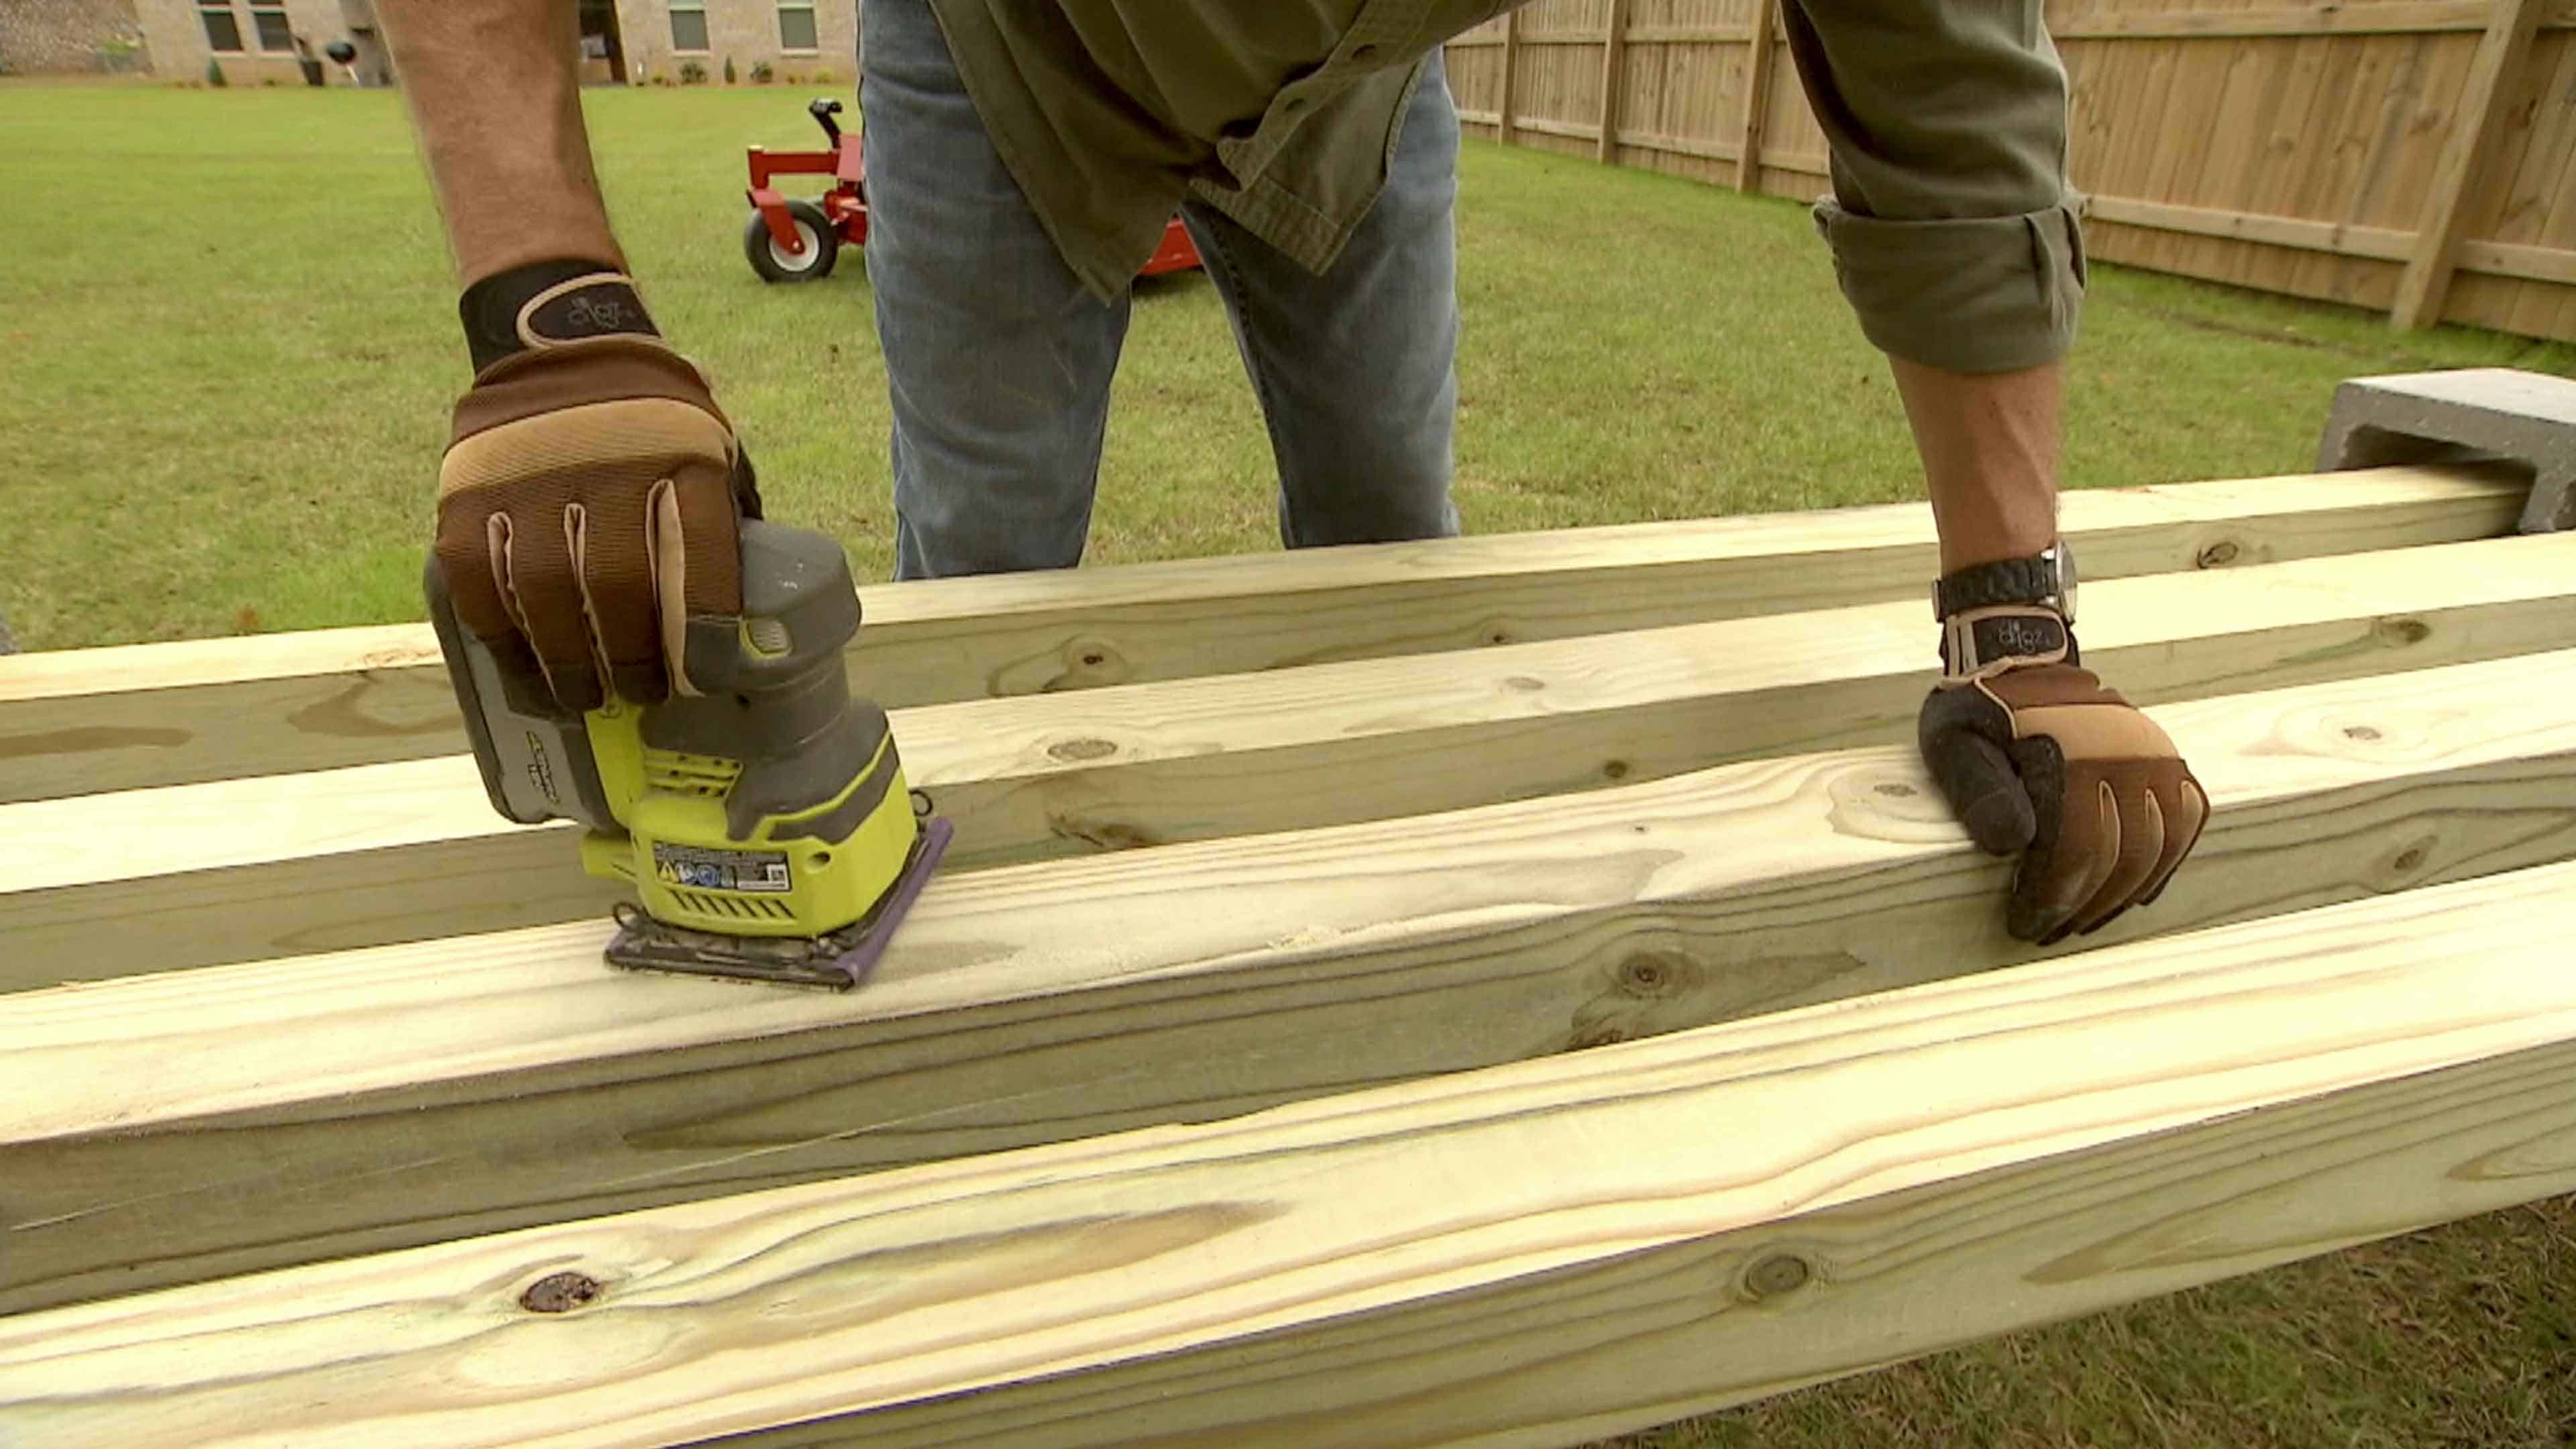
View instructions for this project build: How To Build A Cinder Block Bench
Adirondack Chairs are another easy project idea. Beyond their comfort, they’re easy to build with the help of online plans, particularly templated versions that guide difficult cuts. The result is lightweight, easily movable chairs that you can brag to your guests about having built them with your own two hands! We have a helpful video from Danny Lipford the host from Today’s Homeowner to show you just how easy this project can be. Watch How to Build a Fire Pit and Adirondack Chair to create a great space for a family gathering with s’mores and hot dogs.
5. Backyard Problem Solving Projects
Problem areas, like poor drainage, chipping paint or dirt spots that just grow weeds are all things that make your backyard less inviting. If you have any of these problems in your backyard, try one of these projects to turn that problem area into something more visually pleasing.
If you have a problem drainage area in your backyard, why not consider building a dry creek bed? Also known as a dry stream bed, this is an easy DIY backyard project that consists of a gully or trench, usually lined with stones and edged with plants to mimic a natural riparian area.
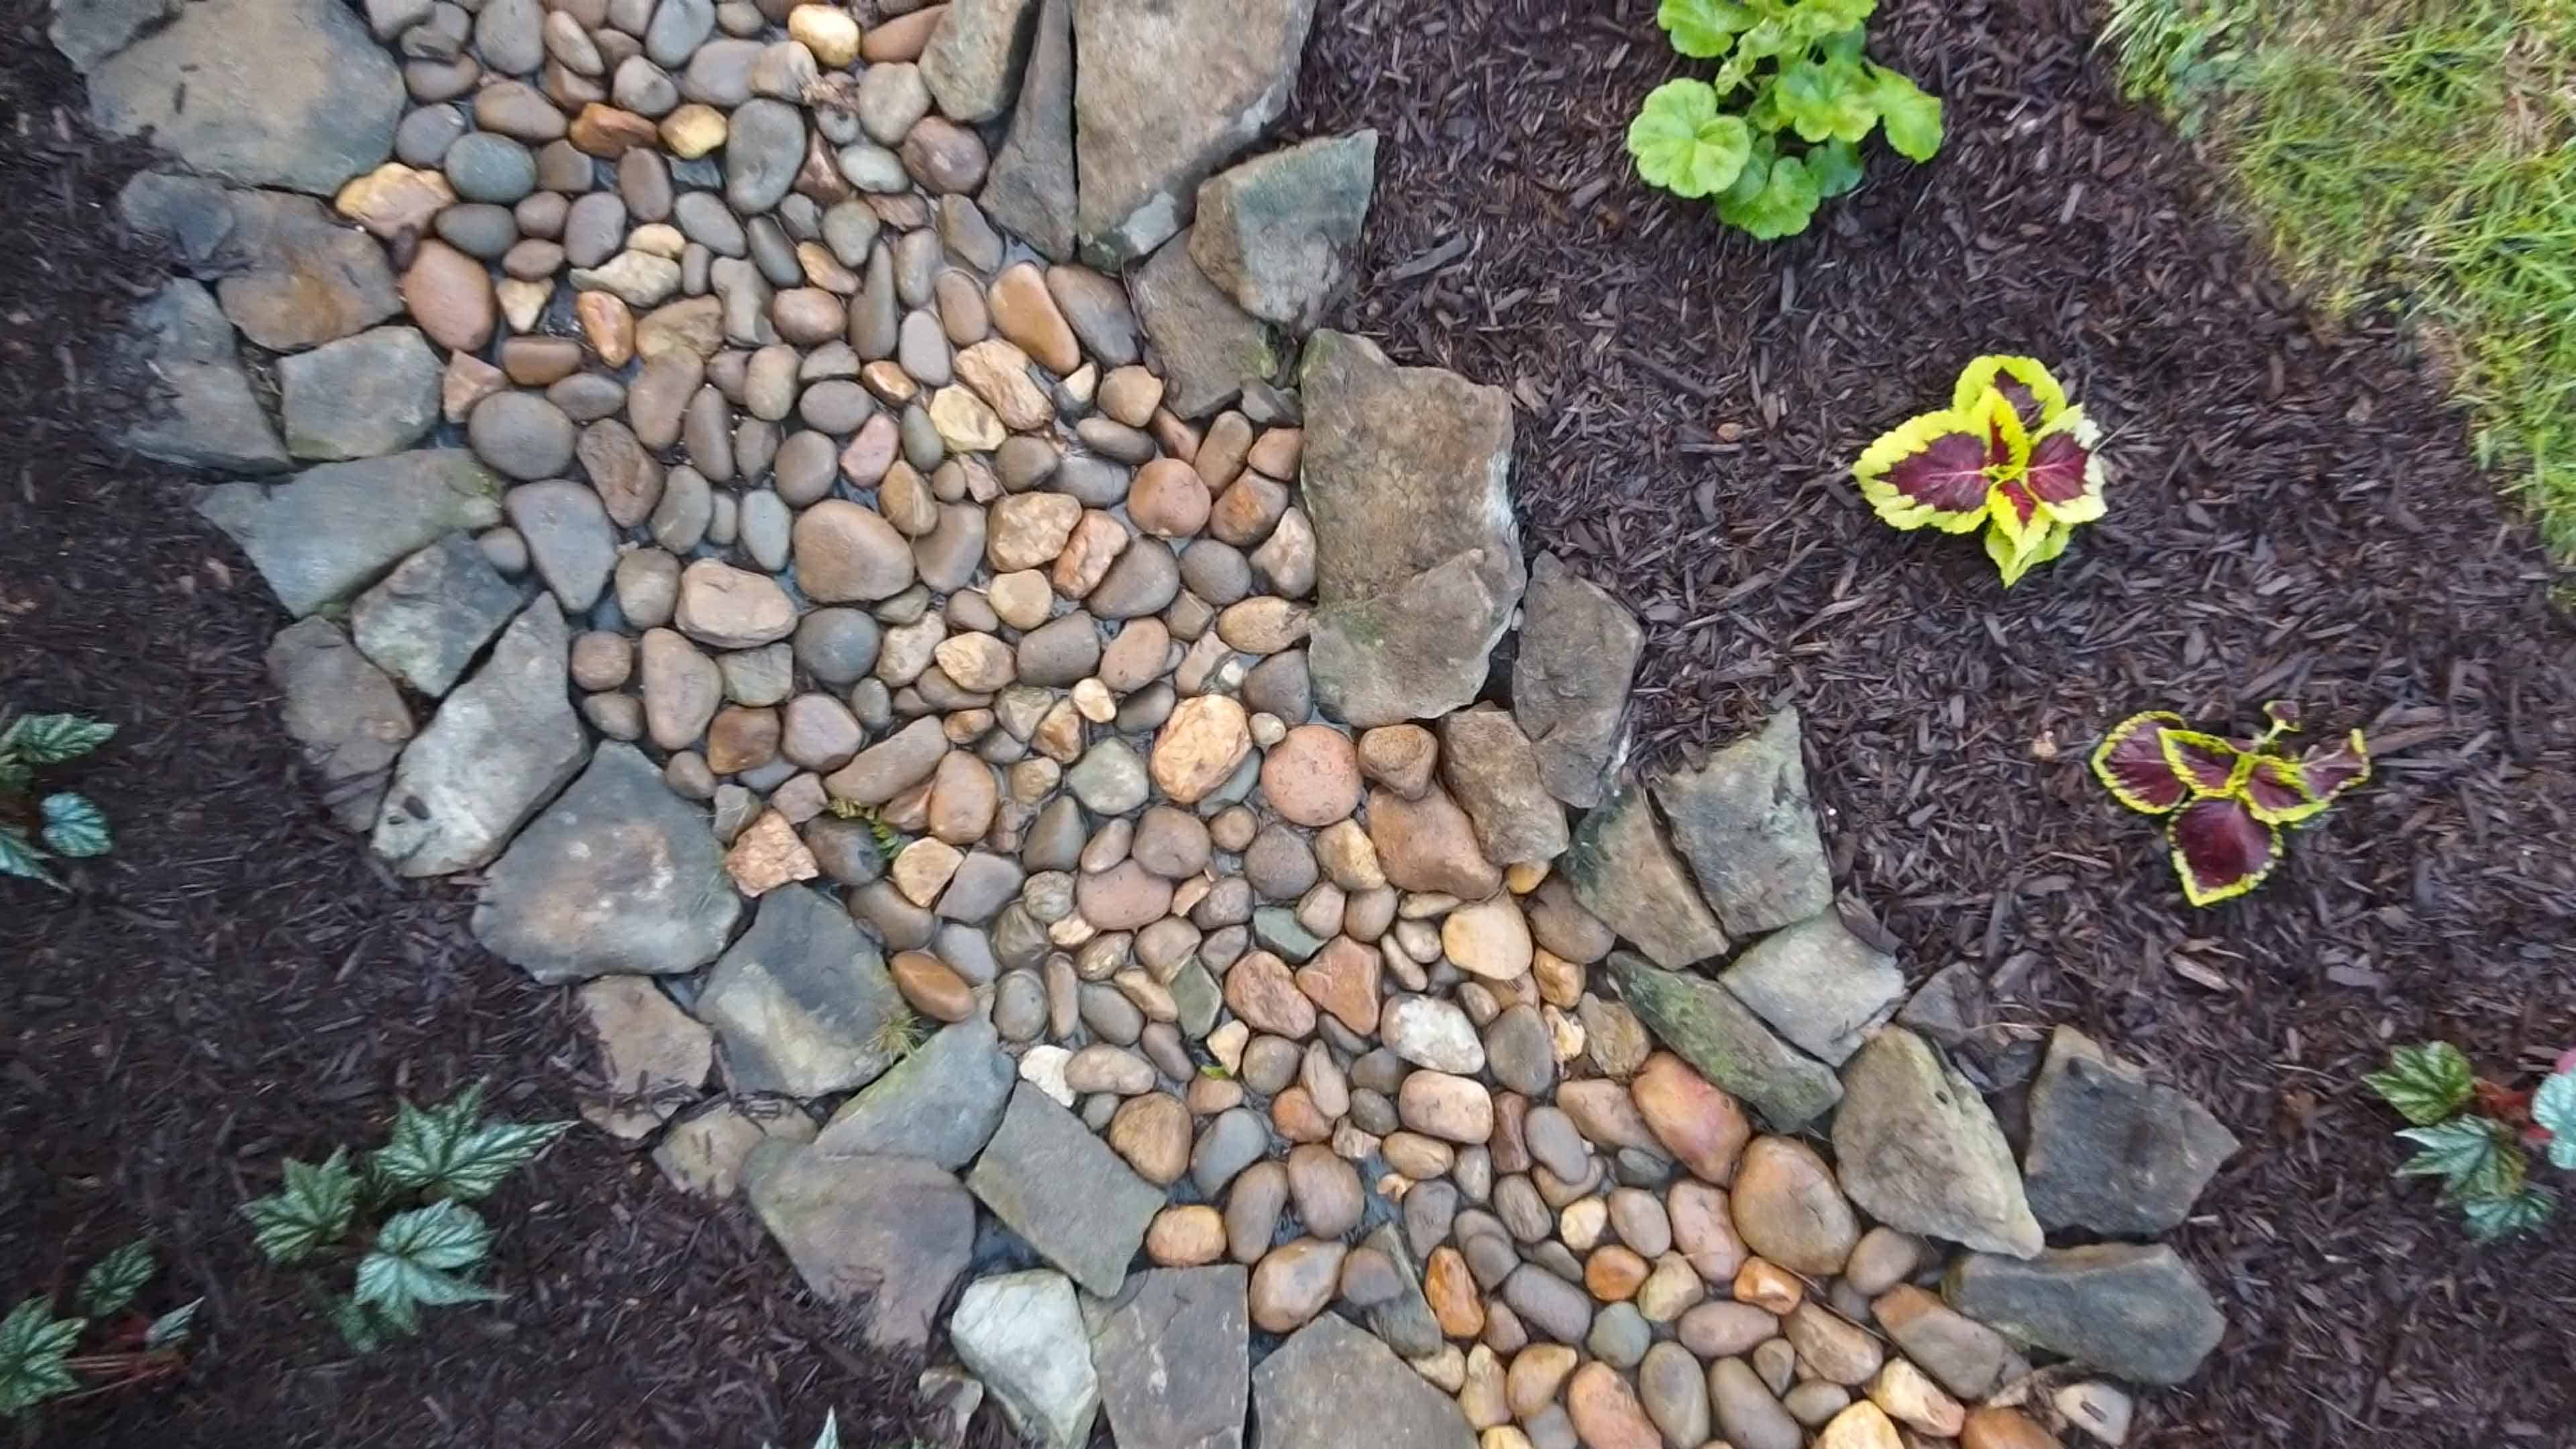
Watch this video for materials and instructions needed: How to Build a Dry Creek Bed
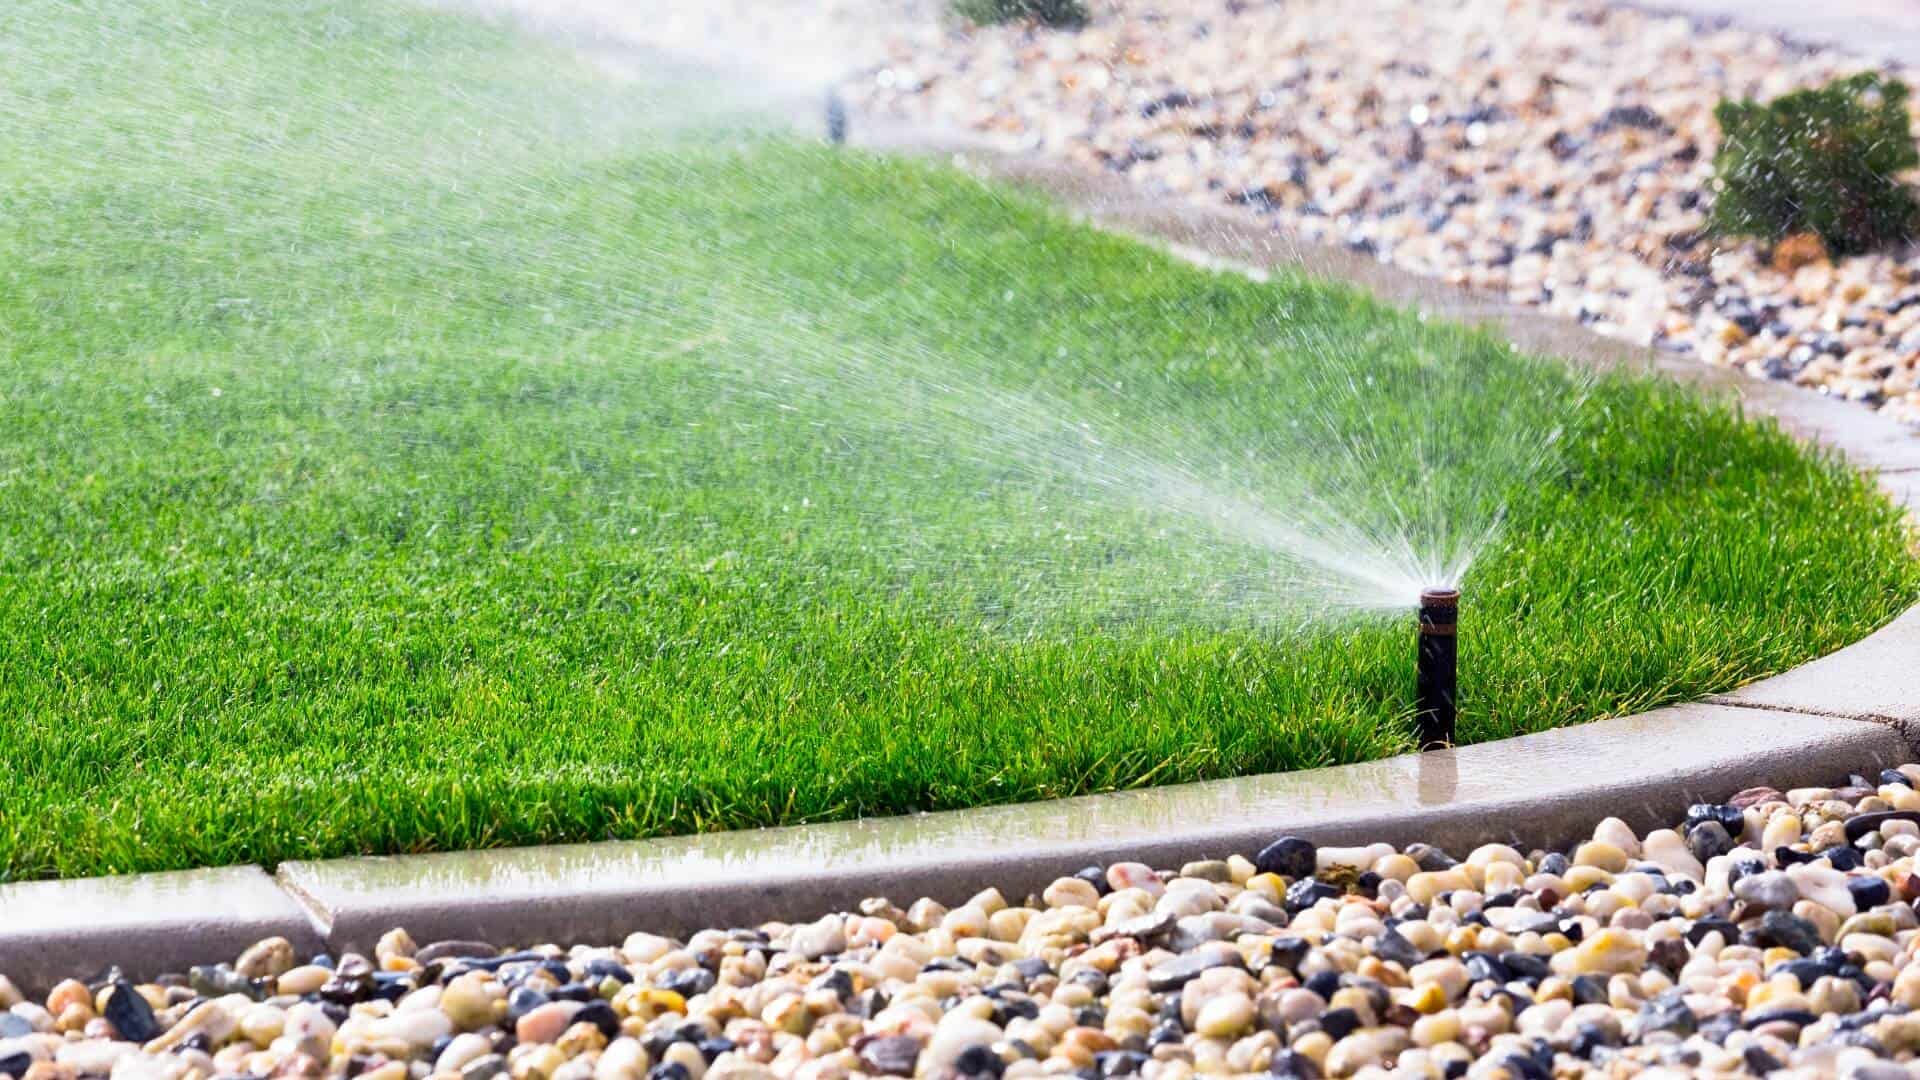
If you’re planning on reseeding that dirt area or just want to up your lawn care, consider installing a sprinkler system. An in-ground system relieves the need to constantly drag a single sprinkler around your lawn. While installation may seem daunting, it’s actually a simple spring DIY project that’ll save time and money in the long run. And, the end result—a great-looking lawn—will be well worth your investment in both.
DIY In-ground Sprinkler Project Steps
- Plan your system: First, be sure to contact your utility company to have them locate and flag any underground utilities. Then measure your space and water pressure and create a diagram of your layout and indicate where you want the sprinkler heads to go.
- Dig the trenches: First, put flags in the yard for each sprinkler head location, then dig the trenches 6″ to 8″ deep with sides sloping at a 45-degree angle. Renting a trenching device, also called a vibratory plow, will make this stage go much faster.
- Install valves and pipes: Connect 3/4″ PVC pipe to the open end of the valve manifold. Continue laying the pipe along the main trench. Use “tee” connectors for pipes running off the main line. At the location of each flag, attach risers using 90-degree connectors.
- Install the sprinkler heads: Select the appropriate sprinkler heads based on your irrigation needs. Install the sprinkler heads onto the risers. Level the sprinkler heads with the soil level. Fill in trenches and holes with dirt and sod.
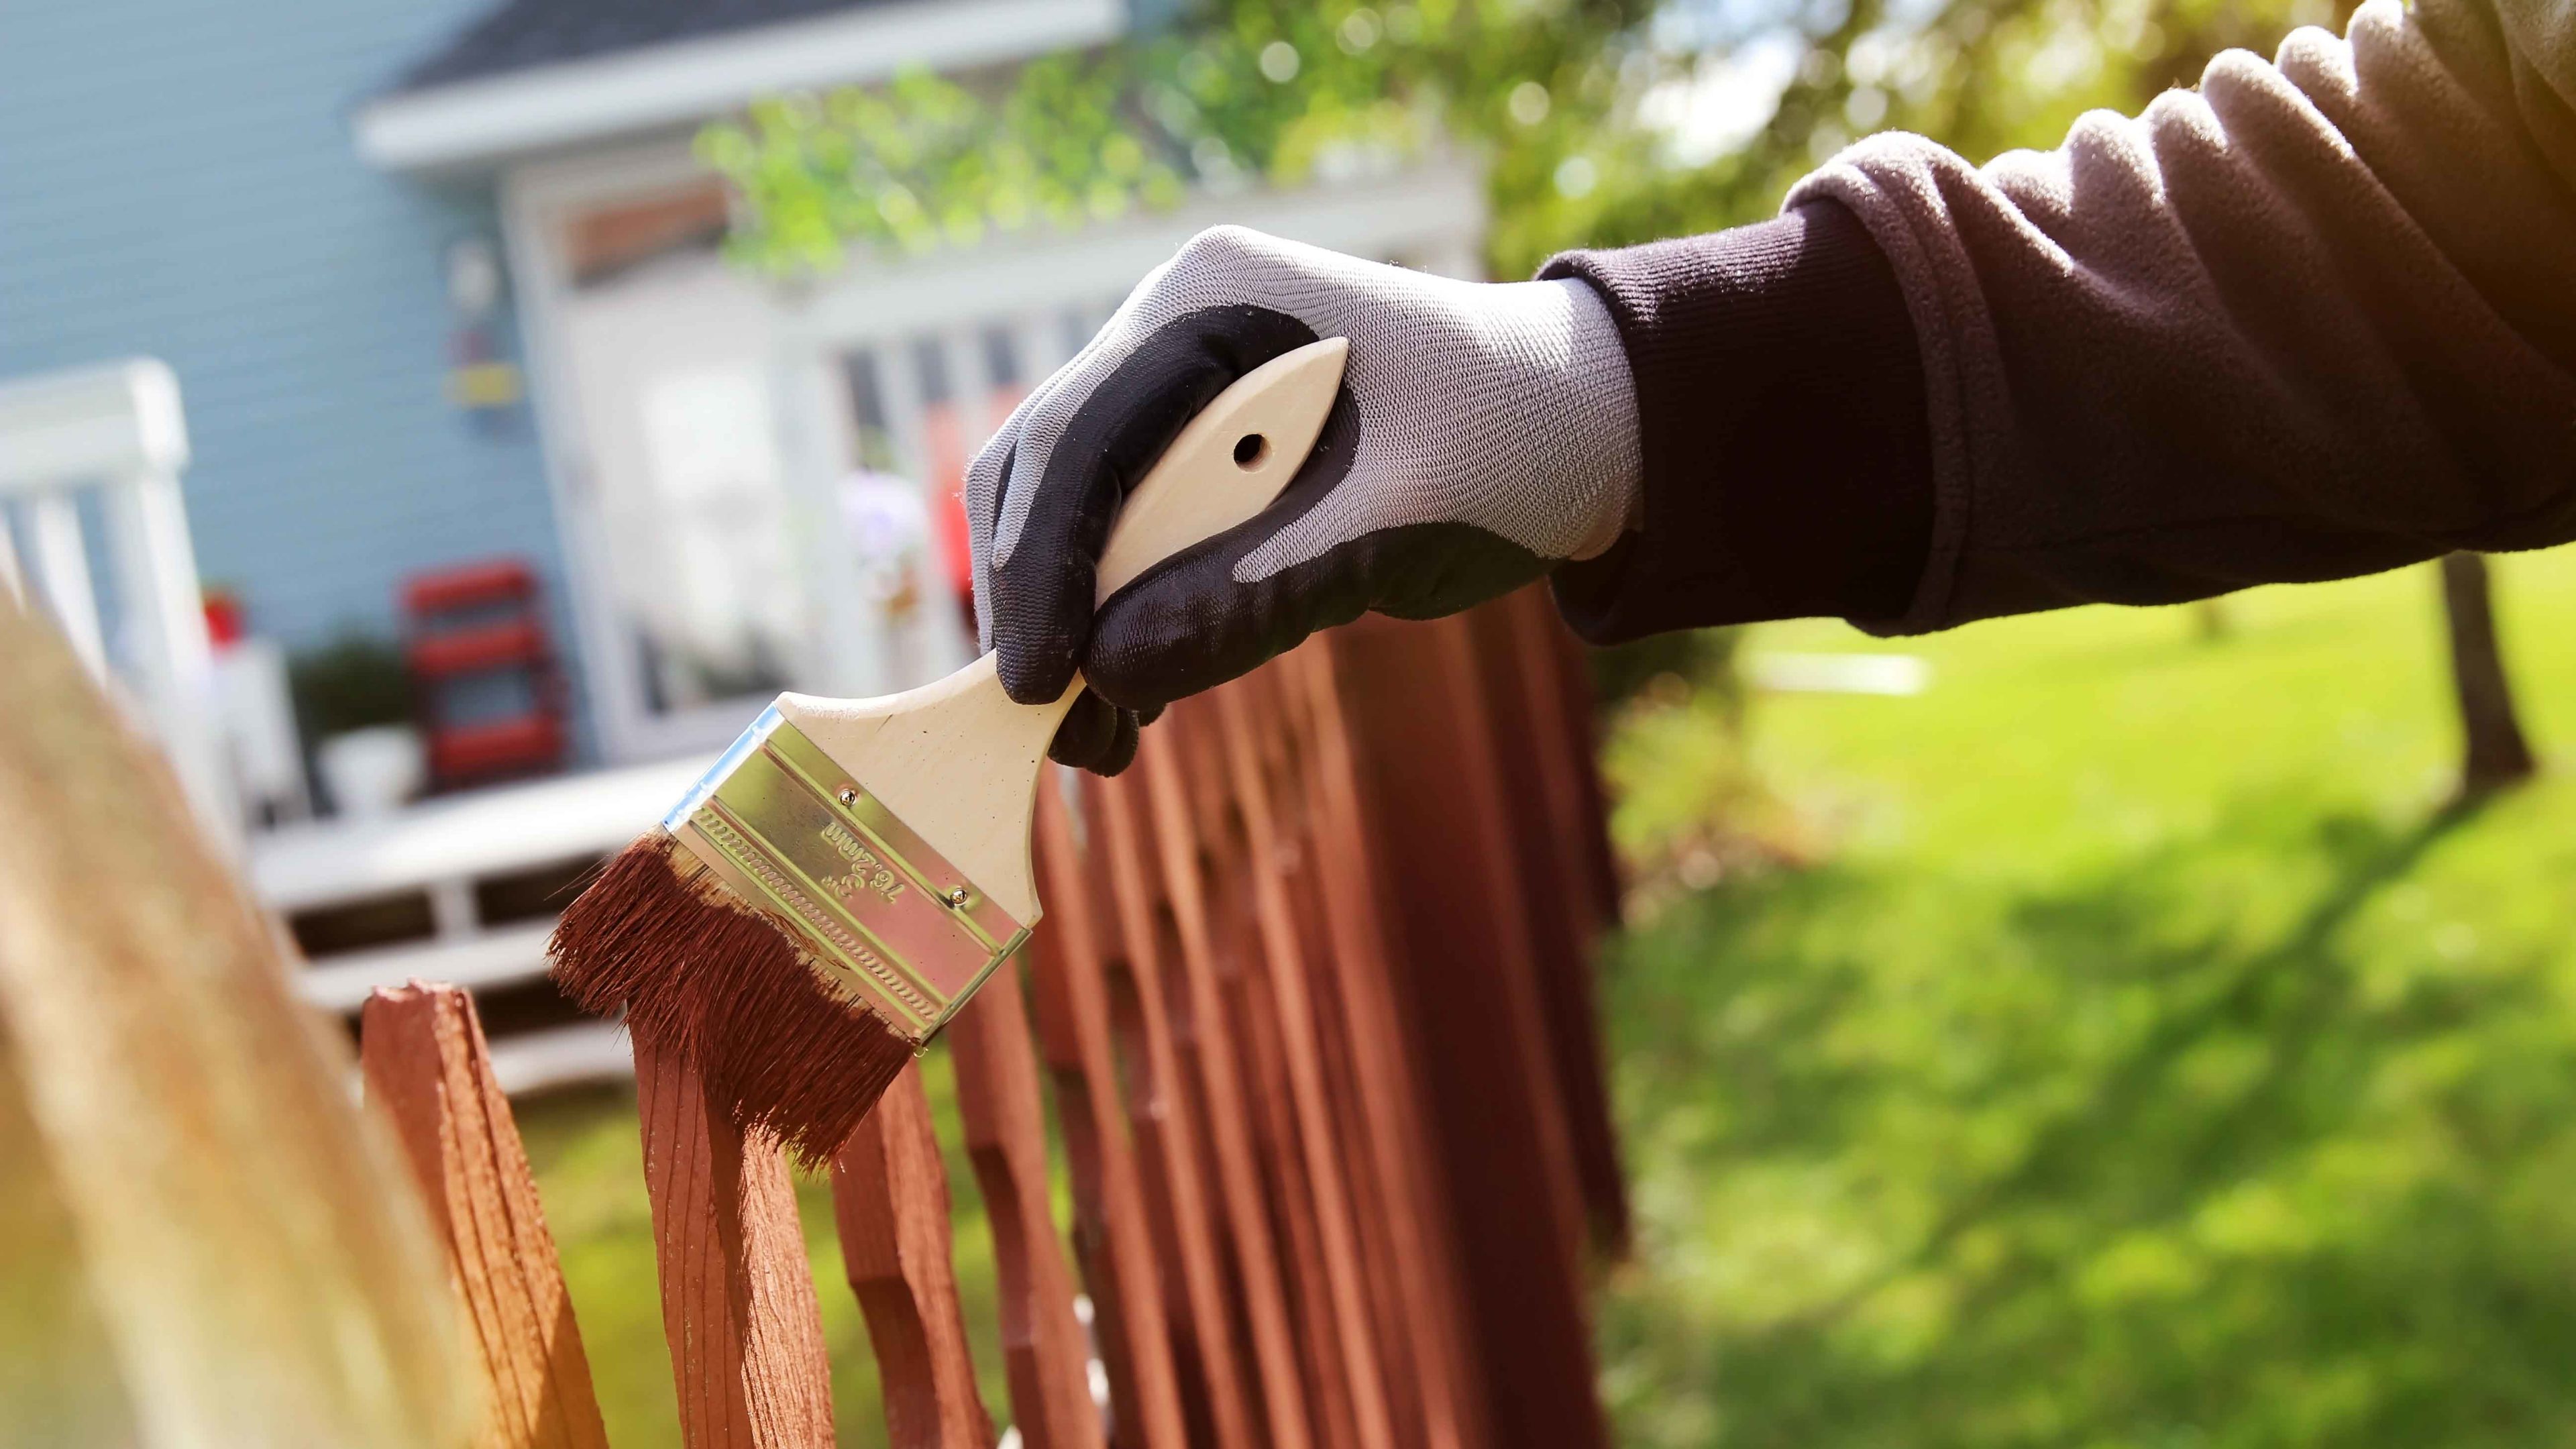
Spring’s a great time to put a new coat of paint on your outdoor sheds, barns, and other outdoor spaces. While this DIY project might require a little more time and elbow grease, it will make your backyard feel brand new.
So, which yard or garden project are you going to take on? Regardless which DIY backyard project you choose from, it’ll be worth the effort come springtime!


