
With spring on the horizon, now’s a great time to think about upgrading your outdoor living space with these simple outdoor kitchen ideas. As you plan out your outdoor kitchen, start by creating a checklist that will help you choose features and accessories for a DIY outdoor kitchen in your backyard. After you have your checklist of desired kitchen features in hand, you can use the ideas below to create your DIY outdoor kitchen plans.
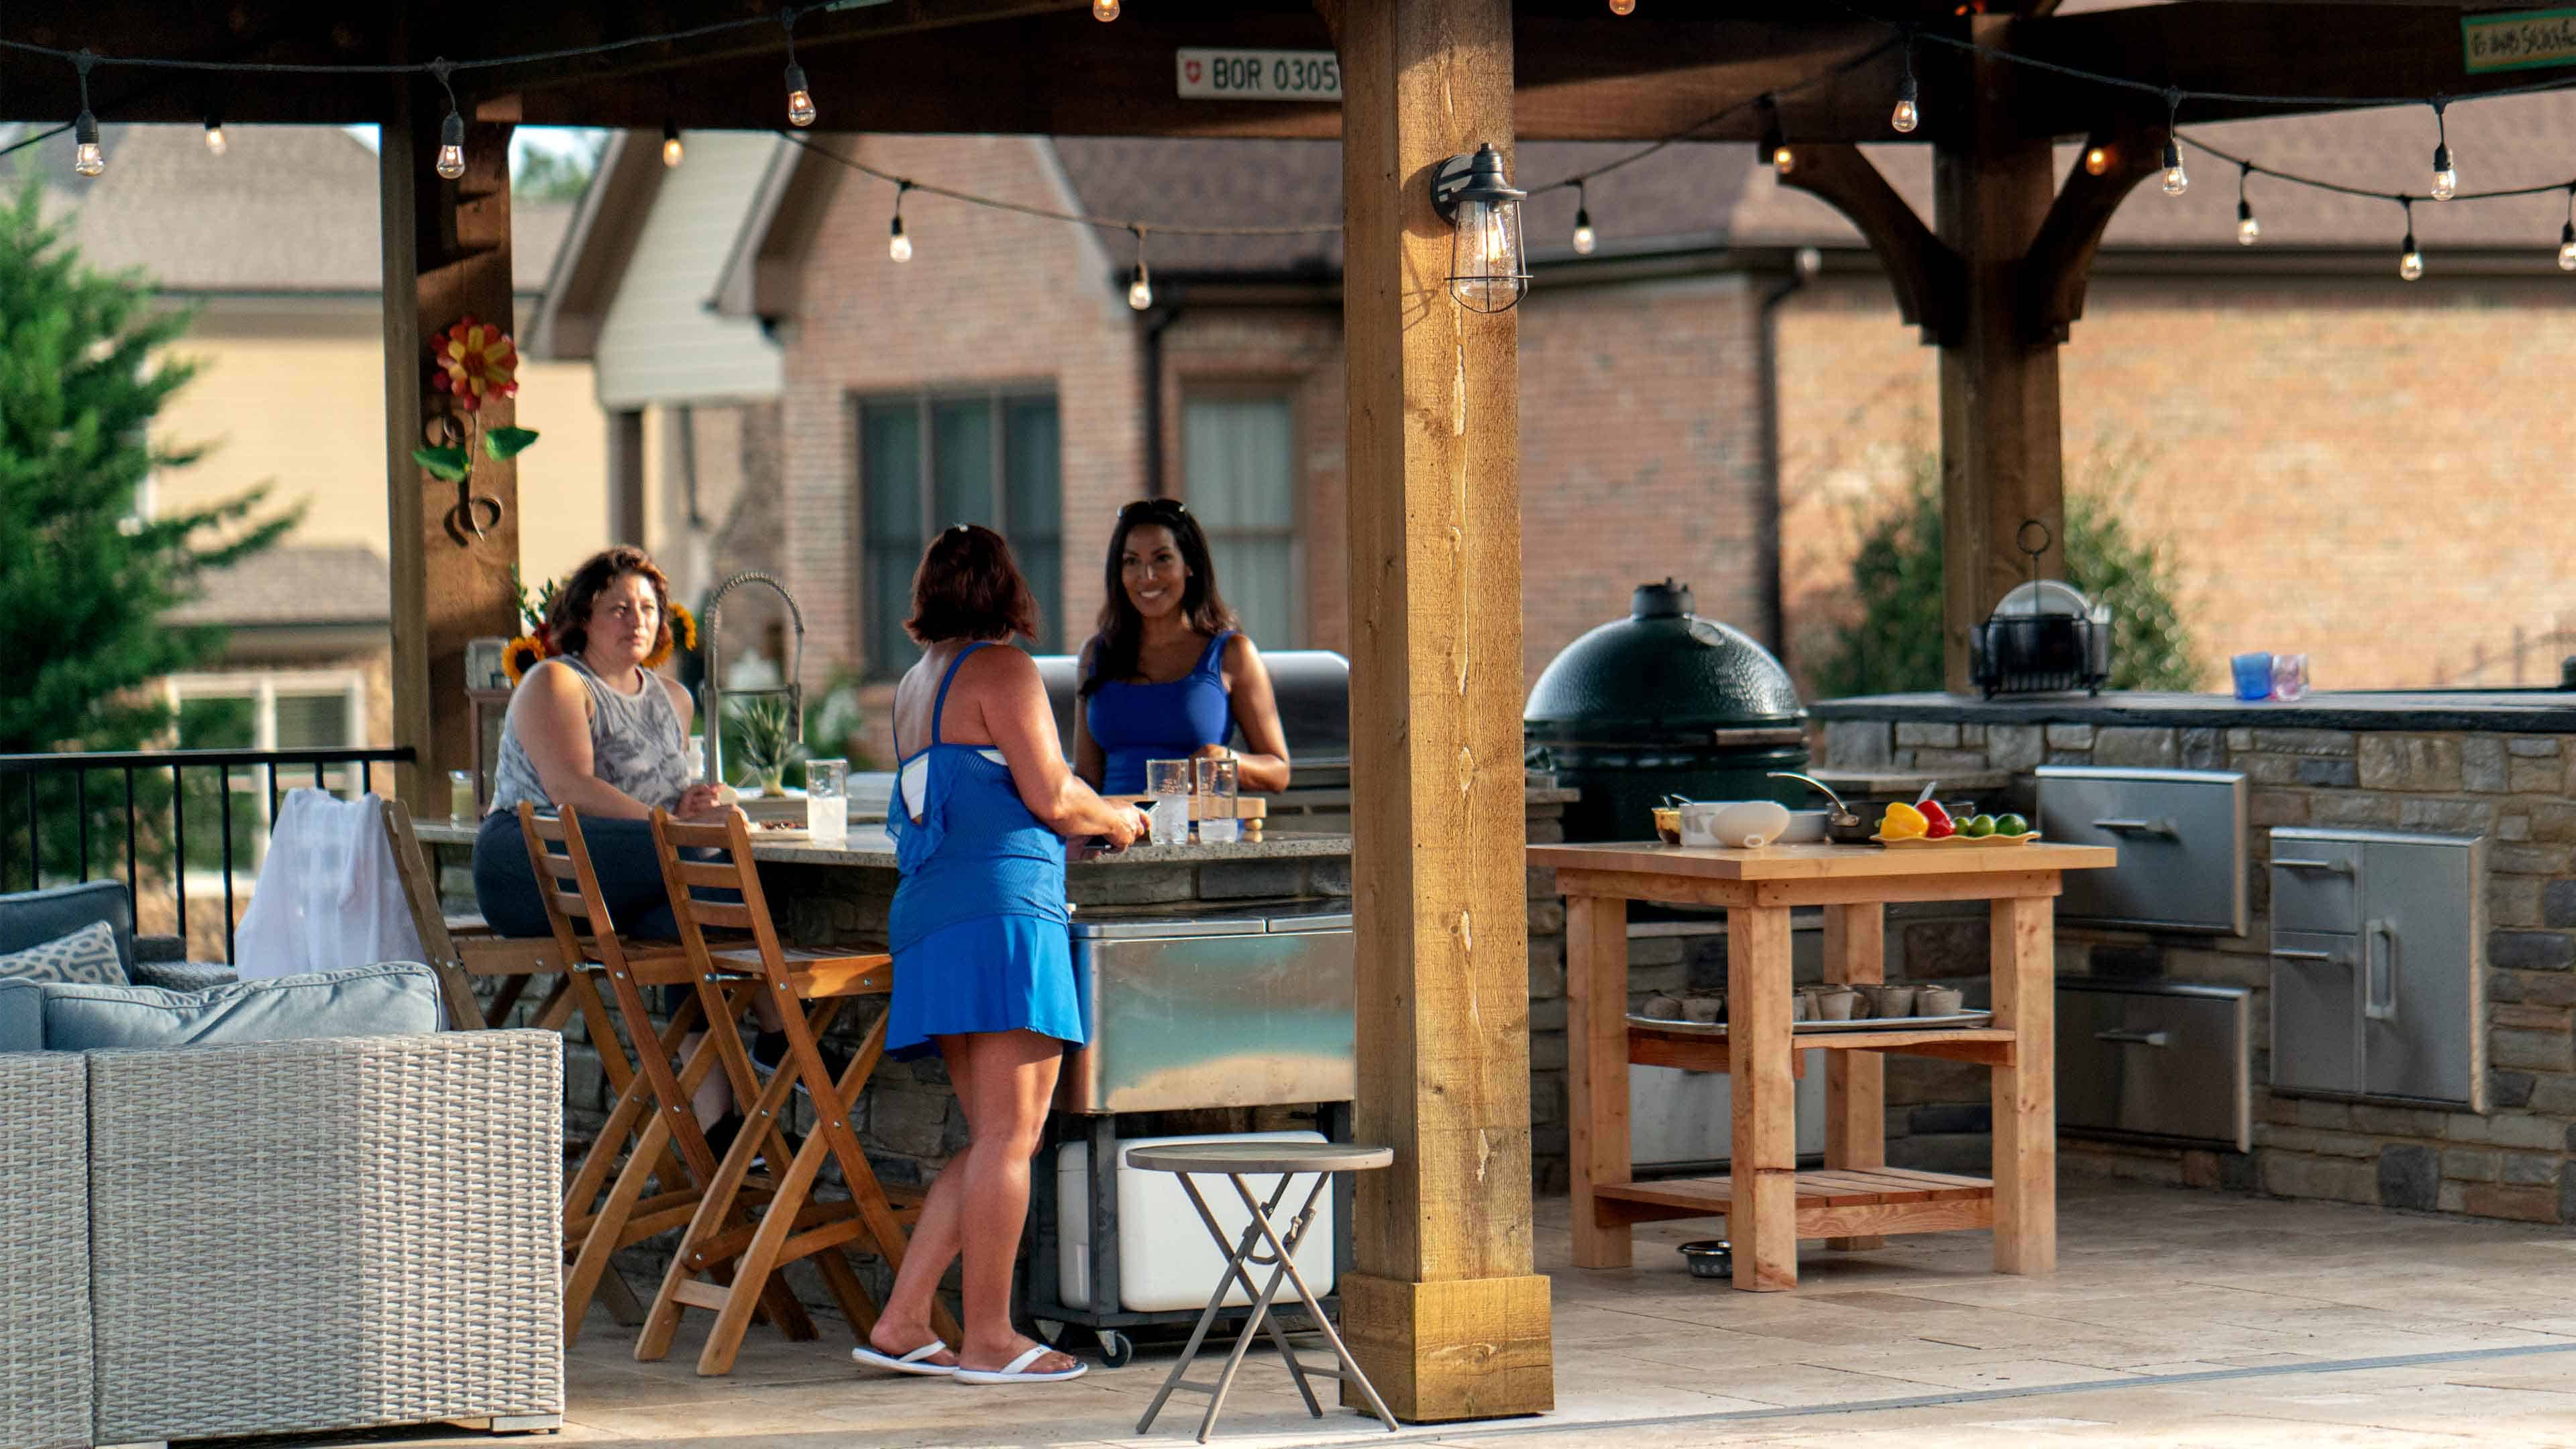
1. Choose an Outdoor Kitchen Location
Location is the single most important decision you’ll make. Before anything else, confirm that your chosen spot has practical access to the utilities you’ll need: gas lines, water hookups, and electrical outlets. Running these utilities after the fact is expensive and disruptive, so plan around what’s already accessible—or factor utility installation costs into your budget from the start.
2. Build a Grill Island for Your DIY Outdoor Kitchen
The grill is the heart of any outdoor kitchen, and the island is what anchors everything around it. Once your location is set, think about how you like to cook—that’ll shape what your island needs to include.
Key decisions to work through for your backyard grill island:
- Frame material: Wood, metal, brick, or cinder block each offer different looks, price points, and durability
- Island layout: L-shaped, linear, U-shaped, or galley depending on your available space
- Grill fuel type: Gas, pellet, propane, charcoal, or electric
- Prep area: Sink, counter space, side burners, and storage
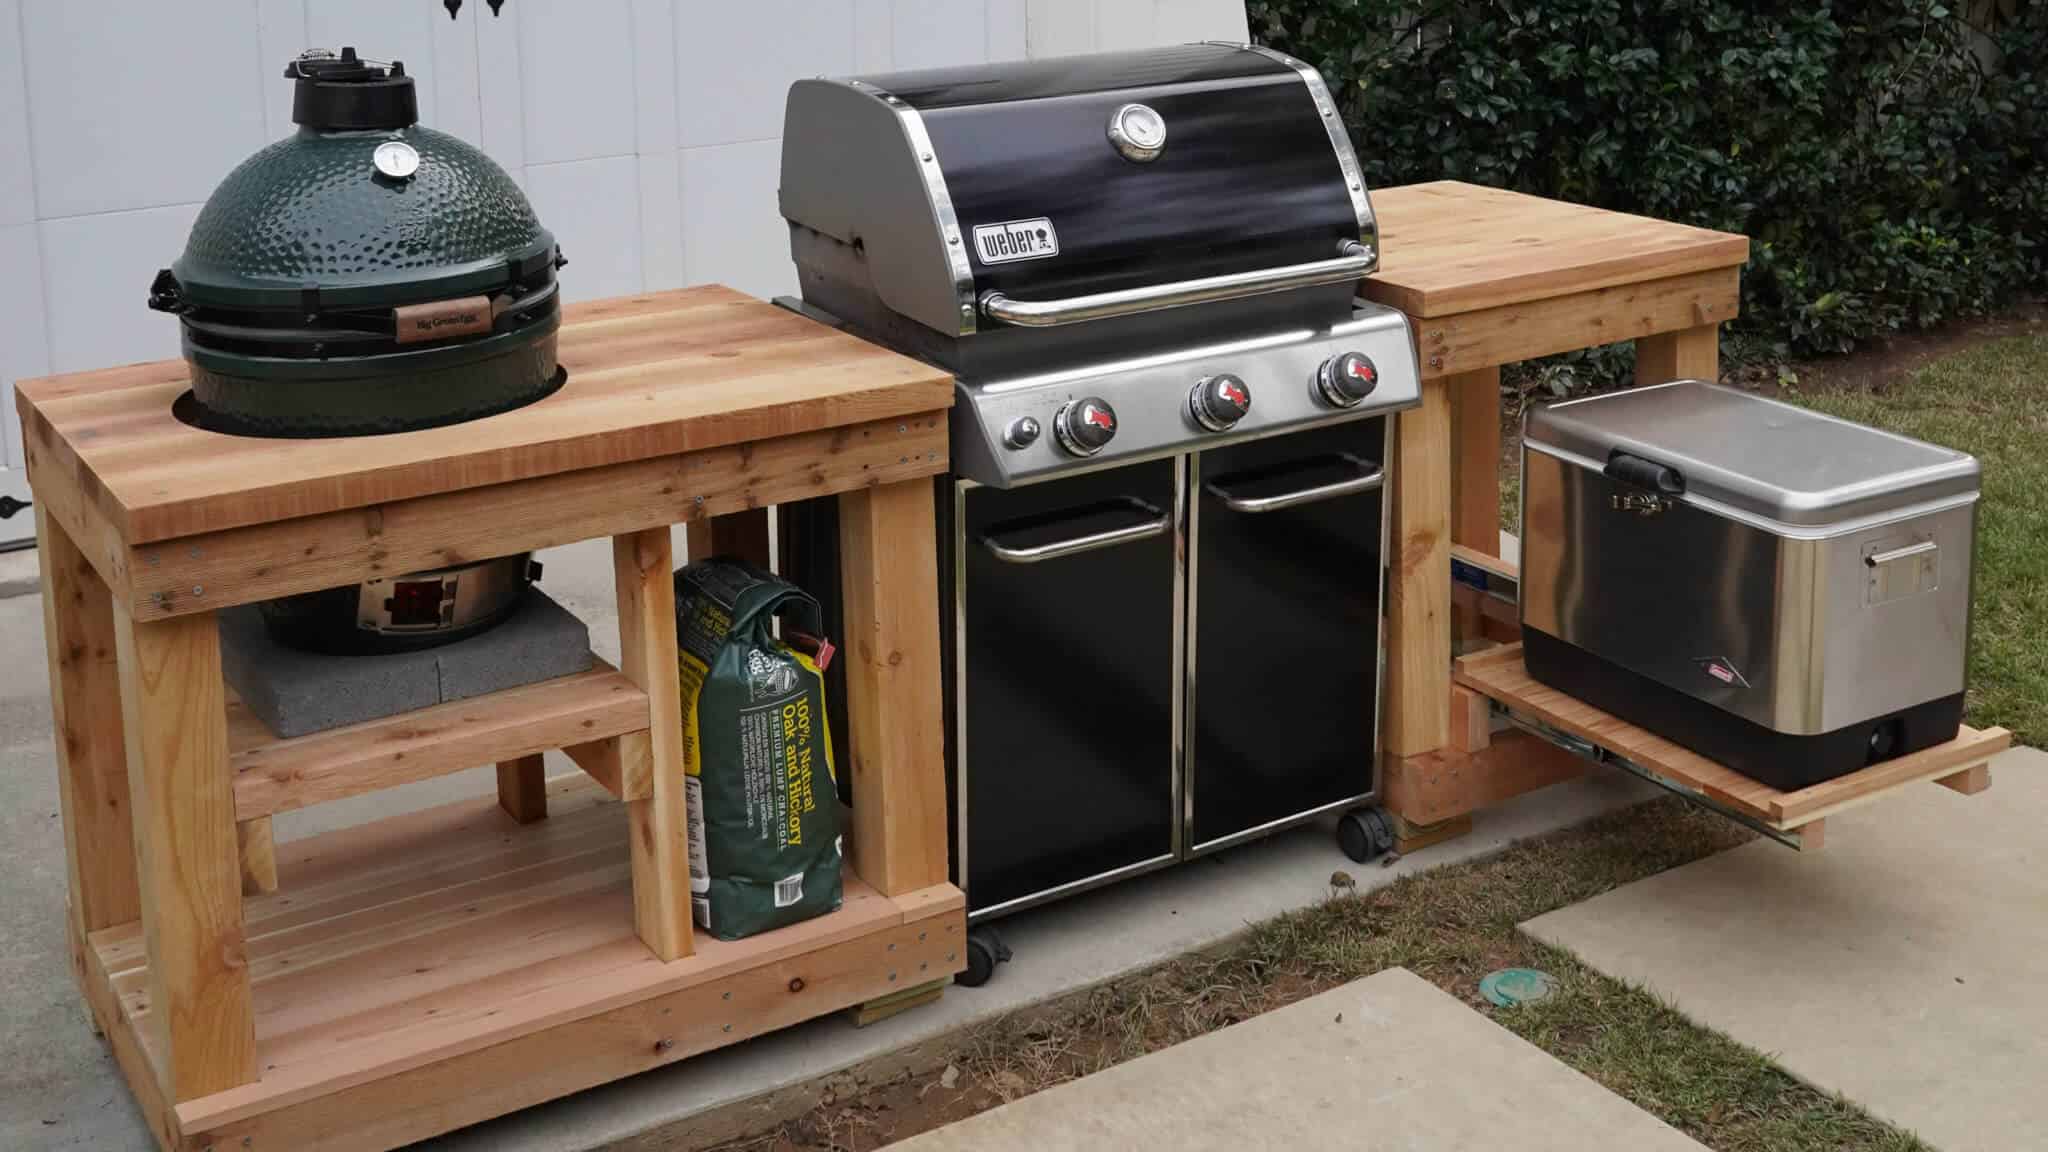
For more hands-on guidance, be sure to check out our Done-in-A-Weekend Projects video: How to Build a Grilling Island.
3. Add Cover for Year-Round Cooking
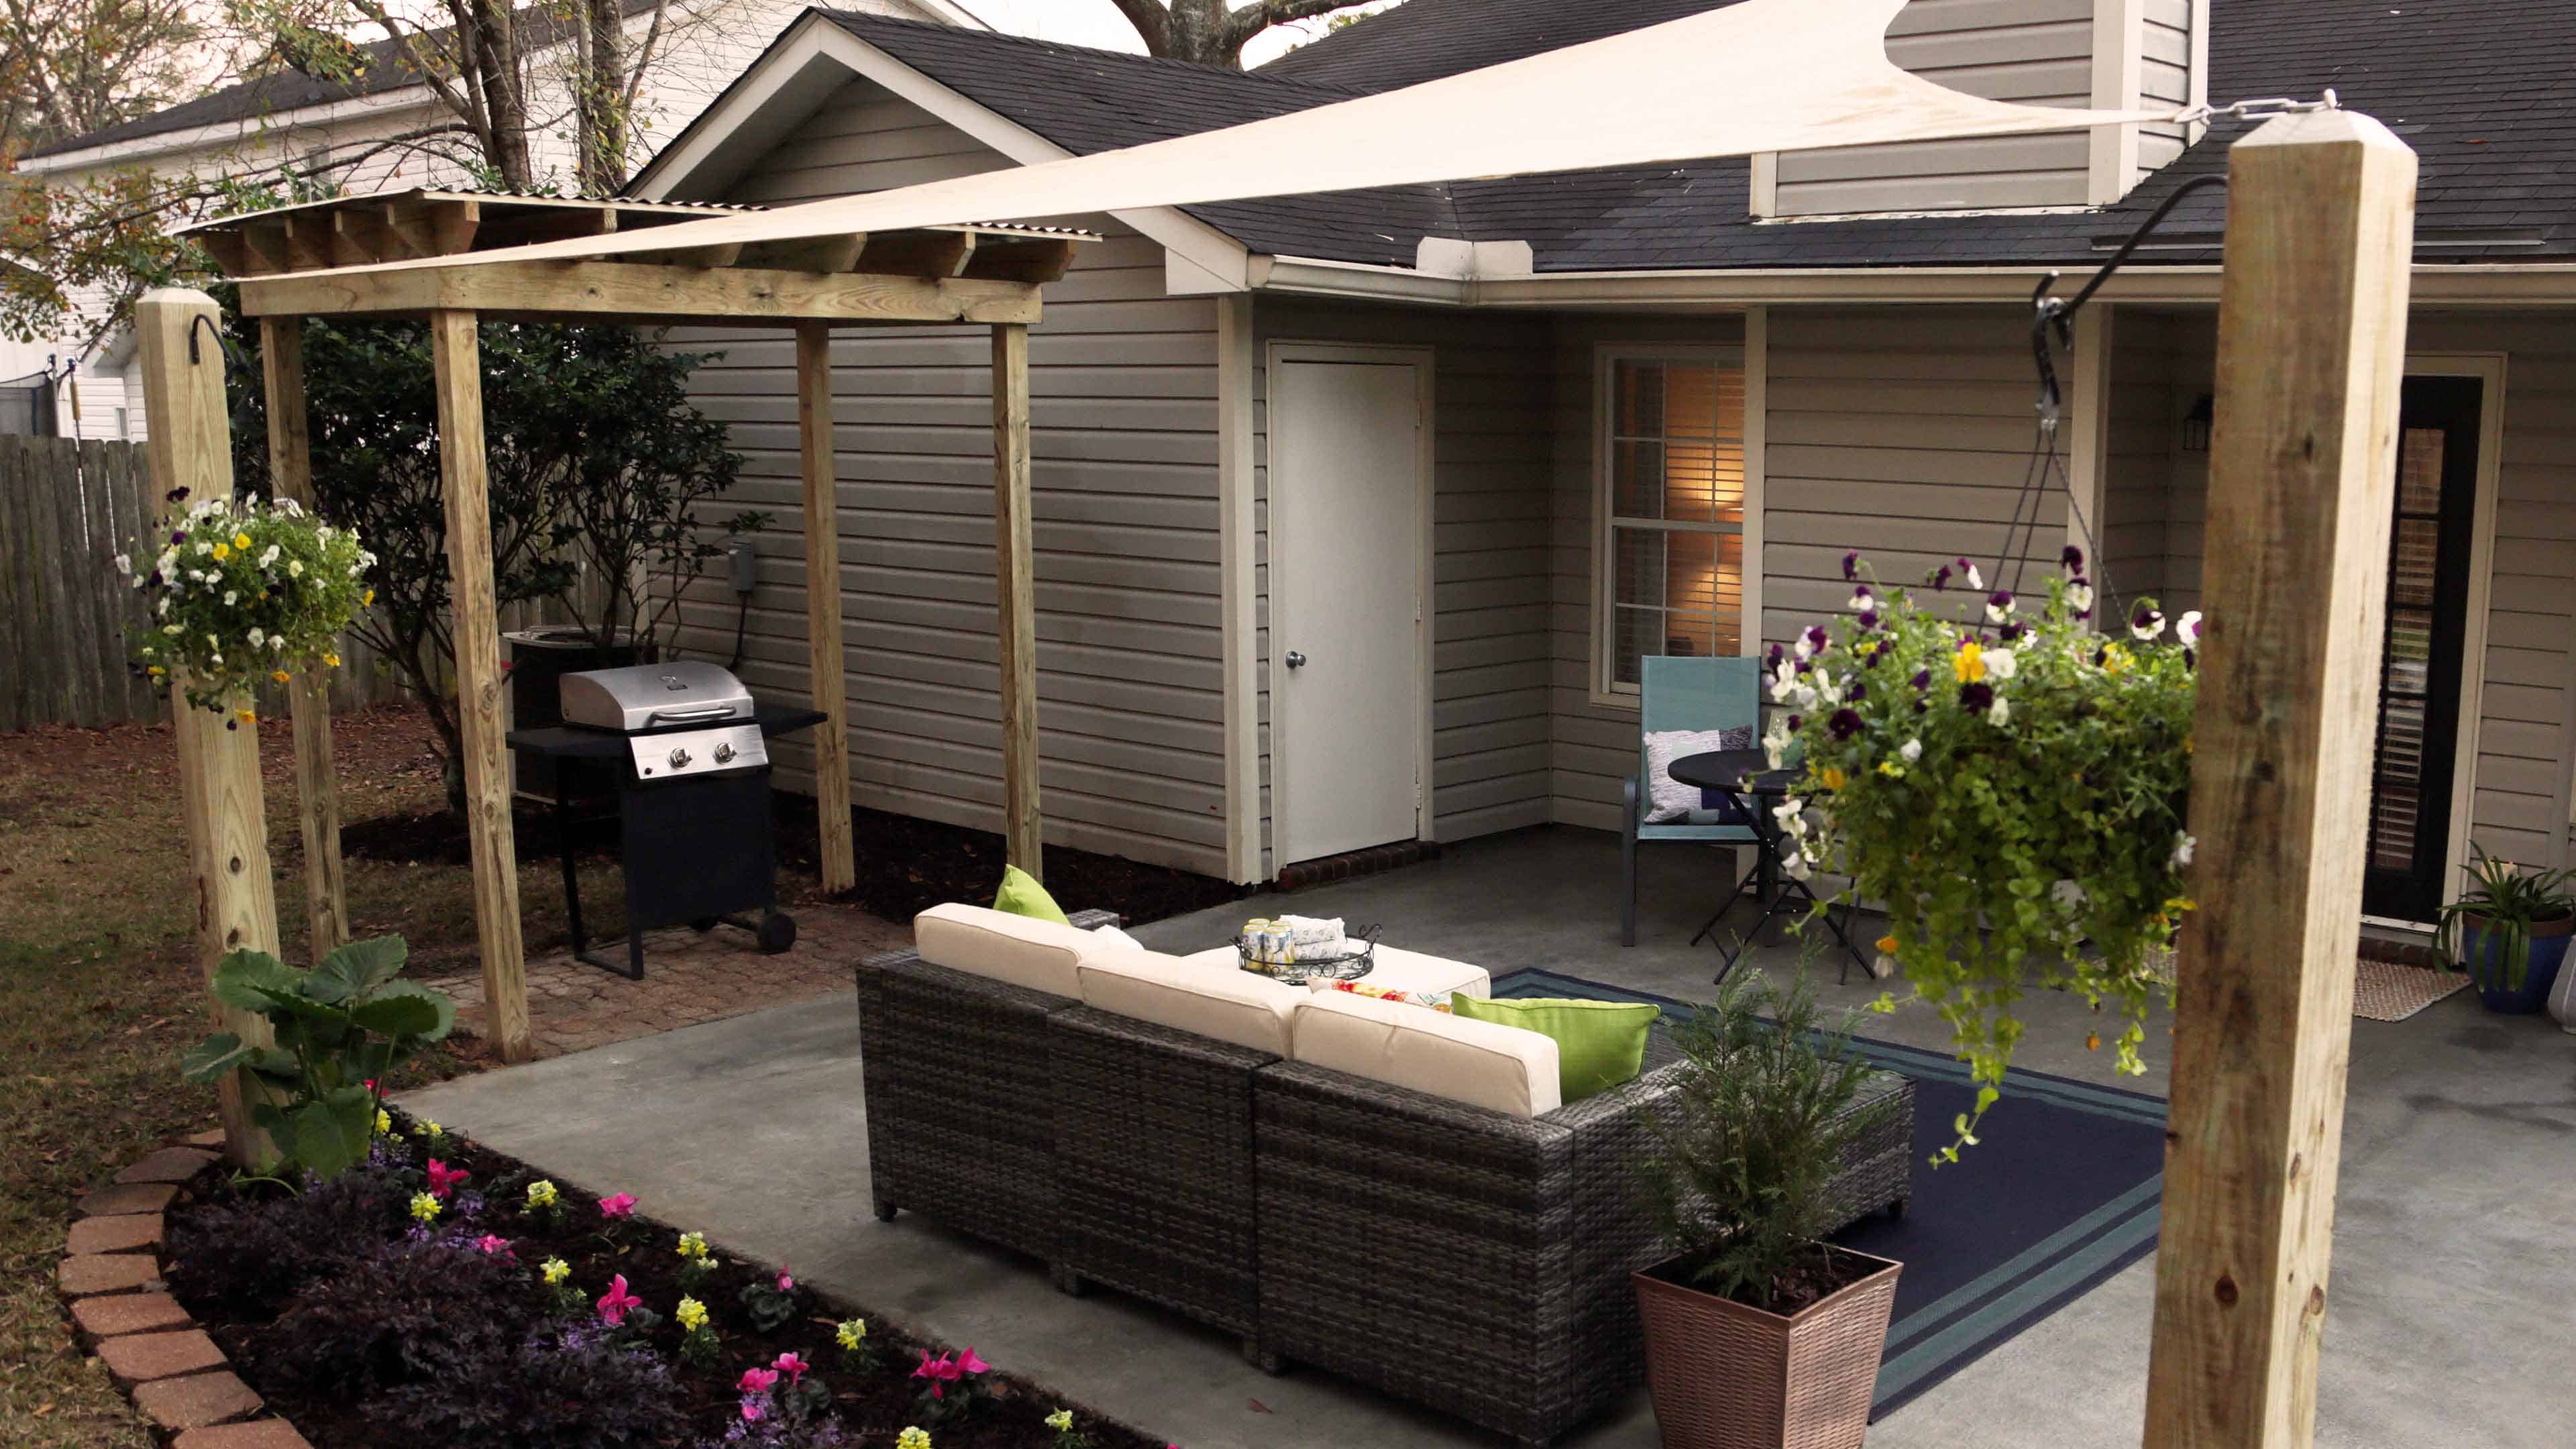
Once your island and grill are in place, you’ll want to choose a grill cover option that’ll enable you to cook year-round, no matter the conditions. Pergolas and canopies are the two most popular options, and both strike a solid balance between style and function.
Canopies are a flexible, affordable solution for patios with little or no existing overhead coverage. They come in a wide range of shapes, sizes, and materials—from open and airy to fully enclosed—with support structures available in aluminum, steel, or wood. Store-bought options range from a few hundred to several thousand dollars, but if UV protection is your main goal, a polyester, polyethylene, or vinyl shade sail can get the job done for around $50. And, you can install it just as inexpensively, too.
Pergolas offer something more permanent and architectural. A DIY pergola build is a weekend-worthy project that adds real visual structure to your outdoor space. An underdeck installation is another option worth considering if your home has a deck above the patio area.
4. Customize with Outdoor Kitchen Add-Ons
Once your island and cover are in place, the fun part begins. Think about which add-ons best match your cooking style and how you like to entertain. Popular upgrades include:
- Pizza oven for wood-fired cooking
- Smoker for low-and-slow BBQ
- Griddle or rotisserie for versatile everyday cooking
- Dining and seating area to keep guests close
- Outdoor TV and sound system for game days and entertaining
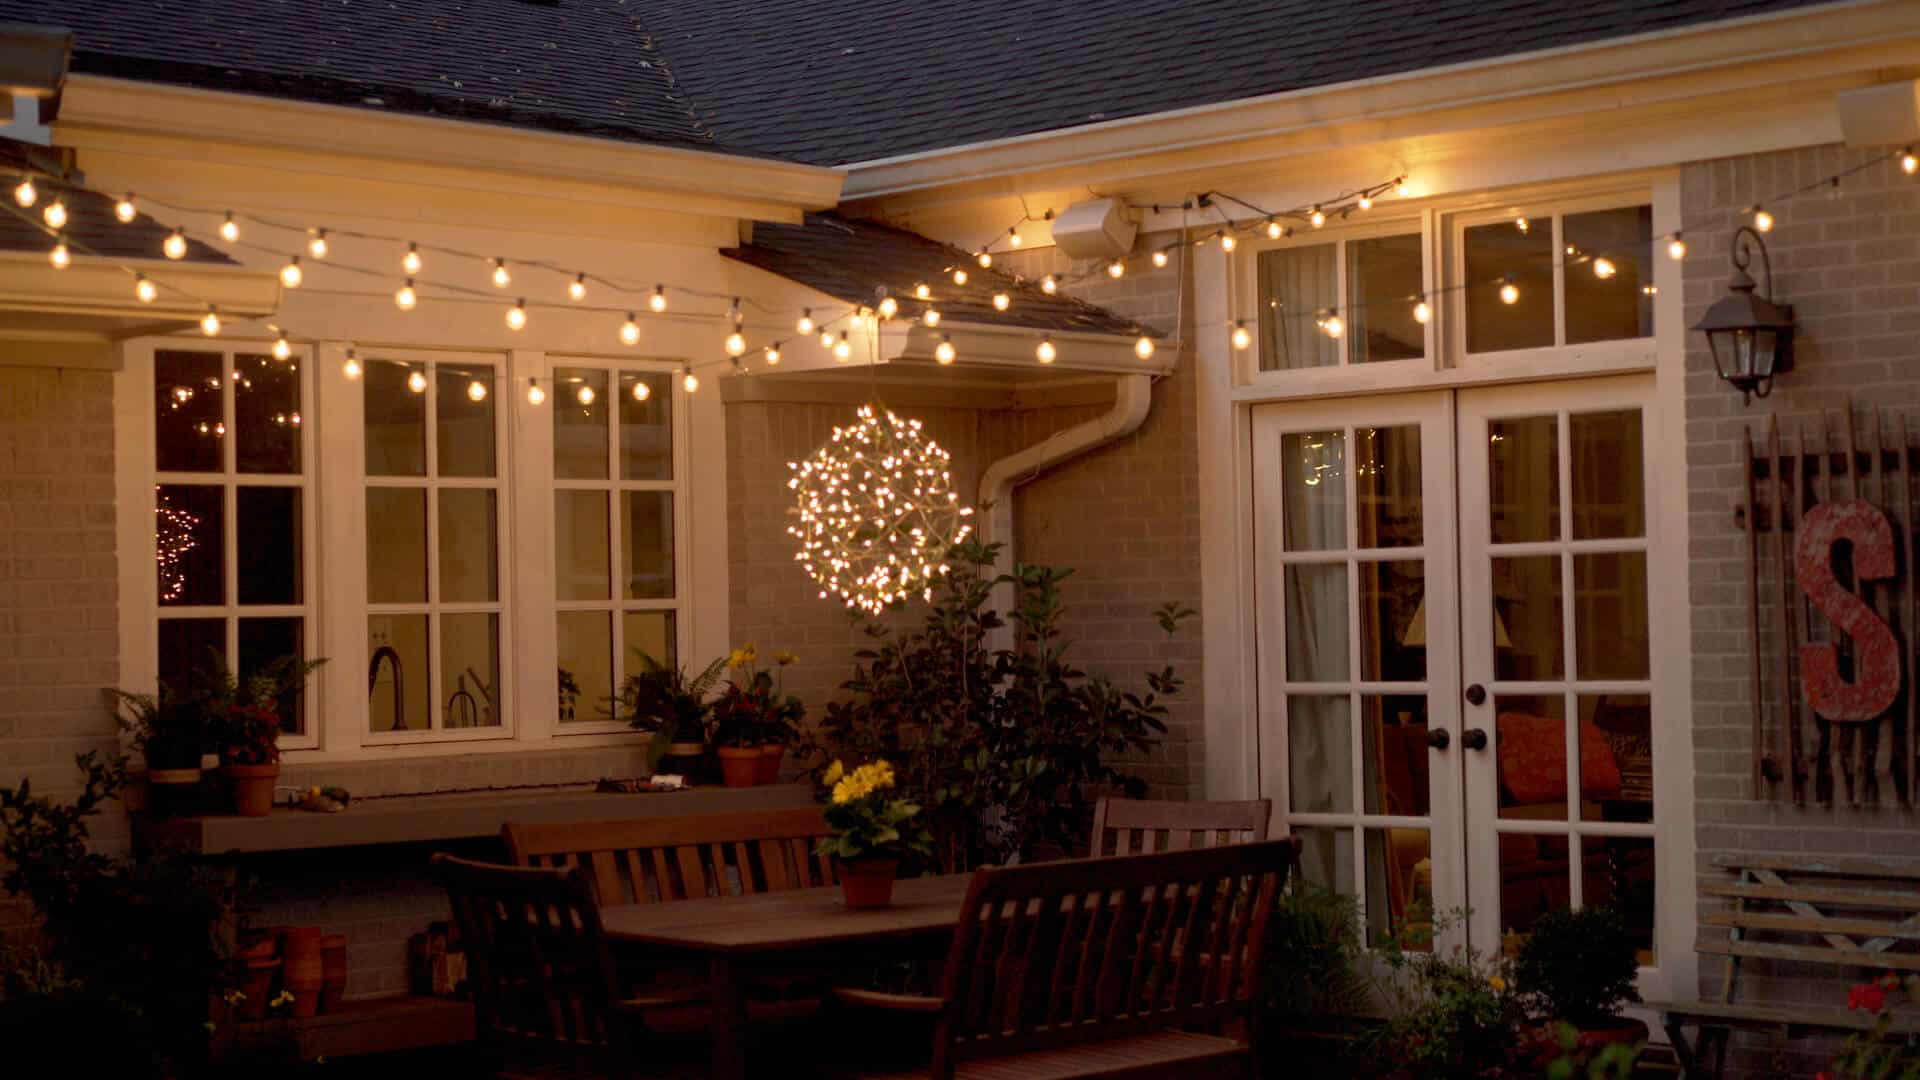
- Lighting and landscaping to set the mood and extend usability into the evening
Start with the add-ons that’ll get the most use, then layer in the extras over time.
Once you review these simple DIY outdoor kitchen ideas and form your plan, it’s time to get started making it a reality. By doing so, you’ll be able to enjoy cooking outdoors all year long!
Frequently Asked Questions About DIY Outdoor Kitchens
The most important first step is choosing the right location. Before designing anything, confirm access to:
- Gas lines
- Water hookups
- Electrical outlets
Installing utilities after construction can significantly increase costs. Planning around existing connections helps streamline your build and budget.
Outdoor kitchens can be customized with features such as:
- Pizza ovens
- Smokers
- Griddles or rotisseries
- Outdoor refrigerators
- Dining and seating areas
- Outdoor TVs and sound systems
- Landscape lighting
Start with essentials and add upgrades over time as your needs evolve.


