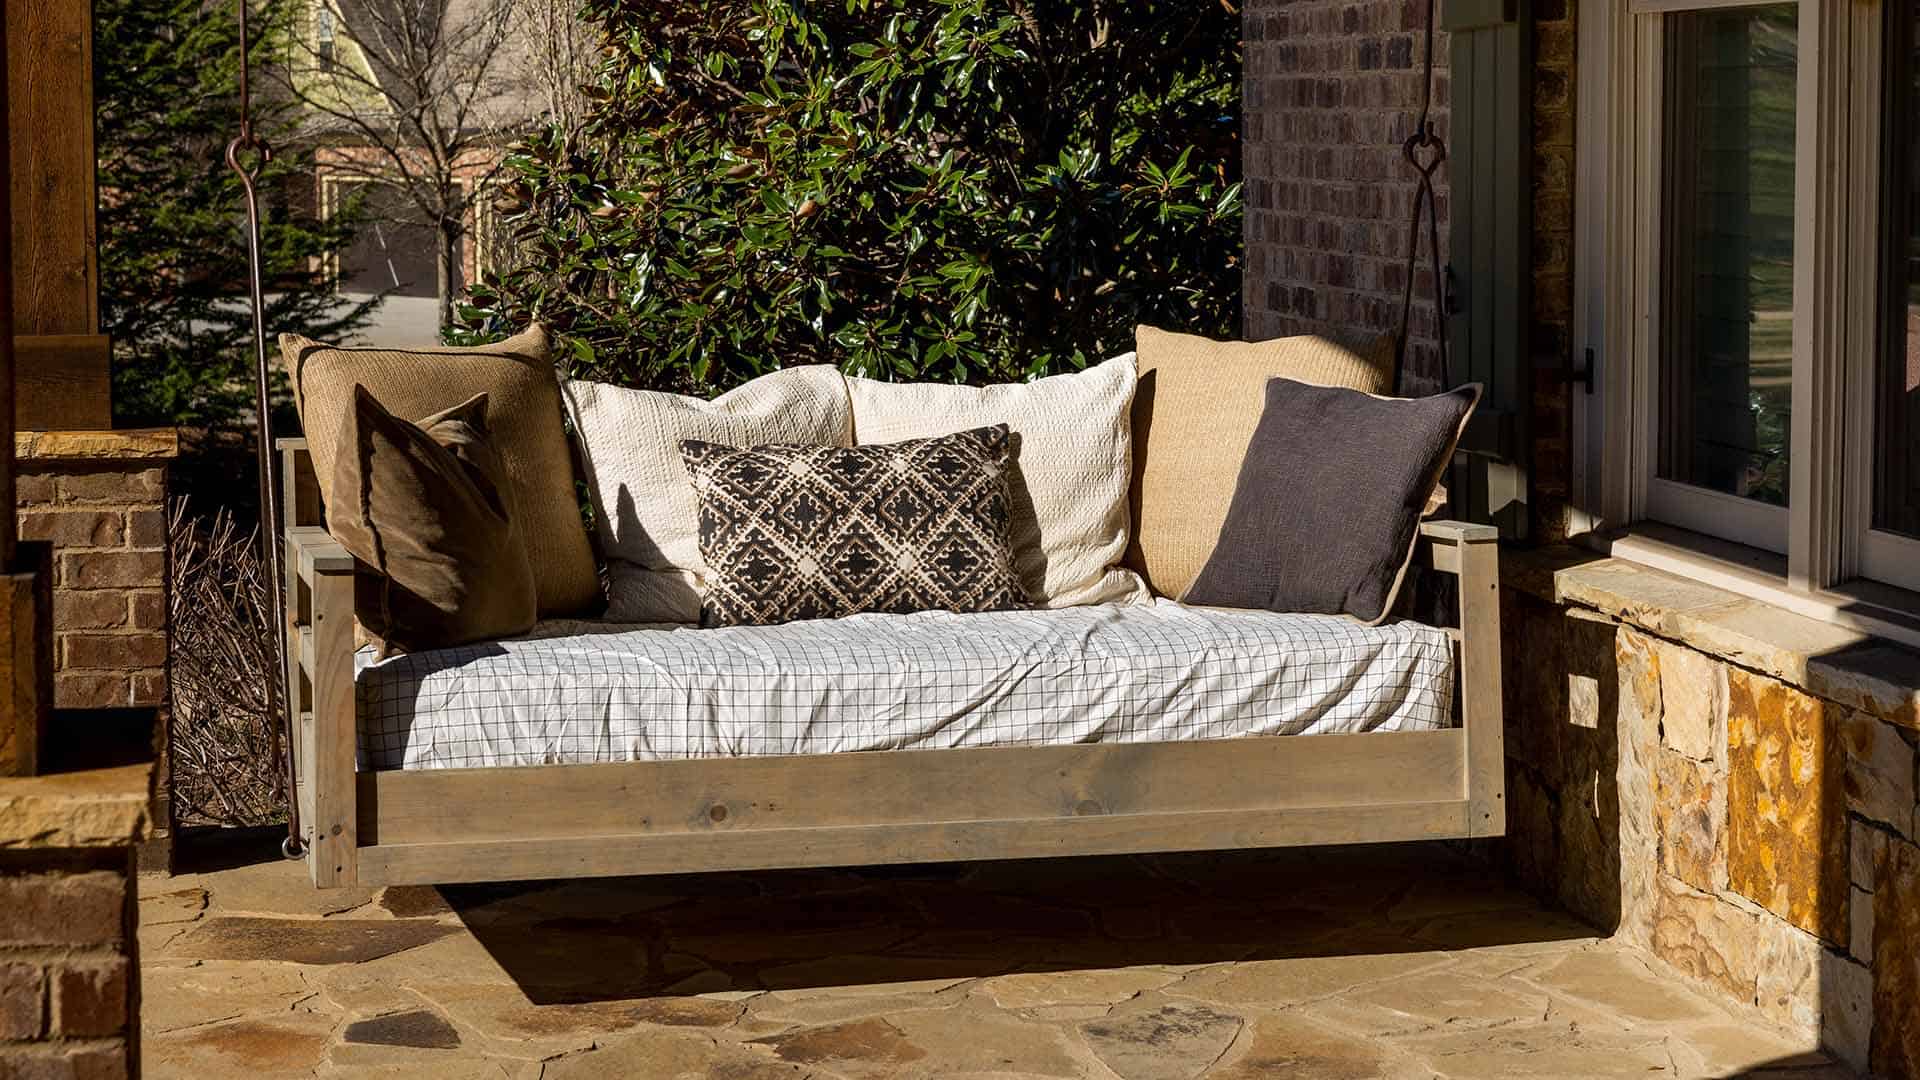
Sure, the backyard is a great place for running around, exercising, and getting some hard work done—but it’s also a great place to rewind, relax, and enjoy the simple things in life. So, get a step up on your relaxation this summer and join landscape designer and host Doug Scott in this Done-In-A-Weekend Projects episode with this DIY bed swing build.
Daybed Tool List
- Miter saw
- Air compressor with pneumatic nail gun and 1.5 in. brad nails or hammer and 1.5 in. finishing nails
- Drill/Driver
- 2 in. wood screws/Drill bits
- Wood glue
- Tape measure
- Marking pencil
- Eye and ear protection
Cut List
Base
(2) 1 in. x 8 in. x 77 in. Pine Boards
(2) 1 in. x 8 in. x 39 in. Pine Boards
(2) 2 in. x 4 in. x 39 in. Pine Boards
(2) 2 in. x 3 in. x 72½ in. Pine Boards
(8) 1 in. x 6 in. x 39 in. Pine Boards
Corners
(4) 1 in. x 3 in. x 26⅜ in. Pine Boards
(4) 1 in. x 3 in. x 20 in. Pine Boards
Armrests
(4) 1 in. x 3 in. x 39¾ in. Pine Boards
Back
(3) 1 in. x 3 in. x 77 in. Pine Boards
Top of Armrests
(2) 1 in. x 3 in. x 41⅝ in. Pine Boards
Bottom Trim
(2) 1 in. x 3 in. x 73½ in. Pine Boards
(2) 1 in. x 3 in. x 35½ in. Pine Boards
Backboard
(1) 1 in. x 4 in. x 79½ in. Pine Board
(1) 1 in. x 3 in. x 23⅞ in. Pine Board
Steps To Building Your DIY Bed Swing
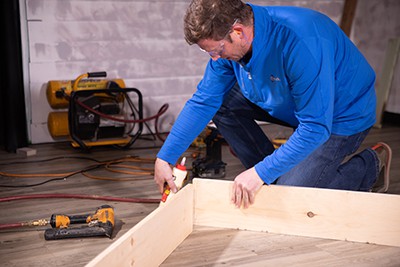
- Affix the two 1 in. x 8 in. x 77 in. front and back boards and two 1 in. x 8 in. x 39 in. side boards together using wood glue and 2 in. wood screws.
- Glue and nail the two 2 in. x 4 in. x 39 in. boards to the inside of the two 1 in. x 8 in. x 39 in. boards, making sure the bottoms are flush. Repeat with the two 2 in. x 3 in. x 72½ in. boards, on the inside of the box, but instead making sure their tops are flush with the tops of the two 2 in. x 4 in. x 39 in. boards.
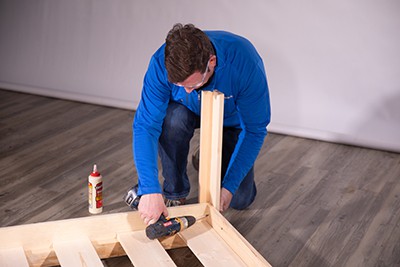
- Take the eight 1 in. x 6 in. x 39 in. boards and nail them into the top of the two 2 in. x 3 in. x 72½ in. boards, spacing them out 4½ in. apart and making sure the outermost boards are flush with the sides of the box.
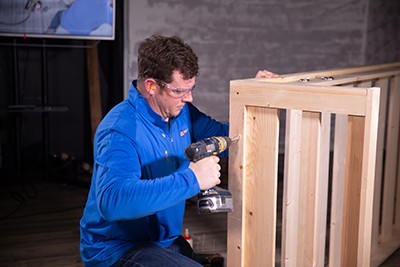
- Take the four 1 in. x 3 in. x 26⅜ in. corner boards and place them together in pairs to form an “L” shape. Use glue and 2 in. wood screws to join together. Repeat this same step using the four 1 in. x 3 in. x 20 in. corner boards.
- Take the four corners and join them to the corners of the base of the bed with 2 in. wood screws and glue, with the taller boards in the back and the shorter ones in the front.
- Glue and nail the three 1 in. x 3 in. x 77 in. boards between the two back posts, with the top board aligned with the tops of the corners, and the bottom board 3¾ in. from the base of the daybed. This middle board should also be spaced 3¾ in. from the top and bottom boards.
- Repeat this same process for the daybed arms, using two of the 1 in. x 3 in. x 39¾ in. boards on either side. The top board should align with the top of the front corner post, and the one below should be spaced by 3¾ in. Make sure to join all boards with nails and glue.
- Cut a 2 ½ in. x ¾ in. notch out of the corner of each of the two 1 in. x 3 in. x 41⅝ in. boards. Then, take these boards and place them flush on top of each arm, with the notch flush with each of the back corners. Use nails and wood glue to affix into place.
- Take the two 1 in. x 3 in. x 73½ and two 1 in. x 3 in. x 35½ in. boards for the bottom trim and add one to each side of the daybed, making sure the bottom edges are flush with the bottom of it, and using nails and wood glue to affix together.
- Take the one 1 in. x 4 in. x 79½ in. board and nail it to the top of the back, with a ½ in. overhang on each end, and nail the one 1 in. x 3 in. x 23⅞ in. board vertically to the middle of the back.
- Finally, drill holes using a ¼ in. drill bit to the two bottom corners of both armrests, and twist in all four eye screws.
There you have it! Once your DIY porch swing is built, all that’s left to do is find the perfect place to hang it. So, get outside and get building. You’ll be kicking your feet up and enjoying the long hours of summer sun in no time!