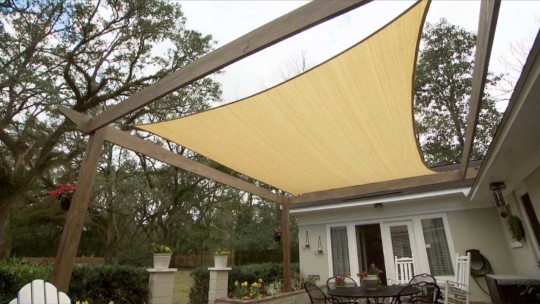
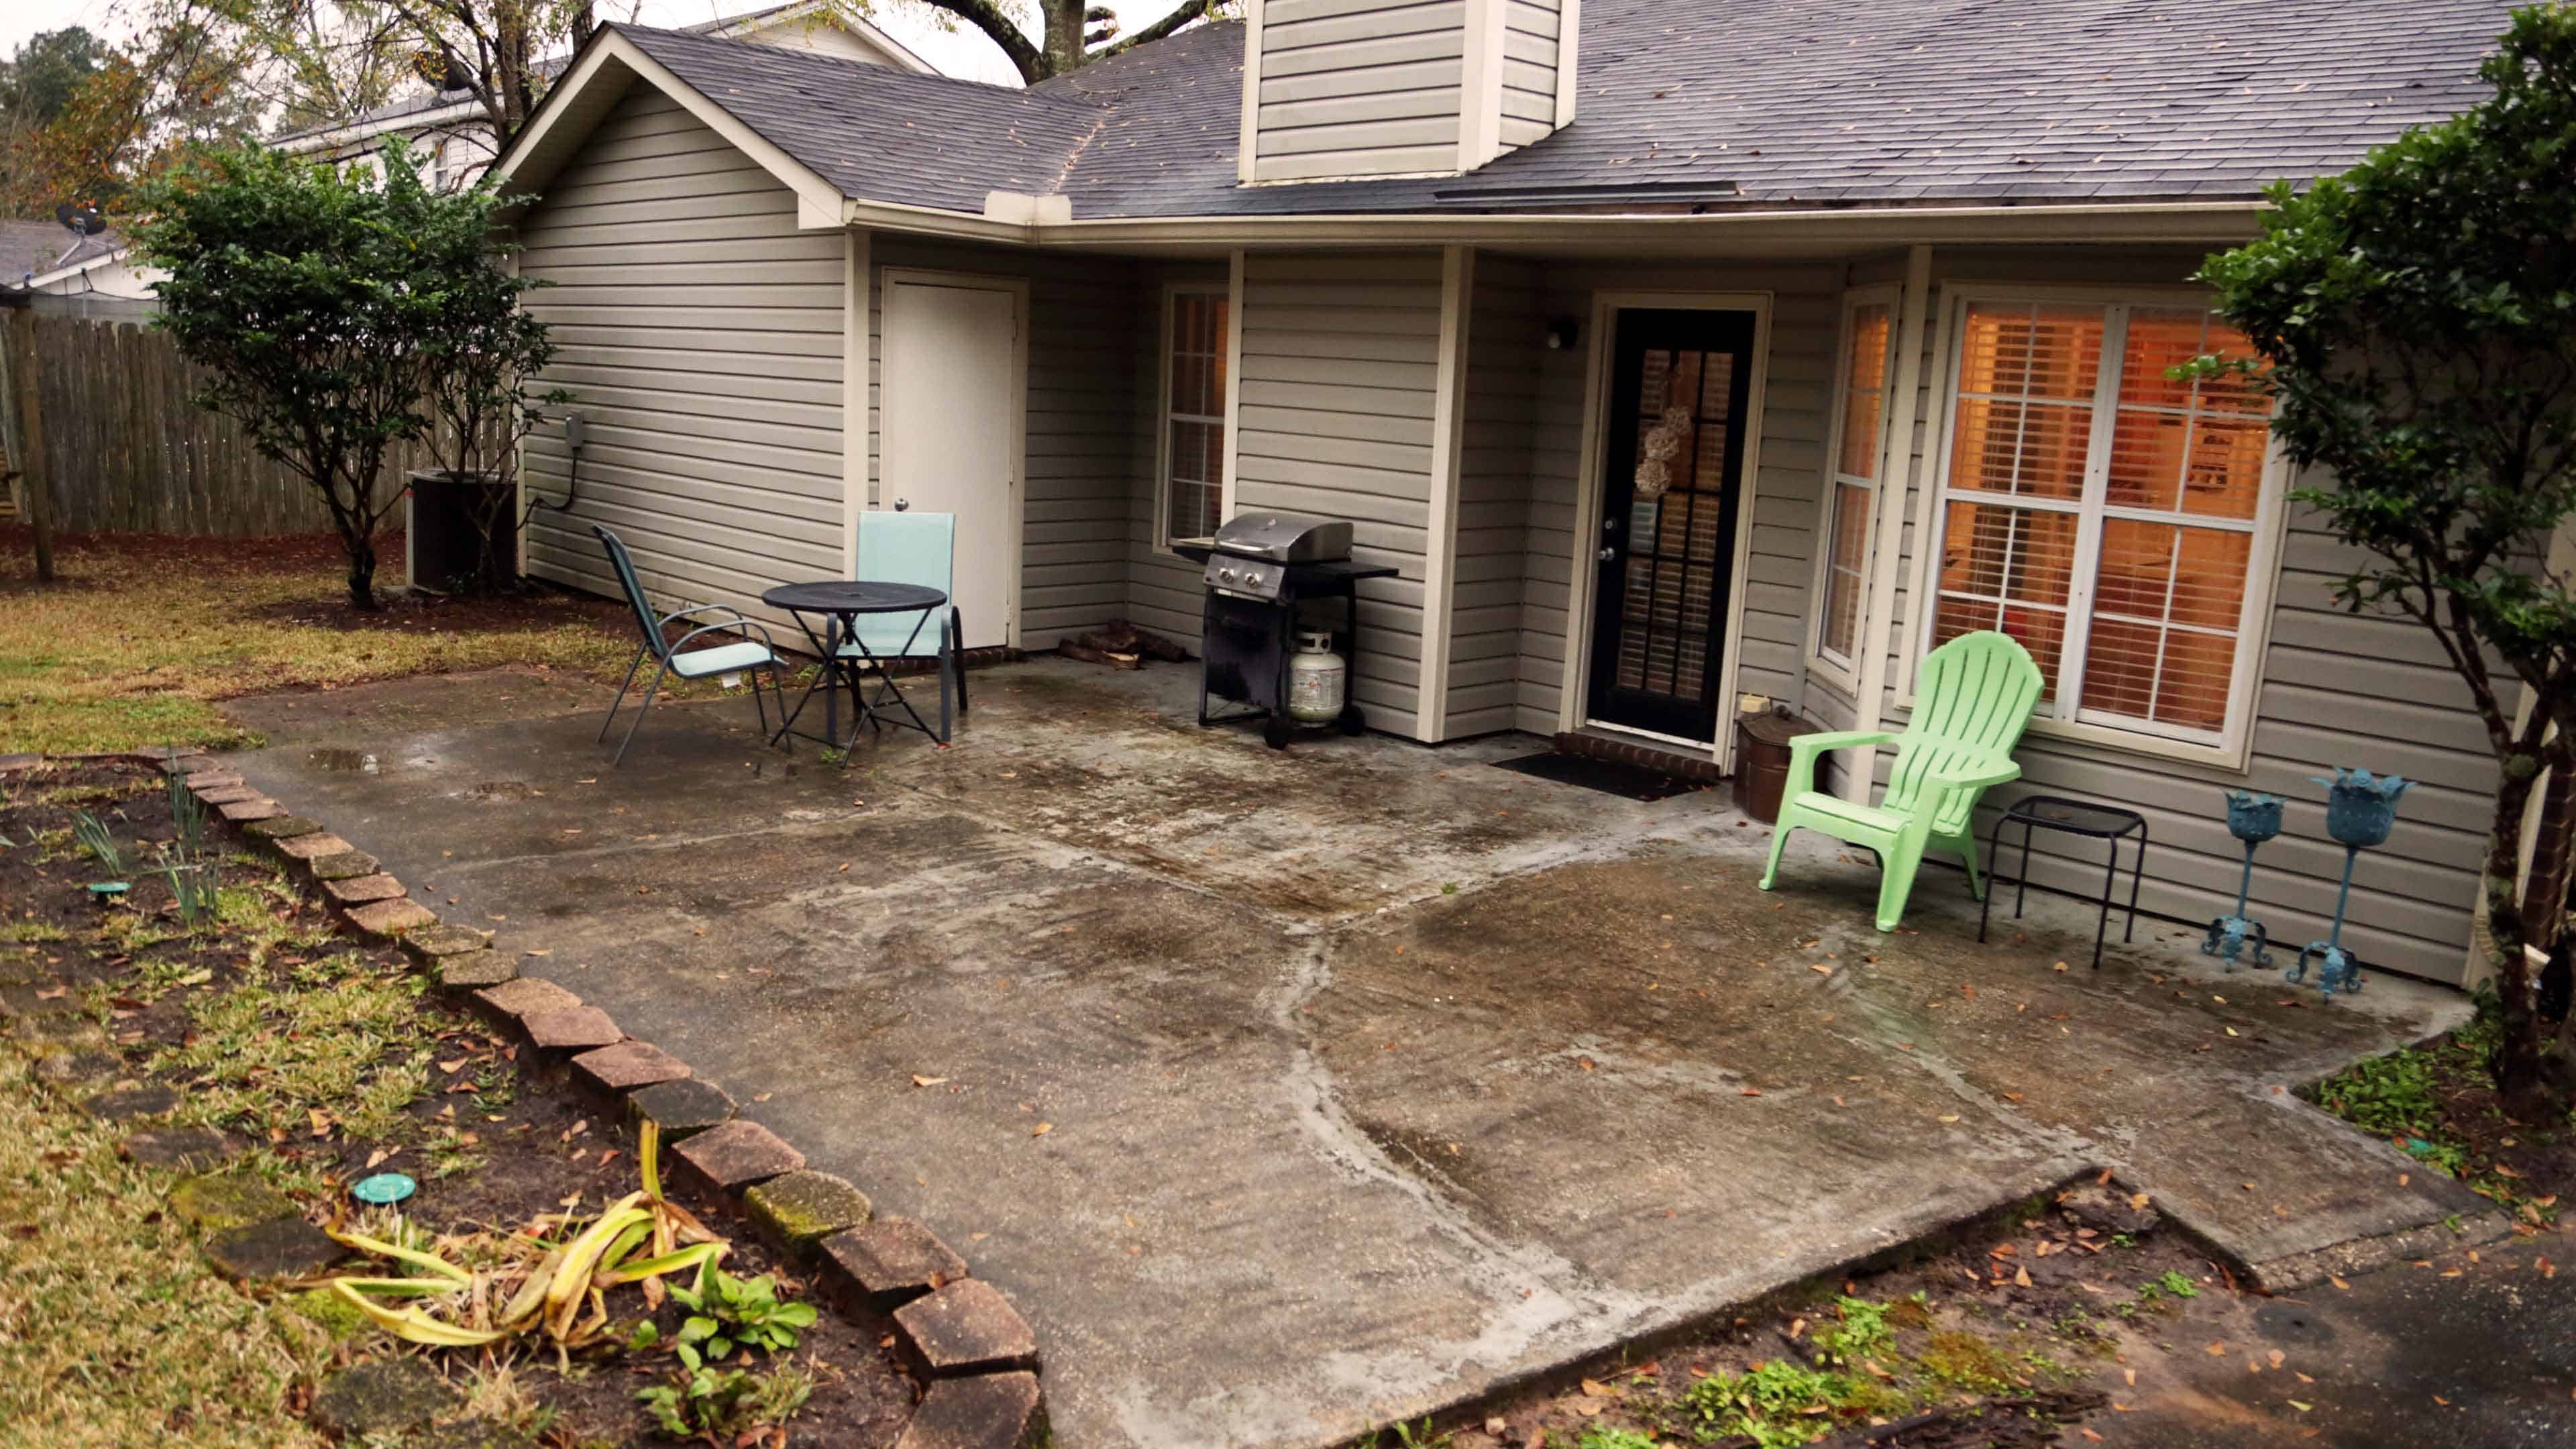
Nothing beats lounging outdoors, breathing fresh air and enjoying your natural surroundings. But, a sunny day without overhead protection can quickly spoil that plan. So, Today’s Homeowner, Danny Lipford explains how to install an outdoor canopy that will cost-effectively and easily transform most any tired patio.
Canopy Features and Benefits
Whether your home has an uncovered patio or just a simple overhang, outfitting it with an outdoor canopy will provide exterior definition and shade. It also will help reduce interior solar heat gain, in the process.
Outdoor canopies come in a variety of shapes, sizes and materials. Styling options run the gamut from open to enclosed, and ornate to simple. And, supports are available in aluminum, steel or wood.

Store-bought canopy prices range from a few hundred to a few thousand dollars. However, you don’t have to spend nearly that much. If you’re simply seeking UV protection, a polyester, polyethylene, or vinyl shade sail will only set you back around $50. And, you can install it just as inexpensively, too. As a bonus, your canopy posts can also double as unique and useful container gardens!
Canopy Installation Steps
Step 1: Check your local building codes and homeowners association bylaws for requirements or permits you may need to obtain.
Step 2: Consider your outdoor area and the kind of covering best suited for it. Factor in the material’s durability and UV protection—as well as its water and fire resistance—to ensure it matches your home and surrounding areas.
Step 3: Determine the type, and number, of supports your canopy will need. The most commonly used supports are aluminum, steel, or wood (used in this build). Whatever you choose to use, each can be utilized in three- and four-sided install configurations.

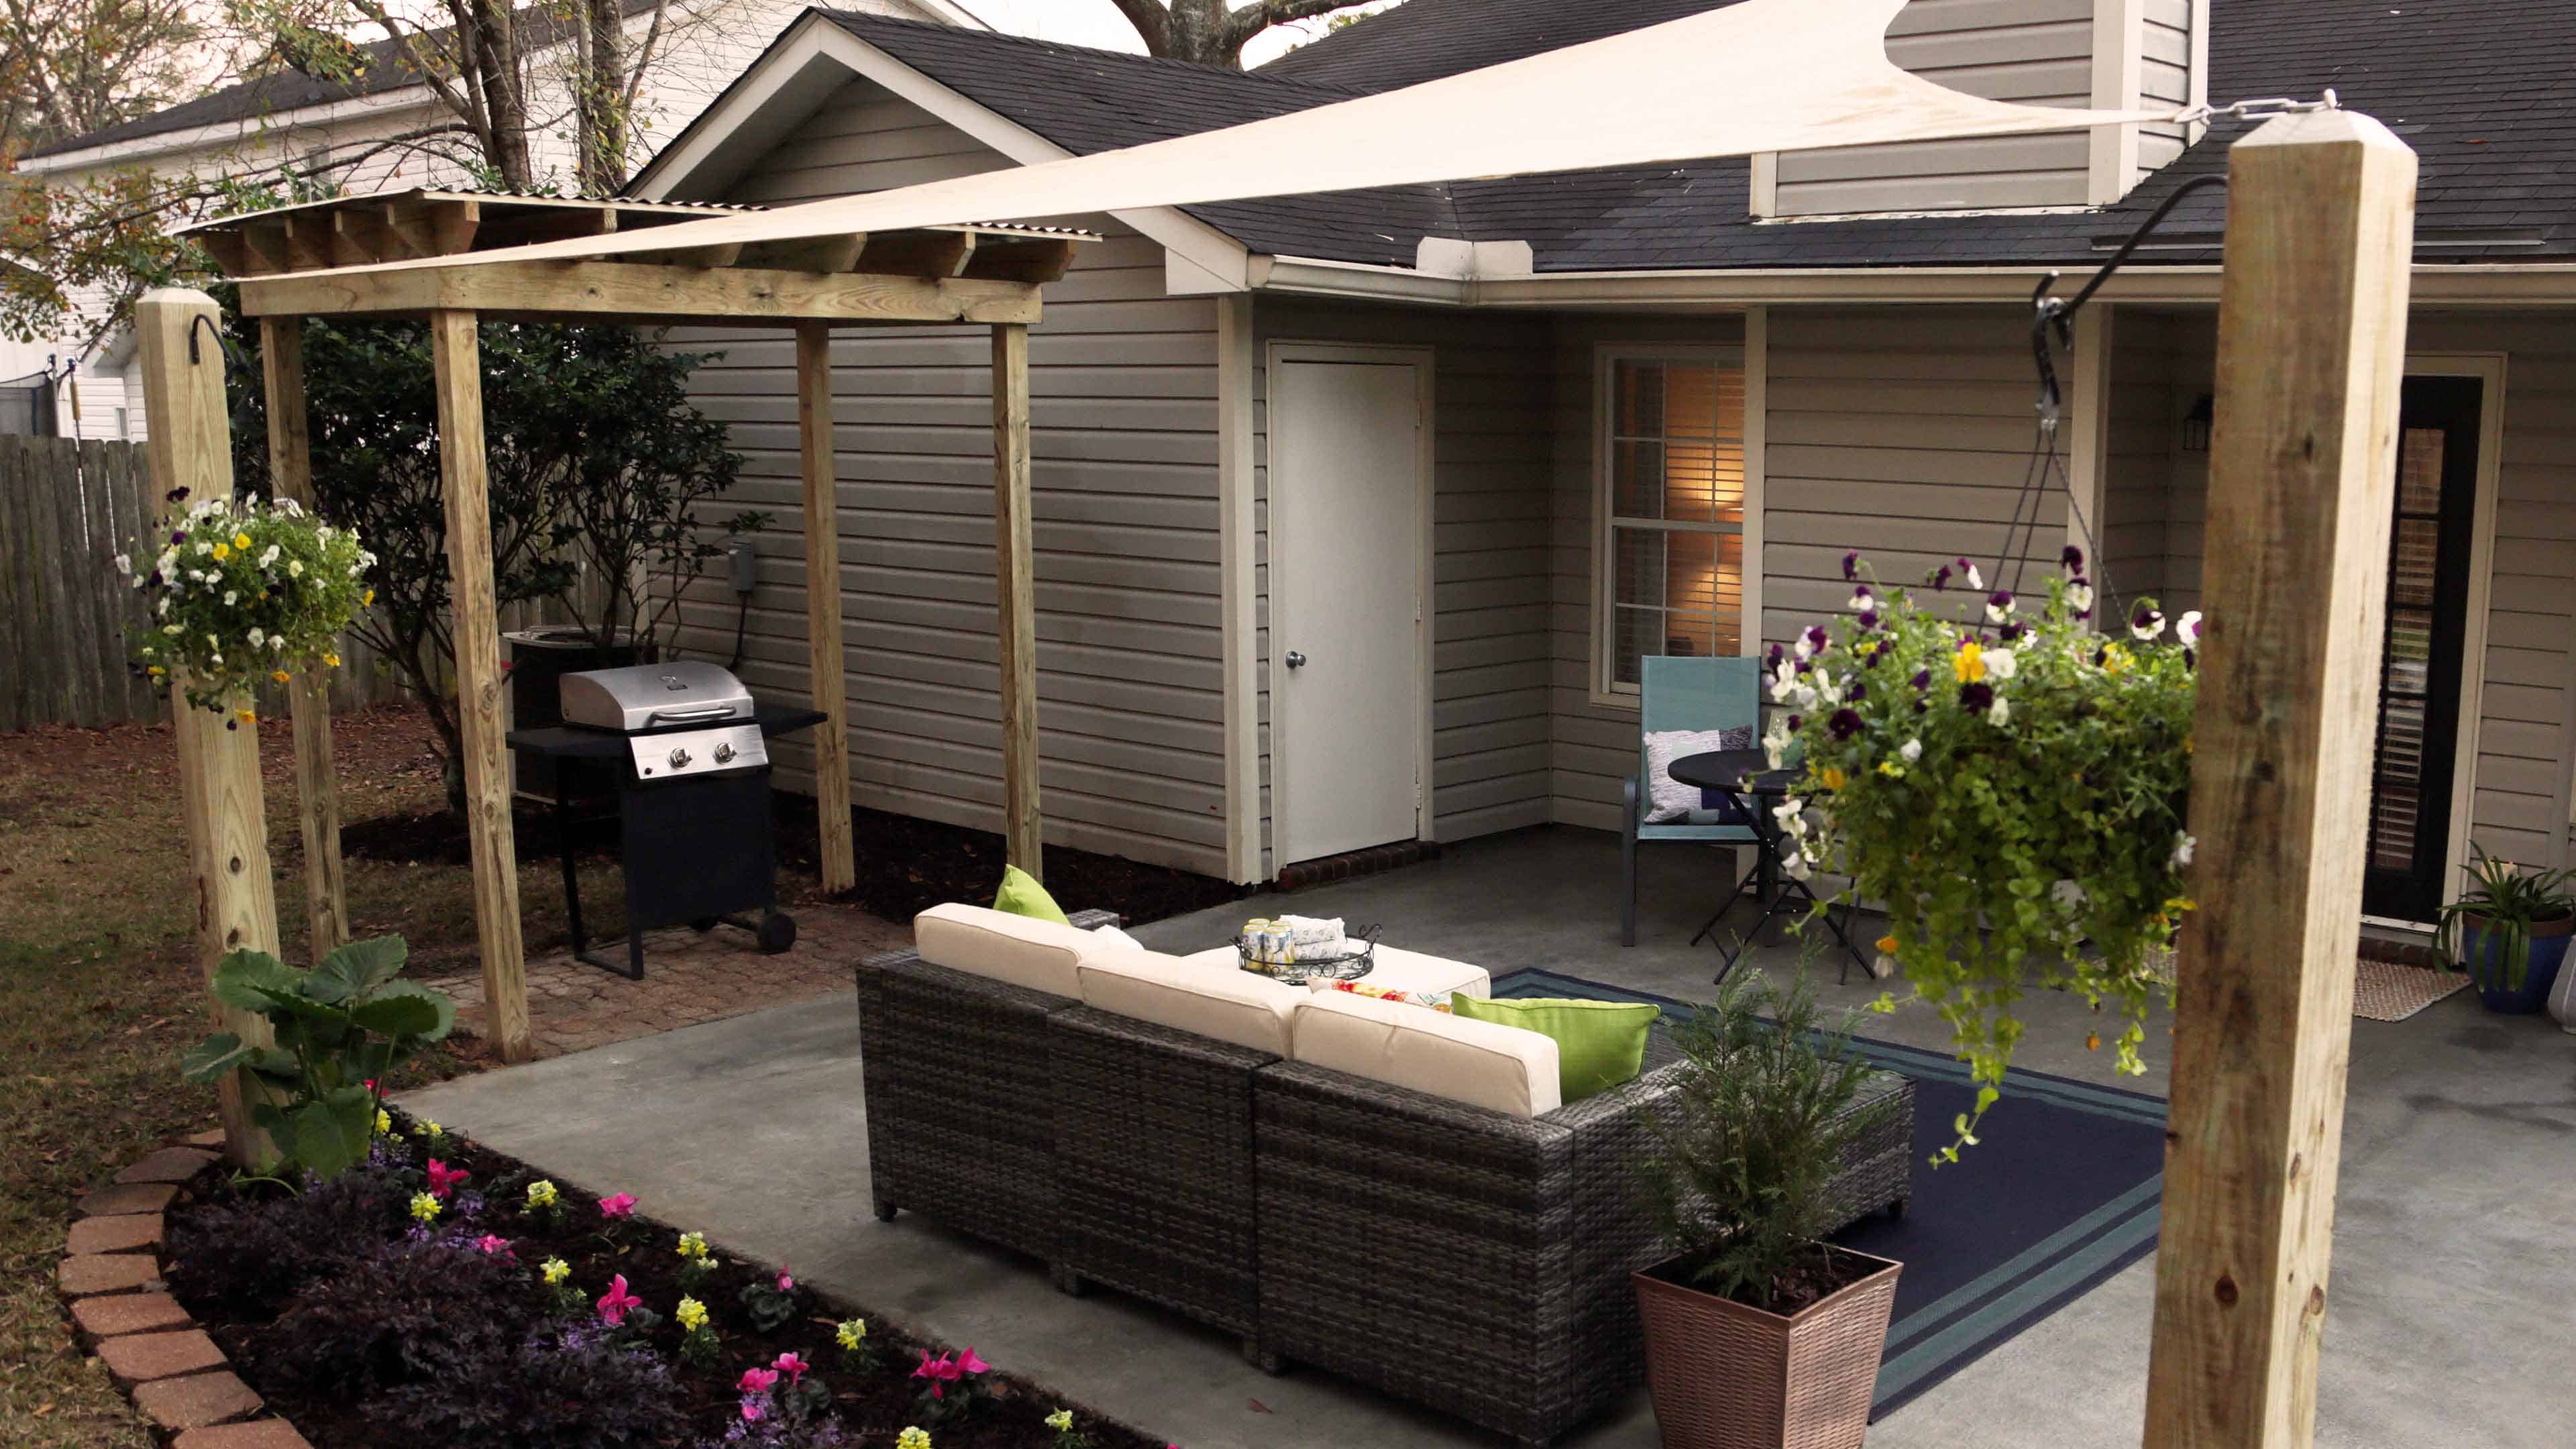
Step 4: Installing an outdoor canopy is relatively easy, especially if you have a chimney, like Danny is using. Or, reinforced fascia boards also can serve as a ready-made—and super-secure—anchor point. Installing a three-sided canopy in this manner will only require a sailcloth and two 4×4 posts cut to your desired length and using the chimney or fascia as the third support), and mounting hardware. If you don’t have a chimney or reinforced fascia, a four-sided, standalone shade sail can be installed with four 4×4 posts. Again, cut them to your desired length.
Whatever support configuration you choose, post holes should be dug deep enough so that one-third of the post length is in the ground and the remaining two-thirds is above ground. And, make sure the height provides all the head room you need. As a general rule, three- to six-foot-deep holes should provide ample support.
When positioning your holes, ensure that your posts are just far enough apart to create a bit of tension on the shade sail. Once positioned and dug, pour a mix of quick-setting concrete and water (per the manufacturer’s directions) into the holes. Then, use a level to ensure each post is plumb.
Step 5: Secure the shade sail. Once your concrete has firmly set, install an exterior-grade, shoulder-style eyebolt a few inches below the top of each post in one of two ways: Drilled through the entire post width and secured with a nut and washer; or, drilled into the top of the post, like Danny did. The latter will allow you to attach a hook for a hanging flower-pot a few inches below the top.
Once your eyebolts have been installed, attach a turnbuckle (connected to a chain cut long enough to reach your shade grommets) to each. This will ensure that your canopy is always taut, and looks its best.
If using your chimney as the third support like Danny is, drill masonry screws through a 3 1/2-inch diamond pad eye into it. If you’re using fascia as the third support, drill a shoulder-style eye bolt into it, remove soffit near the project area, and attach a fascia bracket into a rafter to reinforce the surface. Finally, attach chain from the shade sail’s remaining grommet and secure the other length of chain to the eye bolt on either your chimney or reinforced fascia.
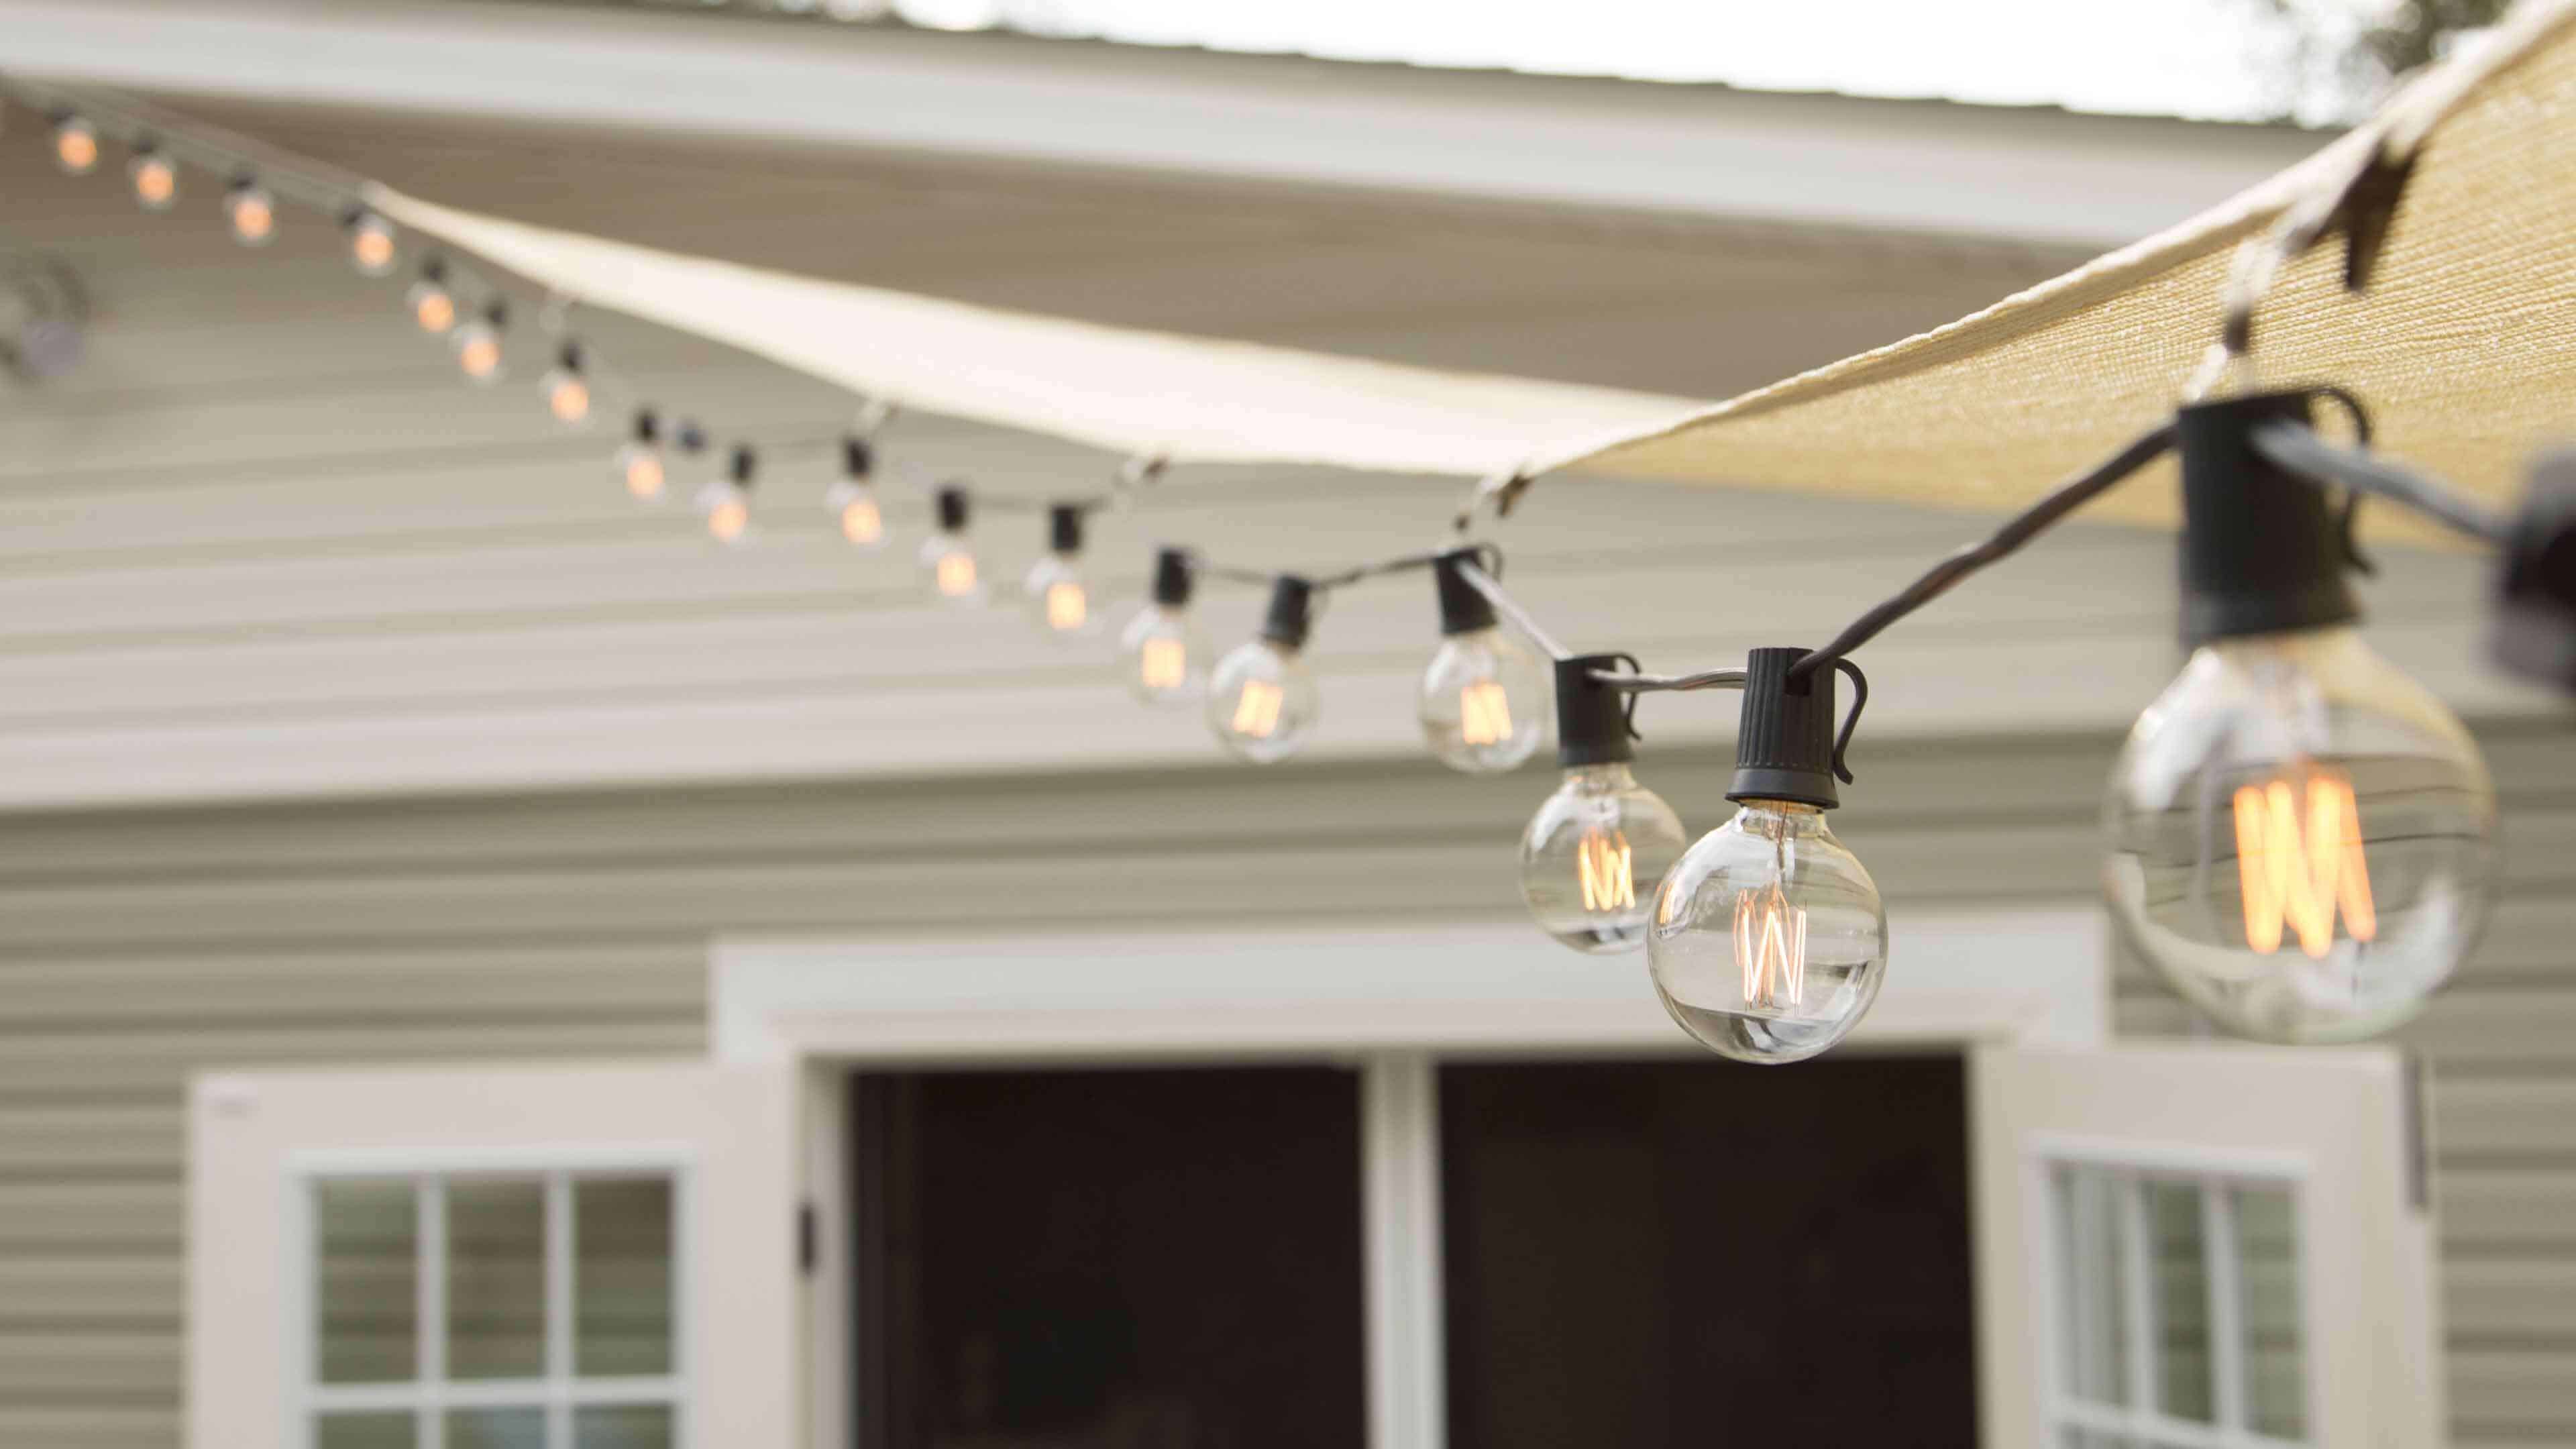
Once fully installed, consider adding string lights along the shade sail’s outer perimeter for some added ambiance.
Additional Project Considerations
While outdoor canopies provide visual interest and shade, taking the proper precautions to ensure yours is built to last will pay lasting dividends.
For instance, use framing and hardware that can support the shade sail’s maximum wind-load requirements. Every home and location’s needs are different, so always read the sailcloth and mounting equipment’s directions for a successful installation.
Finally, while great on sunny days, shade sails aren’t so great on snowy ones. So, always remove them during severe weather to avoid possible damage from snow buildup.
Want to see more of this project? Read: “From Plain Patio to Relaxing Retreat.”