People often want to hatch their own chicks, but can be intimidated into buying them from the store because the entire incubation process seems a bit complicated at the start. That’s why homesteader Daniel Arms is here to give you the rundown on how to incubate chicken eggs and show you just how easy it really is. With his help, you’ll have your own flock thriving in no time.
Picking Your Egg Incubator
Daniel says that the main benefit of hatching your own eggs is variety: you can hatch even more breeds than you would typically be able to when shopping local. Likewise, incubators come in many shapes and sizes, and you can wind up spending a lot of money on one—but you really don’t need to. Daniel used to incubate chicken eggs and sell chicks as a side-hustle, but has since scaled down his operations. Now, he uses incubators that run on the cheap—only about $50 to $100.
When selecting your incubator, Daniel says to make sure that it comes with a basic heater, fan, and egg turner. Eggs must be turned 3 to 5 times a day, and having an egg turner means you don’t have to open the incubator up multiple times—which can damage the eggs, as you want to maintain a constant temperature and humidity. Plus, with an egg turner, there’s no way you can forget to turn them over.

Chicken Egg Incubation Time
Chicken eggs typically have an incubation period of 21 days. However, there are several things to do while you’re waiting for them to hatch. If your incubator allows your eggs to stand on-end, make sure the pointed end is down. This keeps the air bubble in the egg correctly oriented. They can develop just as well if they lay horizontally—as long as the eggs are still rolled, and you follow these steps:
- Days 1-18: For the first 18 days, you need to keep the temperature at about 100.5º F. You’ll want the humidity in the 50-55% range. Most incubators have digital readouts, but you can buy a separate digital thermometer and hydrometer to make sure your incubator is in the proper range. To maintain the desired humidity levels, Daniel suggests that you add water to your incubator every 2 to 4 days.
- Days 7-10: Between the 7th and 10th days, you’ll to want to “candle” your eggs. This means taking a flashlight and shining it into the egg, so you can see the silhouette of the embryonic fluid. If things are progressing properly, you’ll be able to see veins and a small embryo forming—signs that the egg is fertile. Don’t incubate chicken eggs that are clear on the inside! A clear egg is infertile and will explode, leaving you with an unfortunate stench.
- Day 18: Once you reach day 18, remove (or turn off) the egg turner, lay the eggs flat, and raise humidity levels to 75-80%. Also, candle again to check on the progress of your eggs. You might lose some chicks in the process, which is completely—and unfortunately—normal. At this point, the egg should be completely dark as the chick starts to fully develop. If there’s a lot of air space, that’s cause for concern.
- Days 18-21: Don’t touch the eggs and let them lay still. You’ll also start to see the chicks “pip.” Pipping is the process where they use their beaks to break free of the shell. The chick will stay with its beak poking out of the shell for a few hours (or up to a full day). Daniel stresses that you should NOT attempt to help the chicks out of the eggs. Pipping is a natural part of the hatching process. At this time, they’re absorbing the egg yolk for sustenance.
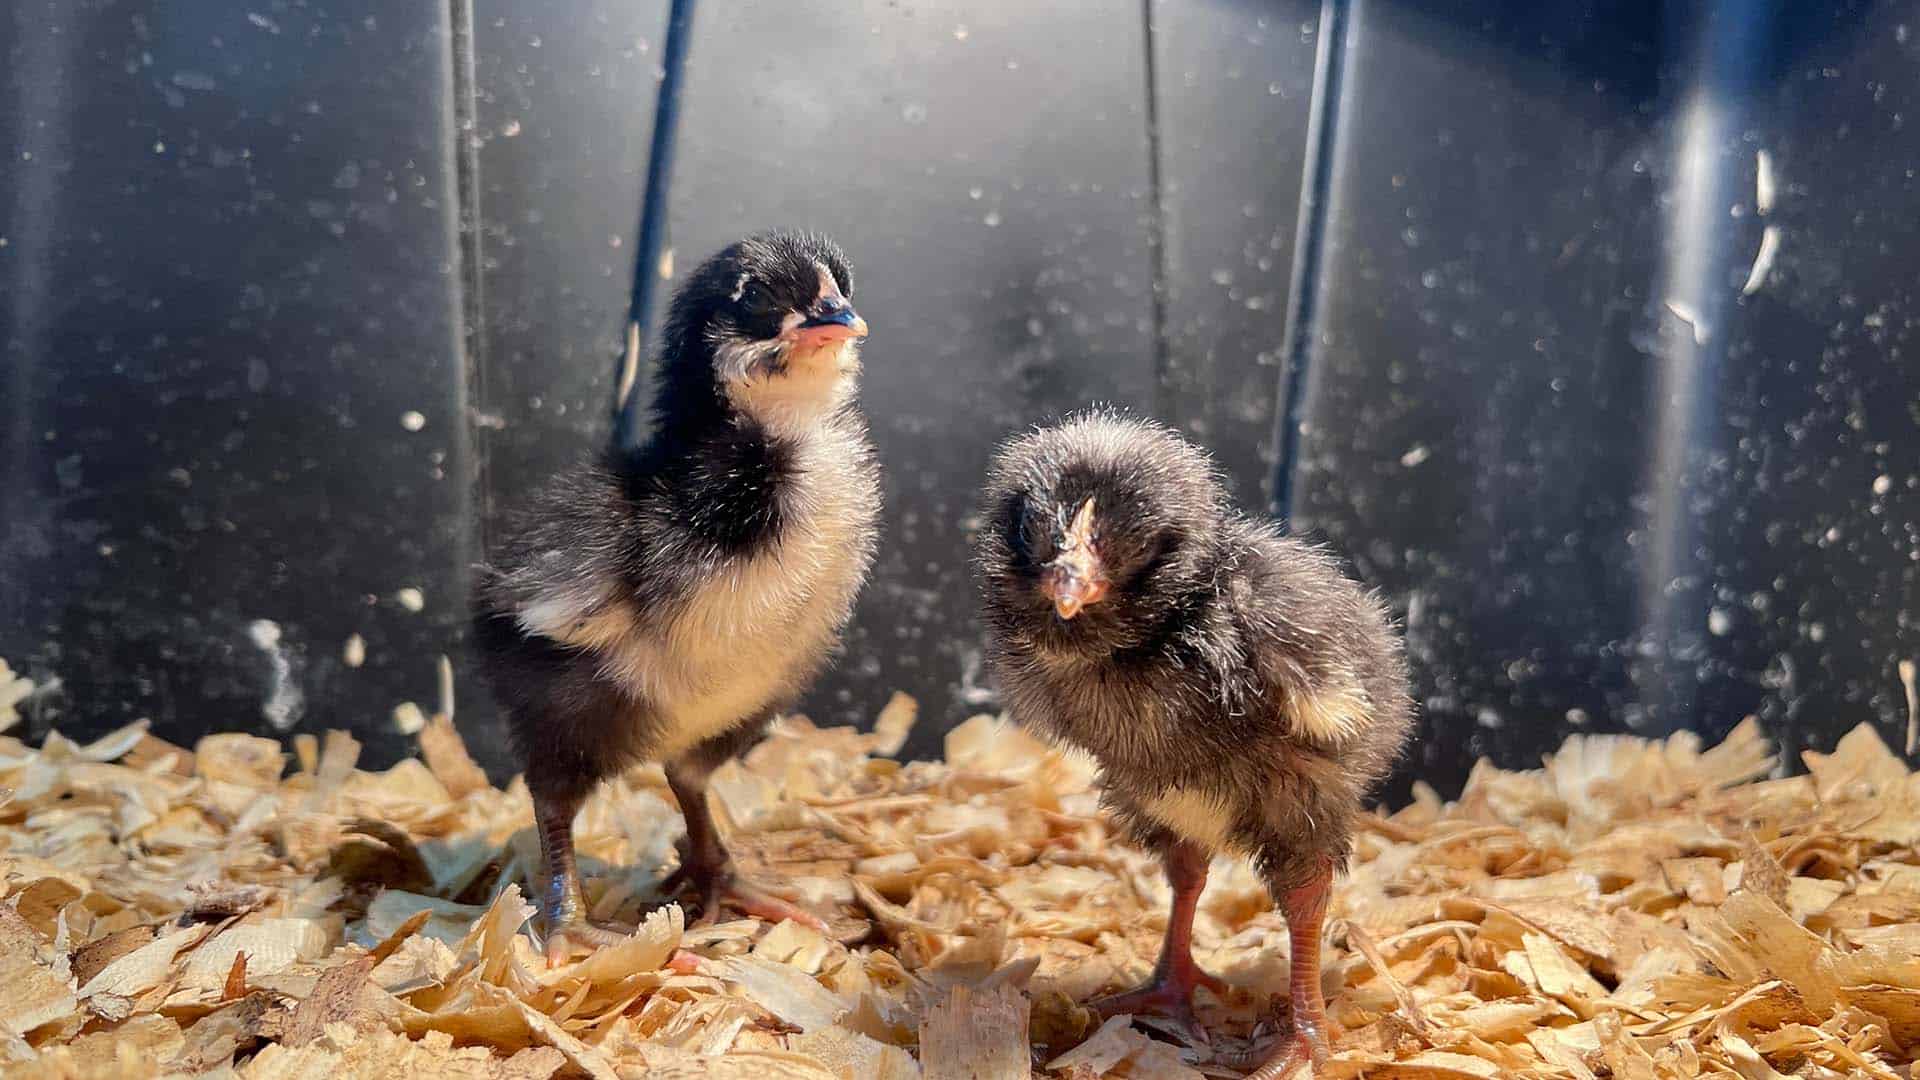
- After Day 21: After the 21-day period, some chicks may not have pipped or hatched yet, which is normal. It can take up to 23 days for some chicks to hatch. Daniel says to not be in a rush to open the incubator once a few have hatched. You need to give the chicks time to dry off. Plus, they can survive up to 36 hours without food or water due to the yolk they’ve absorbed. Once the chicks are all fluffy and dry, it’s time to move them to your brooder.
Building Your Brooder
You only need a few things to build your brooder: a large tub, heat lamp, feeder, water source, and wood shavings (or bedding of your choice). For the heat lamp, Daniel says that you want the temperature to stay around 90-95º. And, it’s important to give the chicks space to cool down when they get too hot, so you only want it lighting half the tub.
When first introducing the chicks to the brooder, take their beaks and dip them in the water to teach them where it is. After about 2 weeks, start to decrease the temperature. It takes 4 to 6 weeks for the chicks to be fully feathered. Also, Daniel says to keep chicks that are the same age and size together. There is a literal “pecking” order, and smaller chicks might be bullied—and killed—by larger ones.
Now that you know how to hatch your own chicks, what are you waiting for? Time to grab some eggs, an incubator, other necessary materials, and incubate those chicken eggs to fill out your coop!