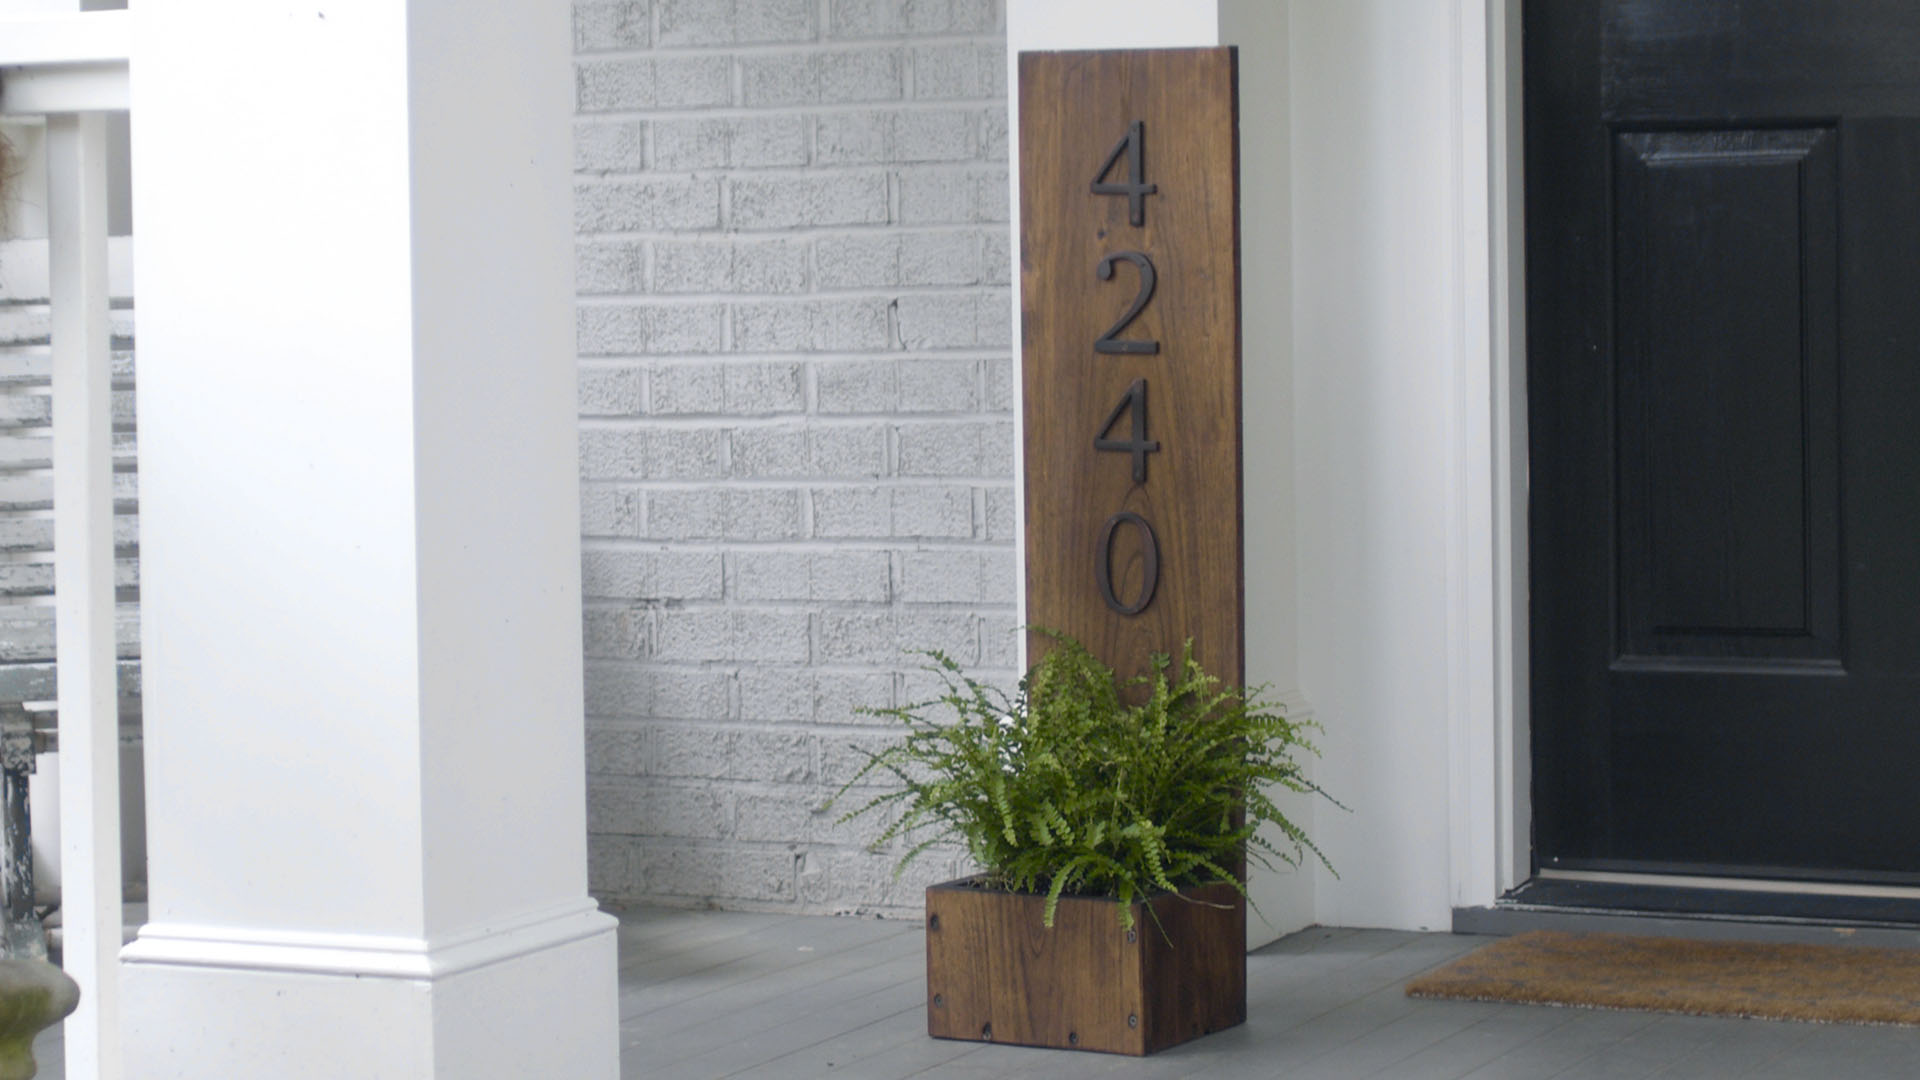
Build a House Number Planter Box This Weekend
You can change a lot about your house—but the one thing that’ll always stay the same is your house number. This address planter box project gives your home a fresh look, letting you display your house number while adding some floral flair. And, it gives your mailperson something beautiful to look out for during their daily route. So, follow along and give your house number a fresh, new look with your own DIY house number planter in this Done-In-A-Weekend Projects episode.
Tools
- Miter saw
- Drill
- Tape Measure
- Eye and ear protection
Materials
- 1 in. x 10 in. x 6 ft. cedar board
- 2 in. trim head screws
- Wood sealer
- Wood stain
- Cast iron numbers, according to your street address
Cut List
- Take the 1 in. x 10 in. x 6 ft. cedar board and make the following cuts:
- (1) 1 in. x 5 ¾ in. x 9 ¼ in. front panel
- (2) 1 in. x 5 ¾ in. x 7 in. side panel
- (1) 1 in. x 7 in. x 7 ¾ in. bottom panel
- (1) 1 in. x 9 ¼ in. x 37 ½ in. back panel
House Number Planter Build Steps
- Take the 1 in. x 5 ¾ in. x 9 ¼ in. front panel and one 1 in. x 5 ¾ in. x 7 in. side panel and line them up so that they form a 90° angle. Pre-drill a hole through the front panel and secure the two pieces together with 2 in. screws.
- Take the other side panel and repeat step 1 on the other end of the front panel, forming a U-shaped assembly.
- Lay the partial planter box build on its side, so that the U-shape is parallel with the ground.
- Take the 1 in. x 7 in. x 7 ¾ in. bottom panel and slide it into the U-shaped assembly, making sure the panel is lined up and even with the edges of the front and side panels.
- Pre-drill holes through the front and side panels. Screw and secure the bottom panel to the rest of the assembly. You will now have a partial cube with an open side and top.
- Take the 1 in. x 9 ¼ in. x 37 ½ in. back panel and lay it across the planter box assembly. Make sure the panel is lined up with the bottom and sides of the planter box and is flush along the remaining open side.
- Connect the backing piece to the address planter box by screwing through the back of the backing piece into the planter box. Drill a small hole in the middle of the bottom of the planter to allow for drainage.
- Apply the wood stain and water sealer to the house number planter.
- Take the cast iron numbers attach to your planter with screws, making sure they’re centered and evenly spaced. (Note: Some numbers are sold with screws already, so it’s fine to use those as long as they’re long enough to properly secure the numbers to the backing board.)
Address Planter Box Build Steps
For the full build steps, open and download the DIY House Number Planter Box Plans PDF to get started.
Download the build instructions here:
That’s it! Now all there’s left for you to do is grab some soil and your favorite flower, find the perfect space on the front of your home, and hang your brand-new house number planter. Your mailperson will thank you later.