Build a Picnic Table This Weekend
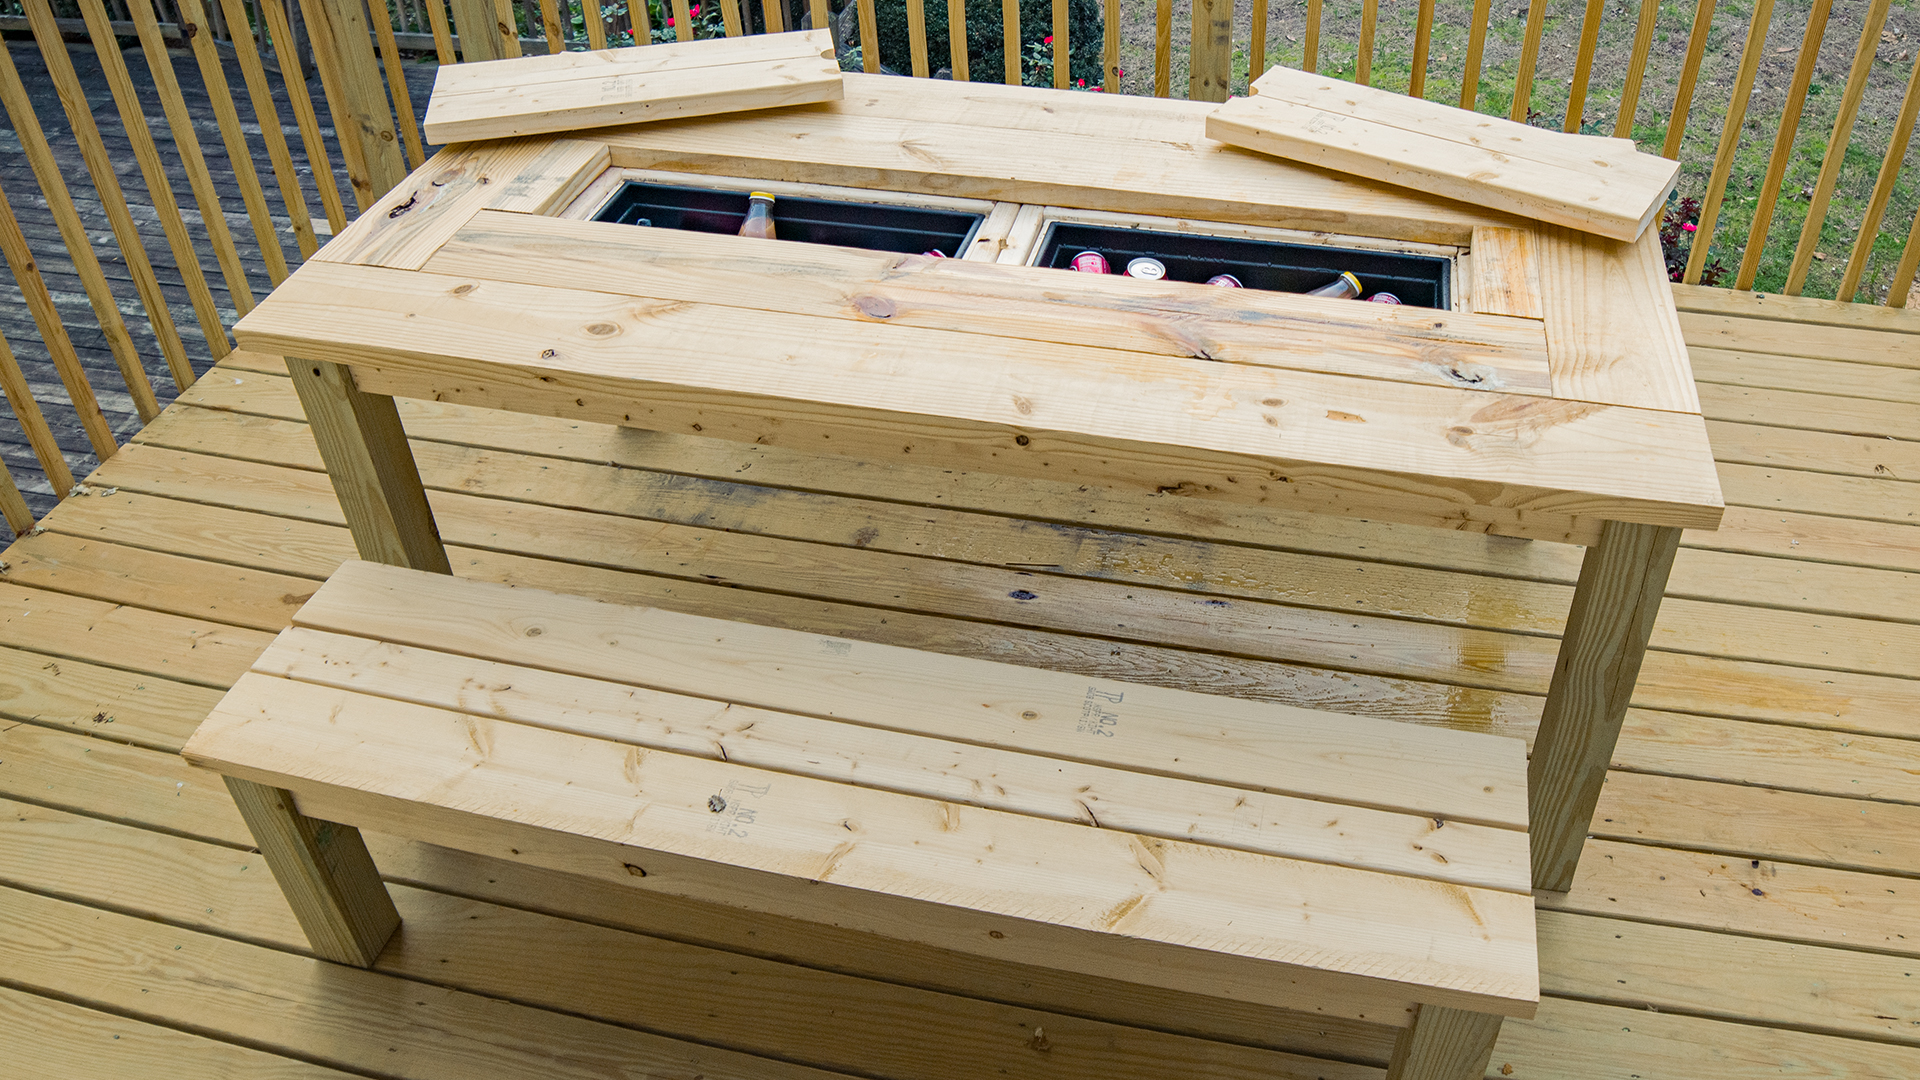
More space for food, drinks, and fun is a must for any party. This DIY picnic table ups the ante on entertainment and utility, letting you build a perfect place to drop in an icebox, s’mores station, or planter, all while providing even more space to sit at your next backyard get-together. So, follow along and reimagine your next party with your own DIY picnic table in this Done-In-A-Weekend Projects episode.
Download the instructions here:
Tools
- Miter saw
- Table saw
- Drill/driver and ½ in. drill bit
- 2 in. hole saw
- Pocket hole jig
- Tape measure
- L square or T square
- Pencil
- 120-grit sandpaper
- 80-grit sandpaper
- Clamps
- Eye and ear protection
- Foam brushes
- Fine sanding block
Materials
Picnic Table
- (2) 1 in. x 4 in. x 8 ft. boards
- (5) 2 in. x 4 in. x 8 ft. boards
- (4) 2 in. x 8 in. x 8 ft. boards
- (2) 2 in. x 6 in. x 8 ft. boards
- (2) 4 in. x 4 in. x 8 ft. boards
- 2 ½ in. pocket hole screws
- 1 ¾ in. deck screws
- (8) 5⁄16 in. x 3 in. bolts
- (8) 5⁄16 in. washers
- (8) 5⁄16 in. wood anchors
- Pre-conditioner
- Stain
- Exterior spar varnish
Dining Bench*
- (4) 2 in. x 6 in. x 8 ft. boards
- (6) 2 in. x 4 in. x 8 ft. boards
- (2) 4 in. x 4 in. x 8 ft. boards
- 2 ½ in. pocket hole screws
- Pre-conditioner
- Stain
- Exterior spar varnish
*Materials are doubled to accommodate for two benches
Picnic Table Cut List & Build Steps
For the full cut list and build steps, open and download the DIY picnic table PDF to get started.
Download the guide here:
Now that you have your own DIY picnic table, all there’s left to do is invite over some friends and family and enjoy your next backyard gathering.