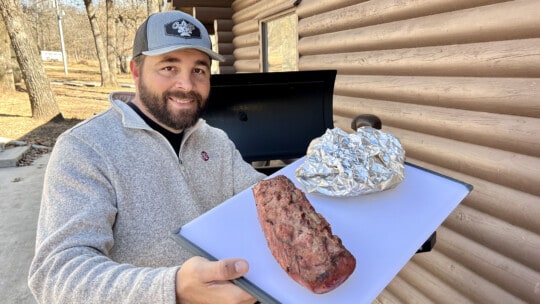
Homeowners growing their own food spend a lot of time planting, cultivating, and harvesting their gardens. And, it goes without saying that no shortage of that time is spent watering. Homesteader and Arms Family Homestead host Daniel Arms offers up a time and money-saving solution as he discusses how to install a garden drip irrigation system.
In this Backyard Life video, Daniel explains how he uses drip irrigation to keep his high-tunnel garden growing. (And without having to worry that his water bill is growing, in the process!)
The Benefits of Drip Irrigation Systems
Because watering by hand takes time, many homeowners opt to use some sort of sprinkler system. The downside to doing so, however, is that they aren’t just watering your plants, but everything else. Everything meaning their lawns and unwanted weeds!
On the other hand, drip irrigation helps solve this challenge by limiting the watering areas to just those you intend to grow. Daniel highly recommends using a digital timer to save water, as well as alleviate the need to confirm whether your drip system is off or on.

RECOMMENDED VIDEO:
Raised Garden Bed Build with Joe Lamp’l
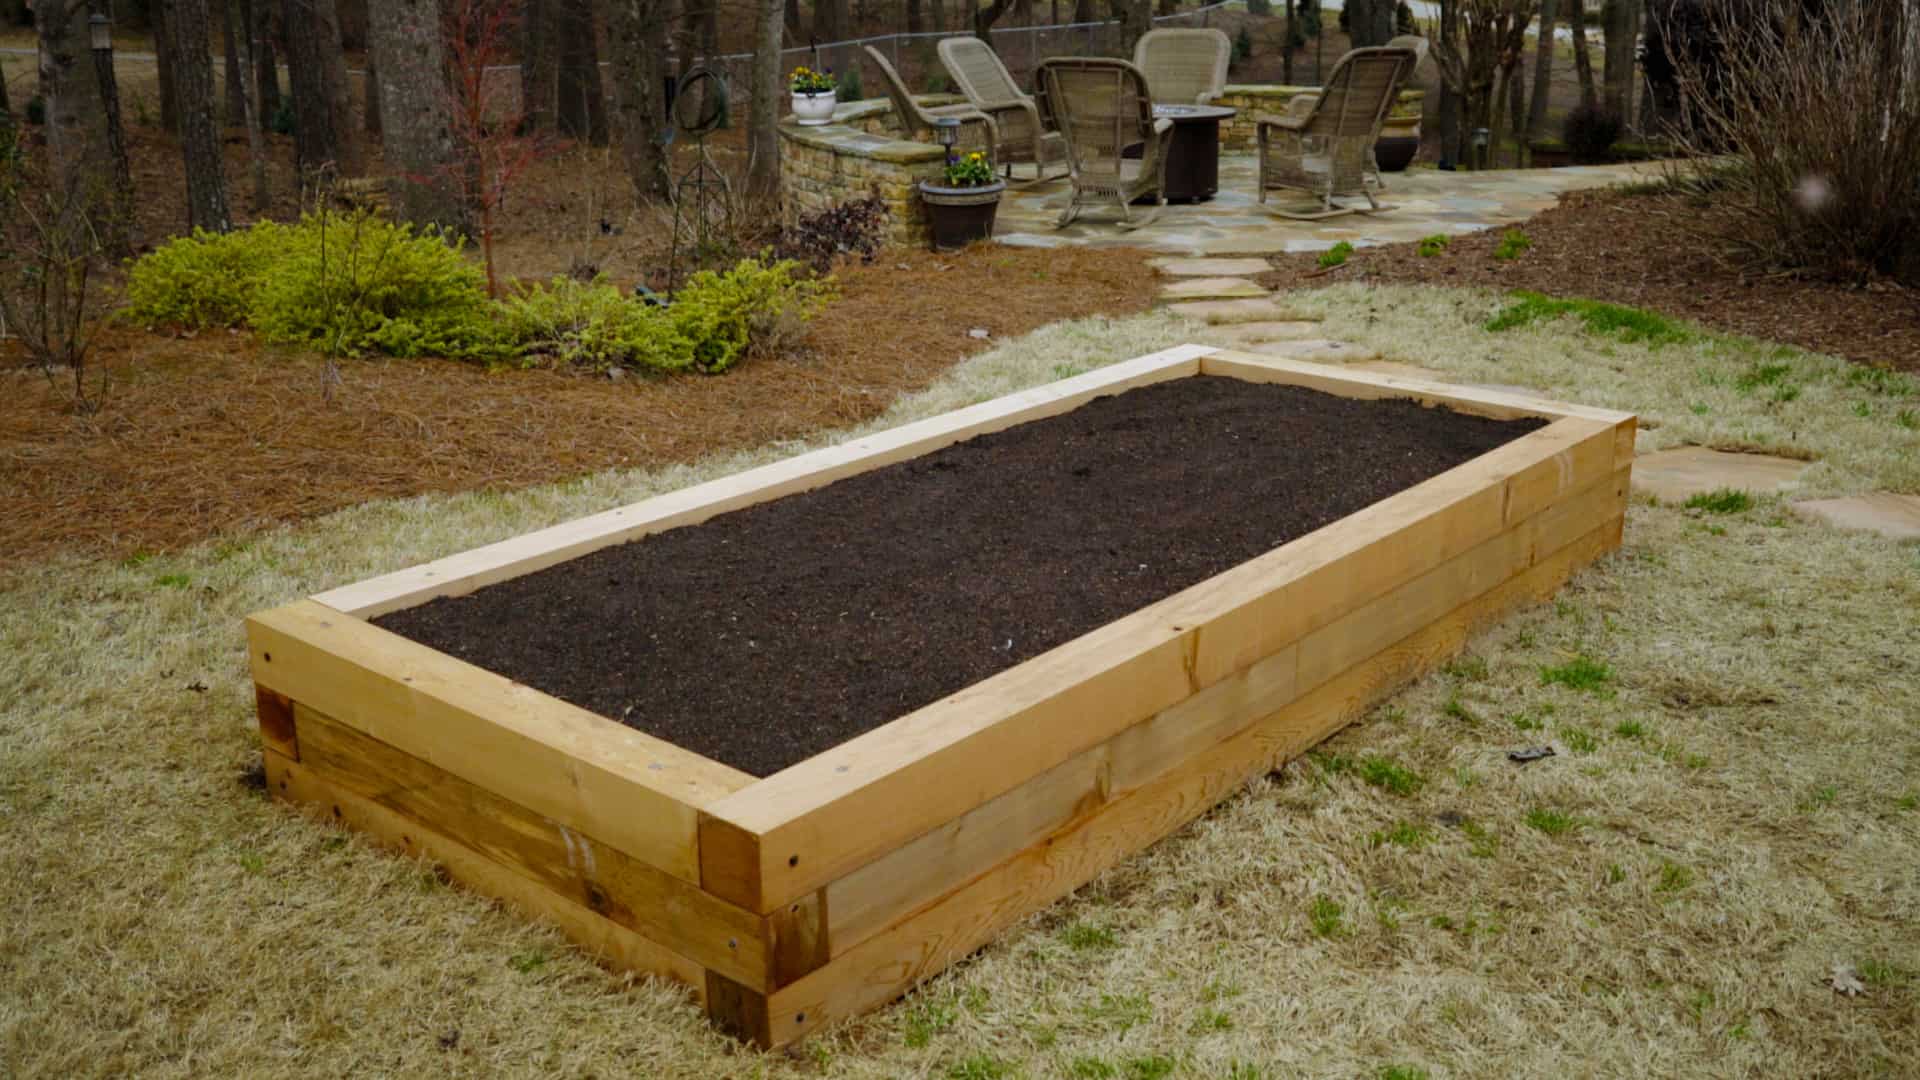
Raised beds are fairly easy to build and maintain. Plus, they are a great way to grow vegetables at home. Learn more about raised bed gardening in this video with gardening expert Joe Lamp’l and Done-In-A-Weekend Extreme host Doug Scott. Then, download plans to build the raised bed featured in this video
Drip Irrigation Kits
Daniel connects all of his raised garden beds with PVC piping (tapped into an outdoor water source) and then raises them up to connect into main irrigation lines in each of his beds.
Daniel’s irrigation lines span the width of each of his beds, and are outfitted with drip valves connected to T-tape (or T-valves) aligned with each of his raised gardens’ crop rows. While there are several options for T-tape, Daniel uses ones with eight-inch spacing. And, connecting the T-tape to the drip valve is super easy.
Most drip irrigation kits will include a hole punch, which can then be simply twisted into a watering hose that drip valves can then be inserted into. Daniel points out that many kits include tips that don’t provide control over each individual opening. Because of this, he prefers drip valves that can be turned on or off.
Finally, Daniel warns that drip irrigation (which are low-pressure systems) inlets can easily blow out because standard household water pressure is oftentimes too high. To combat this, he uses a pressure reducer and an inline filter. This reduces the pressure going out to his drip irrigation system, as well as minimizes sediment from clogging his lines. A pressure reducer, he says, generally lowers water pressure to a drip-friendly 11 or 12 psi.
By utilizing drip emitters, control valves, pressure-reducing valves and an inline filter, Daniel says you’ll create a drip irrigation system that lasts for years. And, the best part is that you’ll reduce time, money, and water usage while providing your garden with the moisture it needs to grow!


