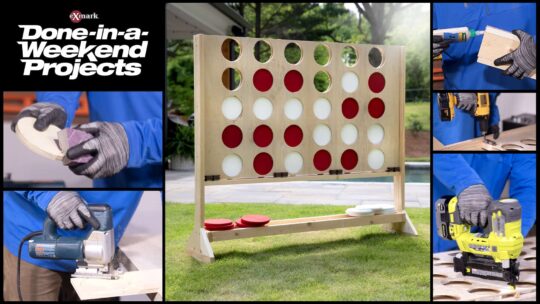
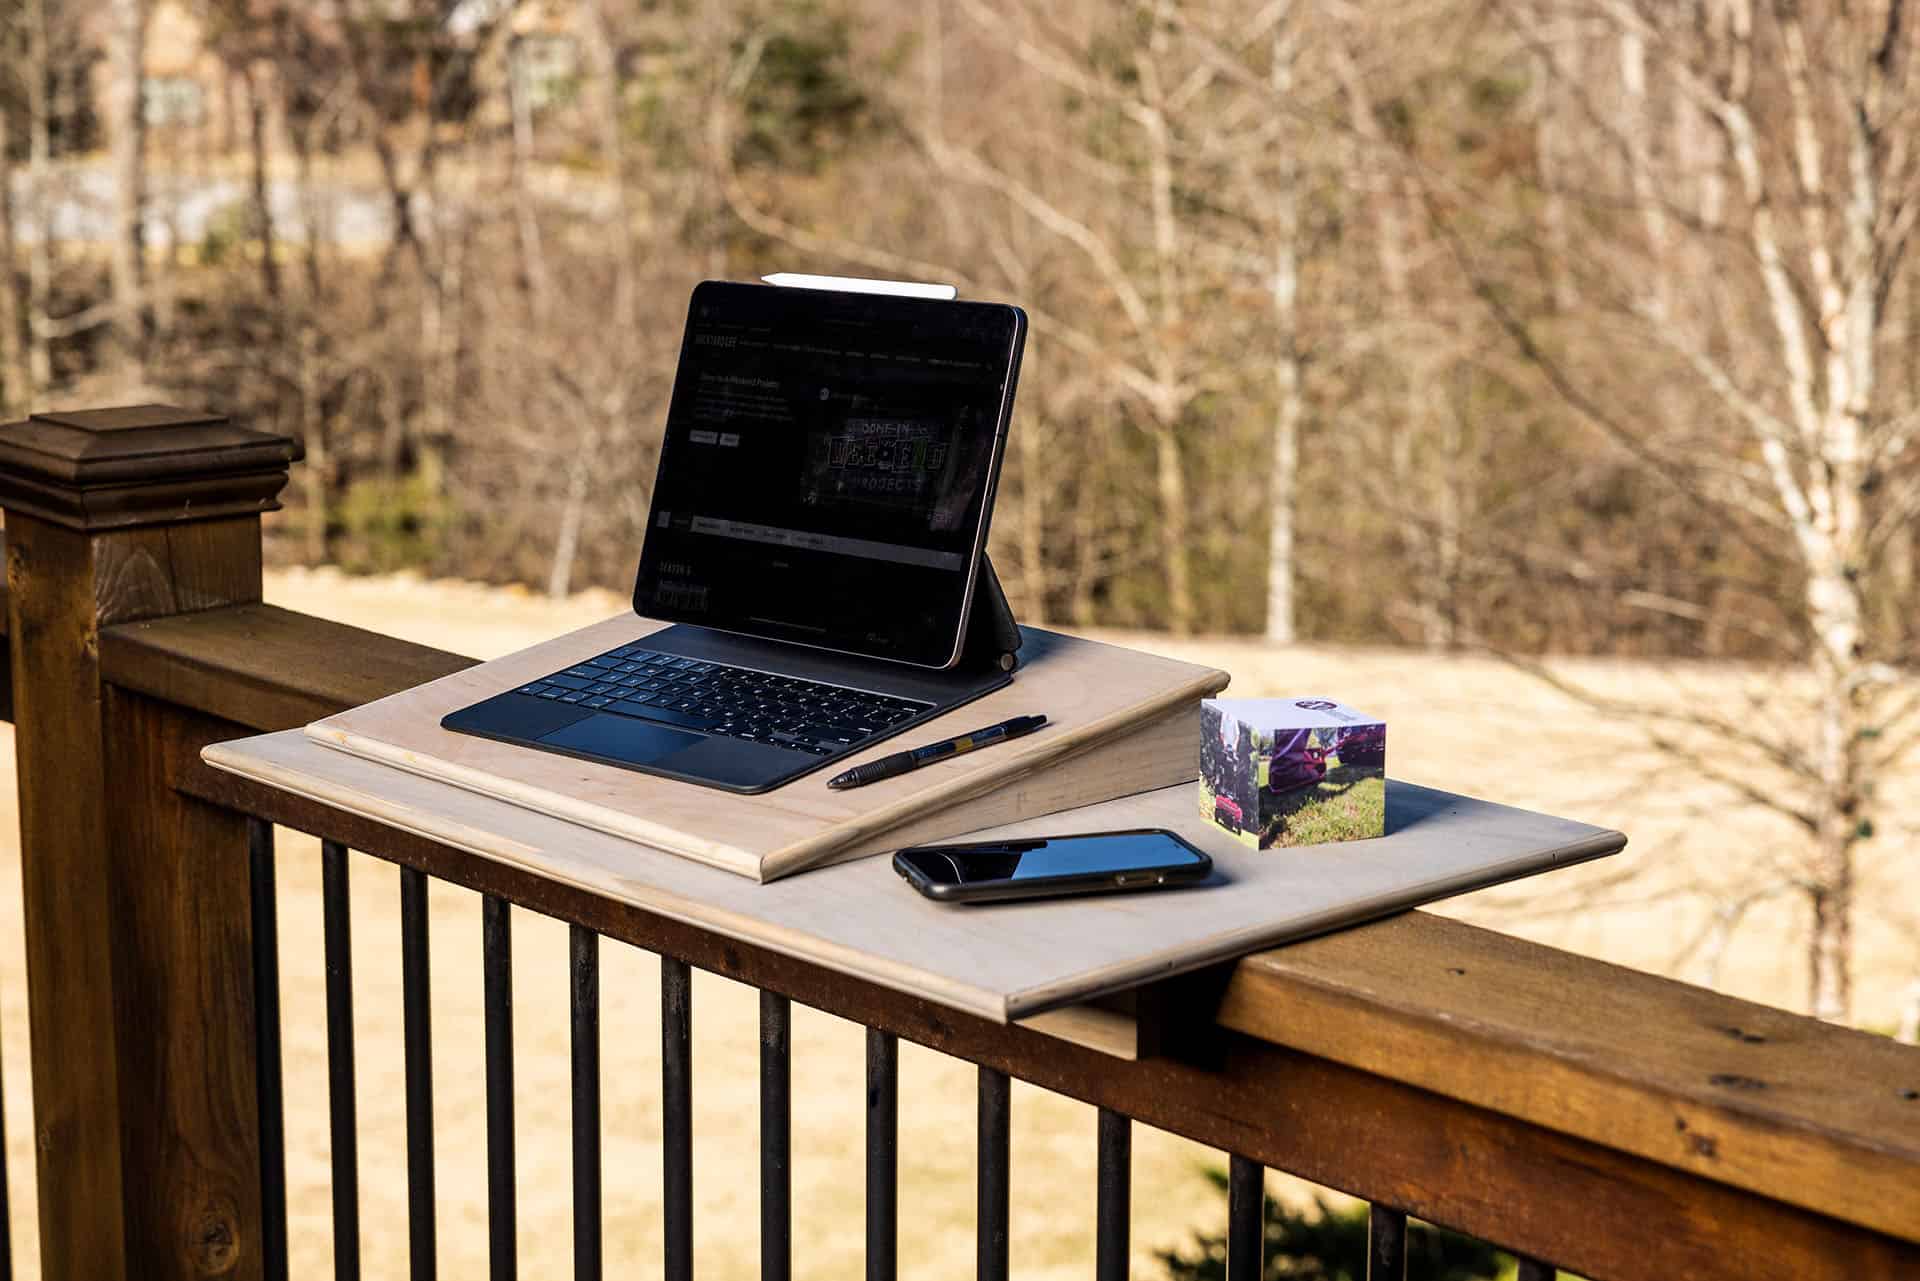
While your backyard is a great place to relax and spend time with family and friends, it can also be a good place to scroll through your feed or get some work done. In this Done-In-A-Weekend Projects episode, we’ll show you how to create an outdoor space to work—or play—on your computer. So, join host and landscape designer Doug Scott to learn the tools, cut lists, and build steps needed to construct your own DIY laptop desk.
Tool List:
- Miter saw
- Skil or table saw
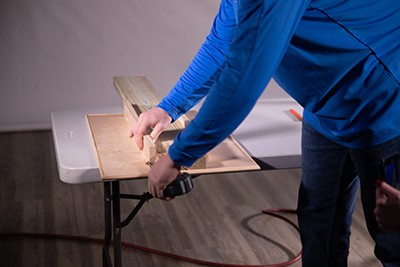
- Air compressor with pneumatic nail gun and 1 in. brad nail or hammer and 1 in. finishing nails
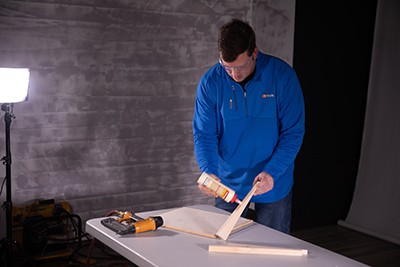
- Wood glue
- Tape measure
- Marking pencil
- Eye and ear protection
Outdoor Desk Cut List:
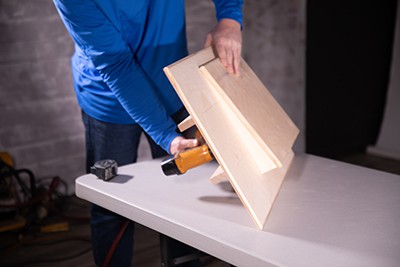
Before you get to building, there’s some quick cuts to be made. This build is composed of several component parts: one large top, one small top, and two cleats to keep the finished desk affixed to your outdoor porch railing.
Large Top
- (1) 28 in. x 18½ in. x ½ in. birch plywood
- (2) 28½ in. edge trim pieces (mitered to fit)
- (2) 18½ in. edge trim pieces (mitered to fit)
Small Top
- (1) 17 in. x 13½ in. x ½ in. birch plywood
- (2) 17½ in. edge trim pieces (mitered to fit)
- (2) 14 in. edge trim pieces (mitered to fit)
- (2) 1 in. x 3 in. x 13 in. pine boards (cut 2 in. down to 0 in. to create triangular wedges)
- (1) 1 in x 1 in x 15½ in. pine board
Cleats
- (2) 1 in. x 3 in. x 24 in. pine boards
Outdoor Tech Desk Build Steps
While dubbed a “done-in-a-weekend” project, you’ll only need a day! Follow the steps in the PDF below to create your own outdoor work space with this DIY laptop desk.
Now that you’ve built your own outdoor tech desk, you’ll be able to tackle that status report—or watch your favorite Done-In-A-Weekend Projects episodes—in the serenity and comfort of your own backyard!