If your deck’s limited in size, especially if you use it to entertain, this DIY deck rail serving tray’s an accessory worth having. It’s the perfect solution for holding food and utensils when space is at a premium. In this Backyard Life video, Today’s Homeowner’s Chelsea Lipford Wolf walks viewers through bringing this project to life.
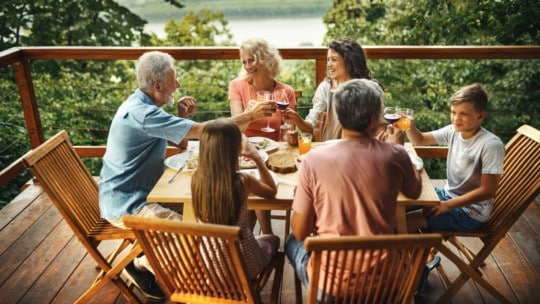
While Chelsea and her family love being outside, their small deck sometimes limits entertaining possibilities. In her words, “It’s kind of cozy.” So, to maximize—and get creative with—their space, Lipford devised a deck rail serving tray. This nifty accessory sits directly on her deck rails, eliminating the need for a bulky serving table.
Building the Tray’s Bottom Side
Before getting started, Lipford notes that deck rails are not all built the same size. So, you may have to modify her build dimensions based on the size of yours. To build the tray’s base, Lipford begins with an 18-inch x 48-inch solid wood panel. “It’s basically a coffee table size,” she explains. To steady the wood on top of the rail, Lipford places two pieces of 1-inch x 2-inch wood on the bottom of the tray. These pieces straddle the rail, and to accommodate hers, are spaced 5 ½ inches apart. And, they’re also centered along the length of the panel. This will prevent the tray from sliding off the railing if it’s accidentally bumped. But, be careful not to make the fit too tight as, Lipford notes, wood tends to swell with moisture. Finally, don’t forget to leave room for handrail expansion.
Building the Tray’s Top Side
On the tray’s top side, Lipford again uses 1-inch x 2-inch wood pieces. Instead of serving to straddle the rail, she uses them to create a small exterior tray rim. This, she says, will hopefully keep ketchup bottles and burgers from getting knocked into the yard. Finally, to protect the tray from the weather (and the spills her kids are bound to create!), Lipford coats it with varnish.
And, it’s that easy! “It turned out great, and it’s the perfect size for grill tools, condiments—or a place for your friends to put their drinks,” says Lipford. And, she adds, “When they ask where you got it, you can tell them you made it yourself!”