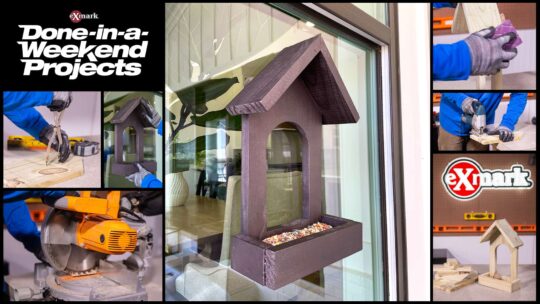
Build a DIY Butterfly House This Weekend
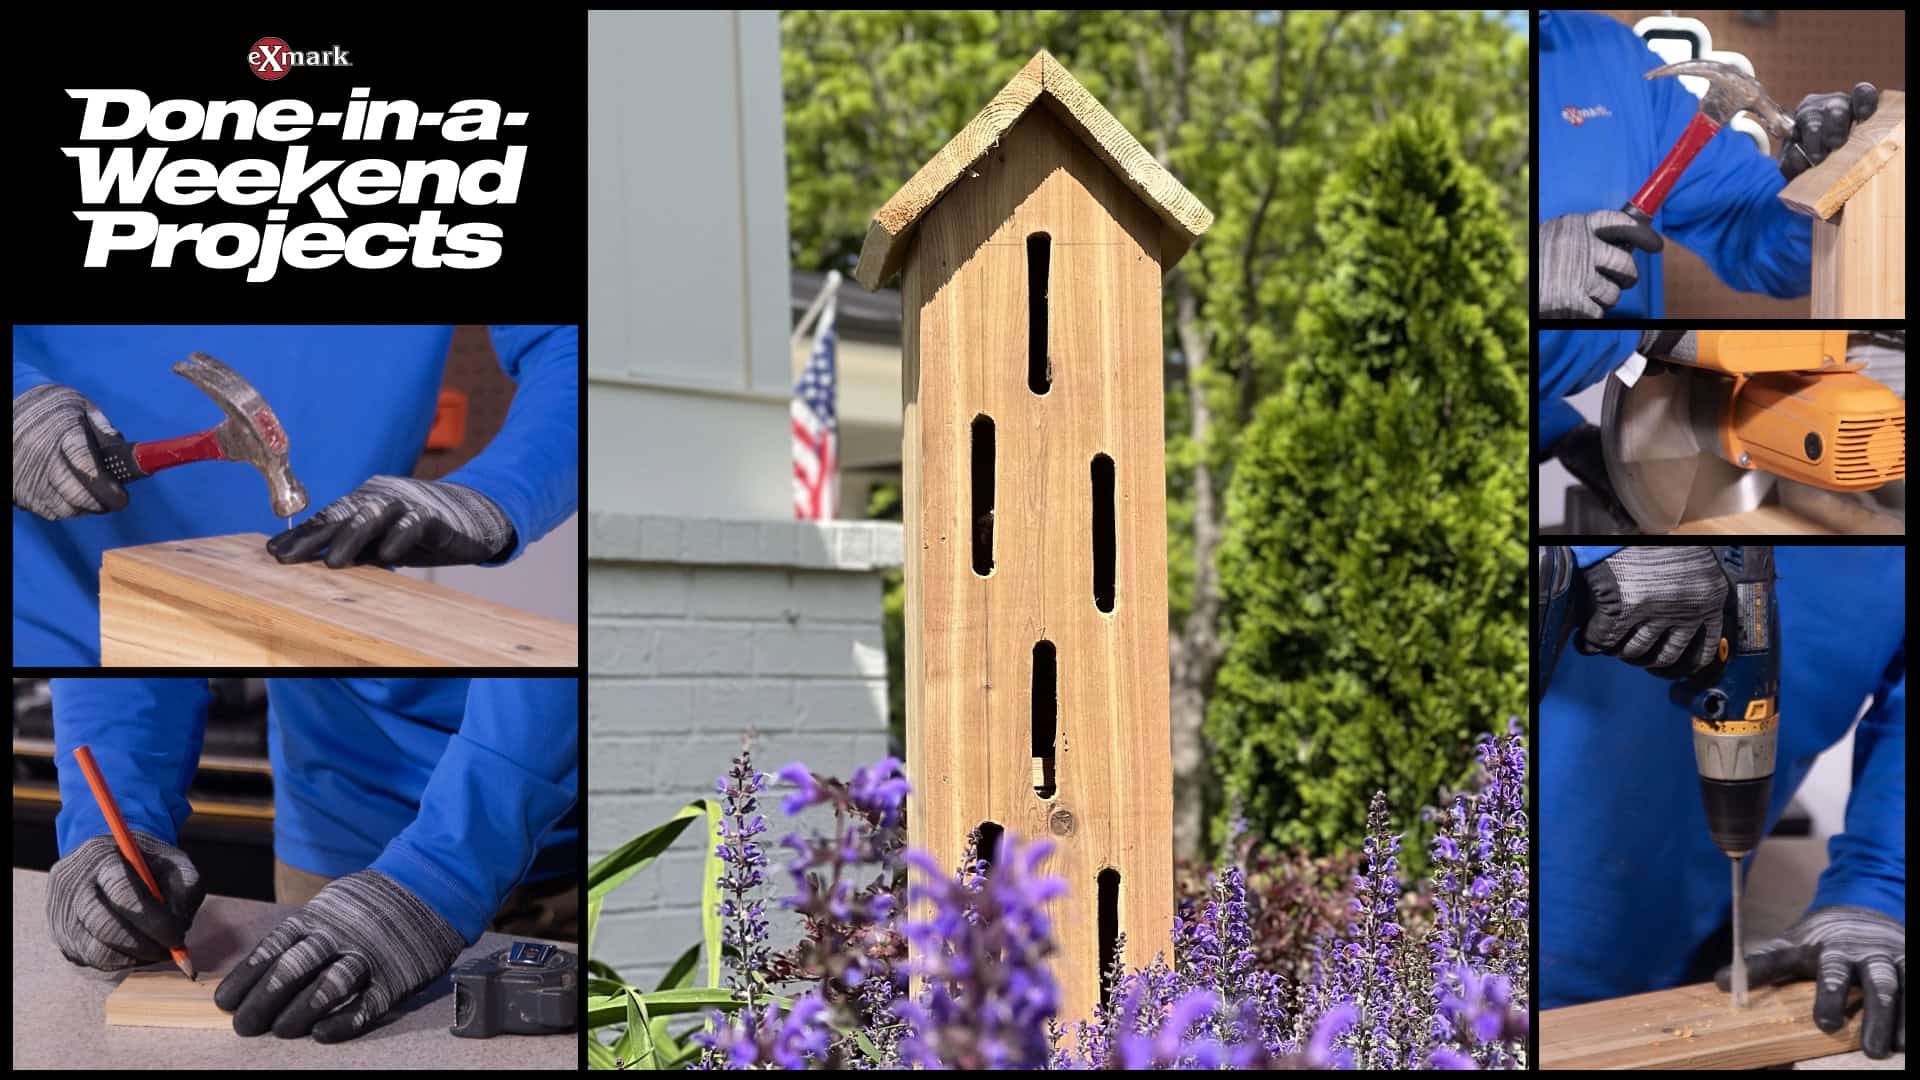
There’s nothing sweeter than the sight of a butterfly—they add instant color and entertainment wherever they go. But how do you go about attracting, and enjoying, even more of our vibrant friends? That’s where a DIY butterfly house comes in. This build provides a home for an important pollinator, while offering endless hours of backyard fun for children and adults alike. So, follow along in this episode of Done-In-A-Weekend Projects and discover how to build your very own DIY butterfly house.
Click here to download the build PDF:
Tools
- Jigsaw
- Drill
- Table saw
- Tape measure
- Pencil
- Eye and ear protection
- Sandpaper
- 7/8 in. spade bit
- 3/8 in.-diameter drill bit
- Pliers
- Clamps
Materials
- (1) 1 in. x 6 in. x 10 ft. cedar board
- (25) 4d galvanized casing nails
- (1) ¾ in.-diameter type L copper pipe
- (1) ¾ in. copper pipe strap
- (2) No. 8, ½ in. pan head screws
- Moisture-proof wood glue
DIY Butterfly House Cut List
Take the 1 in. x 6 in. x 10 ft. board and make the following cuts:
- A. (2) ¾ in. x 5 in. x 2 ft. front and back boards
- B. (2) ¾ in. x 5 in. x 6 ¼ in. roof boards
- C. (2) ¾ in. x 3 ¾ in. x 22 ¼ in. side and door boards
- D. (1) ¾ in. x 3 ¾ in. x 3 ½ in. bottom board
- E. (2) ¾ in. x 1 ¼ in. x 3 ½ in. support pipe stop
Then, make the following cuts:
- Take the (2) ¾ in. x 5 in. x 2 ft. front and back boards and cut the top of each board to form a 90° peak.
- Take the (2) ¾ in. x 5 in. x 6 ¼ in. roof boards and cut a 45° bevel off one side of each board.
- Take the (2) ¾ in. x 3 ¾ in. x 22 ¼ in. side and door boards and cut a 45° bevel off one end of each board.
DIY Butterfly House Build Steps
For the full build steps, open and download the PDF to get started.
Download the instructions here:
That’s it! Now all there’s left to do is set up your new build in your pollinator garden and enjoy all the beautiful sights your new DIY butterfly house has to offer.

