With summer rapidly approaching and school winding down, your kids are about to have a whole lot more free time. So, help them ditch their gaming consoles and tablets to have some good, old-fashioned fun. Join landscape designer and host Doug Scott in this Done-In-A-Weekend Projects episode and discover how to give your kids an entirely new way to play with this DIY sand table build.
Tools
- Miter saw
- Skil saw or table saw
- Air compressor with pneumatic nail gun and 1.5 in. brad nails or hammer and 1.5 in. finishing nails
- Drill and driver
- Screw and drill bits
- 1 5/8 in. wood screws
- Wood glue
- Tape measure
- Marking pencil
- Eye and ear protection
Pre-Cut Materials
There are a lot of materials needed to make this sand table build a reality, so be sure to take note of what you’ll need:
Box Sides
- (2) 1 in. x 8 in. x 18 ¾ in. Pine Boards
- (2) 1 in. x 8 in. x 47 ¾ in. Pine Boards
- (2) 1 in. x 2 in. x 49 ¼ in. Pine Boards
Slats
- (9) 1 in. x 2 in. x 17 ¼ in. Pine Boards
Divider
- (1) 1 in. x 6 in. x 17 ¼ in. Pine Board
Legs
- (8) 1 in. x 3 in. x 22 ¾ in. Pine Boards
Shelf Rails
- (2) 1 in. x 3 in. x 49 ¼ in. Pine Boards
Shelf Slats
- (17) 1 in. x 2 in. x 17 ¼ in. Pine Boards
Top
- (1) 52 ½ in. x 22 in. x ½ in. Plywood Sheet
- (2) 1 in. x 2 in. x 52 ½ in. Pine Boards
- (2) 1 in. x 2 in. x 20 ¼ in. Pine Boards
- (2) 1 in. x 2 in. x 19 in. Pine Boards
Sand Table Build Steps
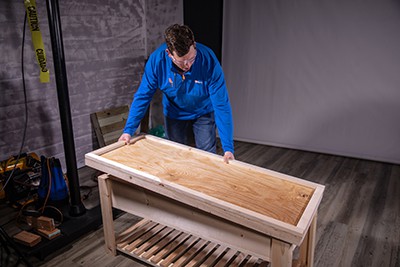
- Use wood glue and nails and join the four 1 in. x 8 in. boards to construct the box, as shown. Glue and nail the 1 in. x 2 in. boards along the top of both 1 in. x 8 in. x 47 ¾ in. boards.
- Take the leg boards and attach them in pairs, forming an “L” shape for each of the four legs. Attach the legs to the box, making sure the bottom of each leg is even with the bottom of the box.
- Take the shelf slats and place them on the shelf rails, spacing them approximately 2 in. apart. Nail and glue into place.
- Take the newly constructed shelf and place it in between the legs, 2 in. from the top. Use nails to attach.
- Flip the build over.
- Attach the 1 in. x 2 in. support slats to the inside of the box with nails and glue, spacing them 4 ¼ in. apart.
- Take the divider board and place it on the middle slat, splitting the box in half. Use glue and nails to secure it into place.
- Take the piece of plywood and use wood glue and nails to attach the two 1 in. x 2 in. x 52 ½ in. boards and two 1 in. x 2 in. x 20 ¼ in. boards
- Repeat this step with the remaining 1 in. x 2 in. x 52 ½ in. boards on the other side.


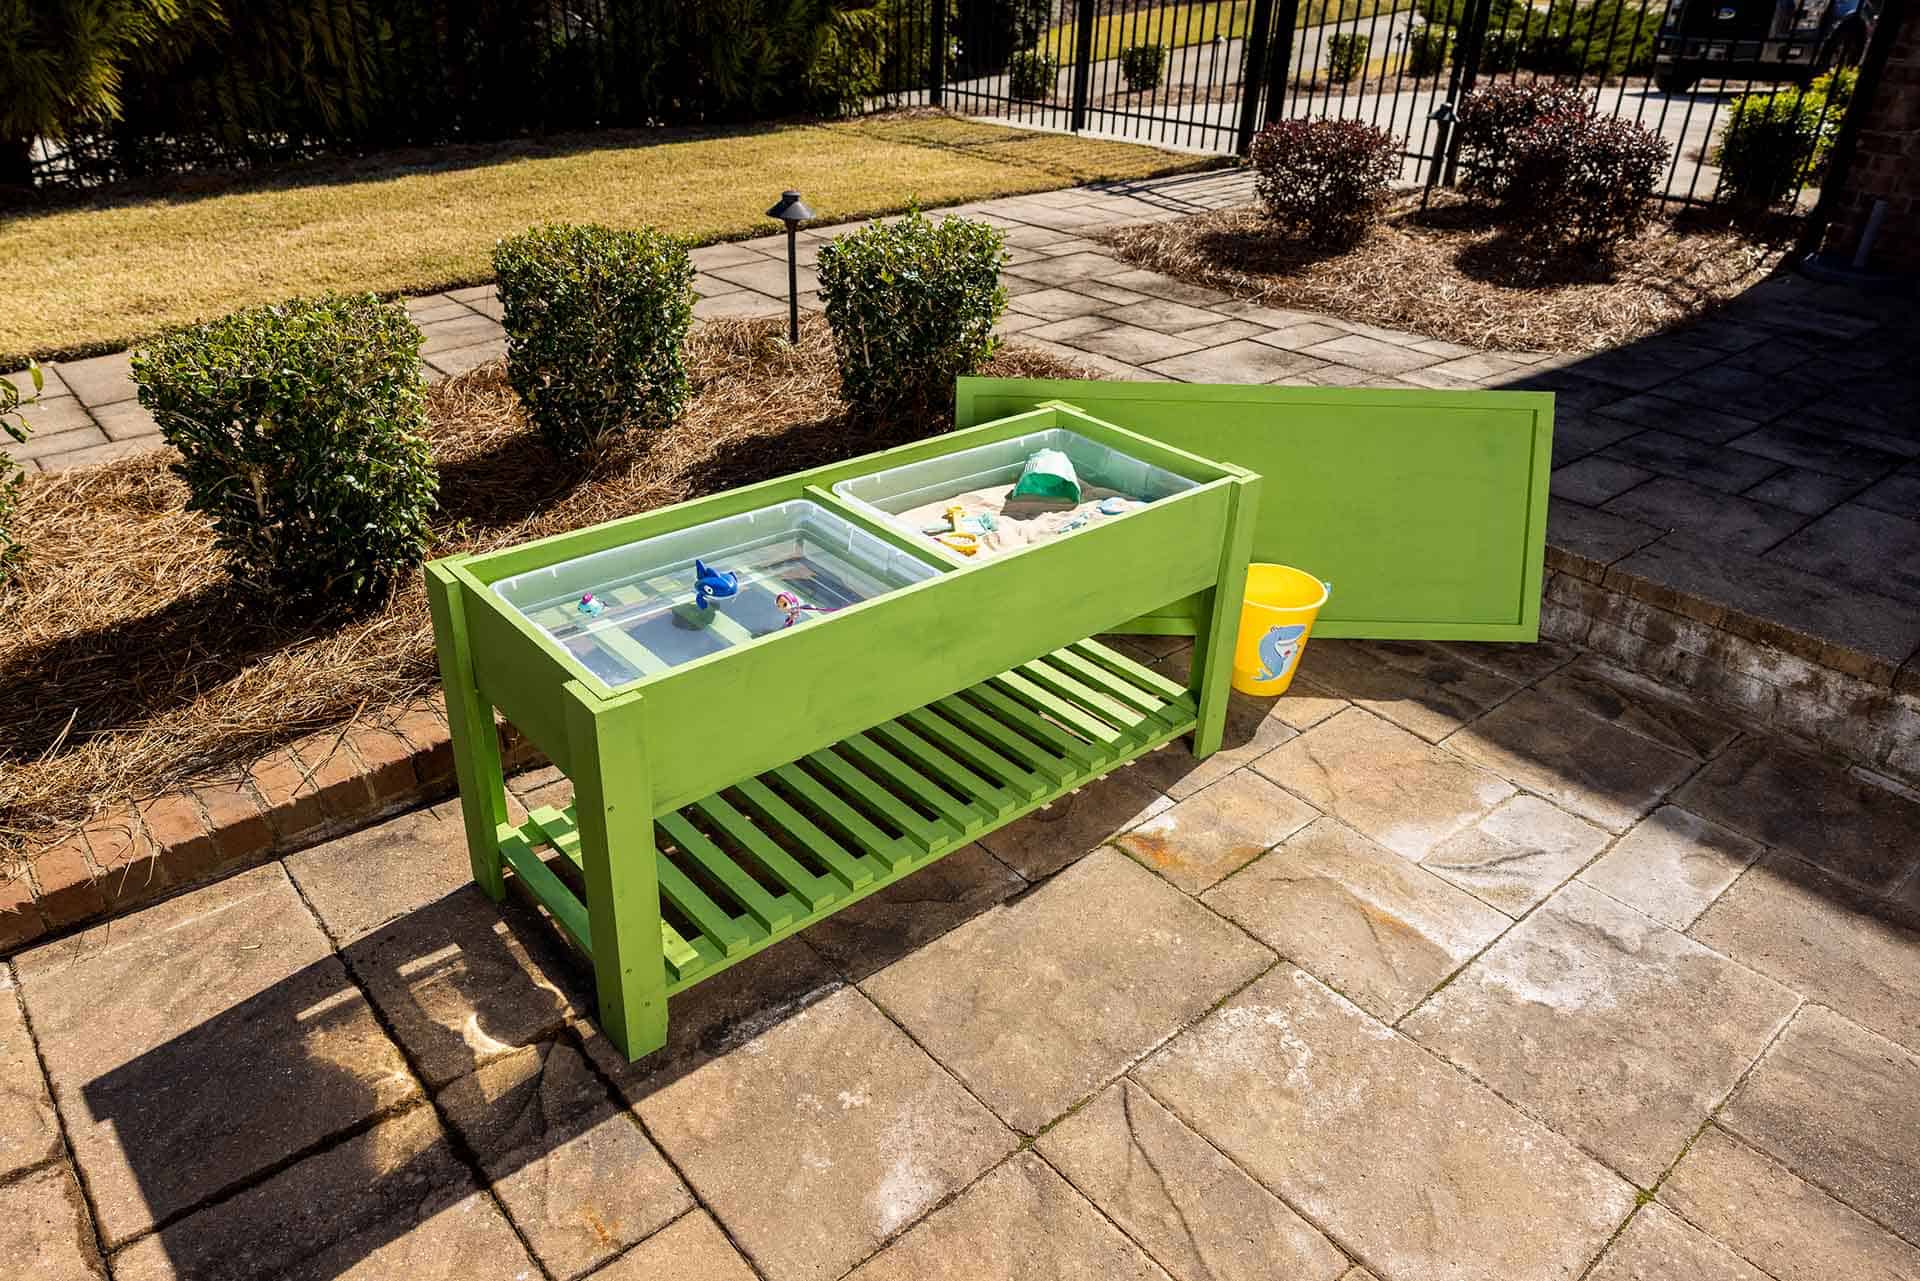
Finishing Touches
Now that the sand table’s constructed, all that’s left to do is add your desired stain or paint to match your backyard aesthetic—and don’t forget to add sealer to help it withstand the elements. And, of course, we can’t forget to add the most important element—the sand! With this DIY build, your kids’ summer will be one to remember!
And check out our other DIAW Projects for more summer ideas like this picnic table, a build pretty similar to this one!