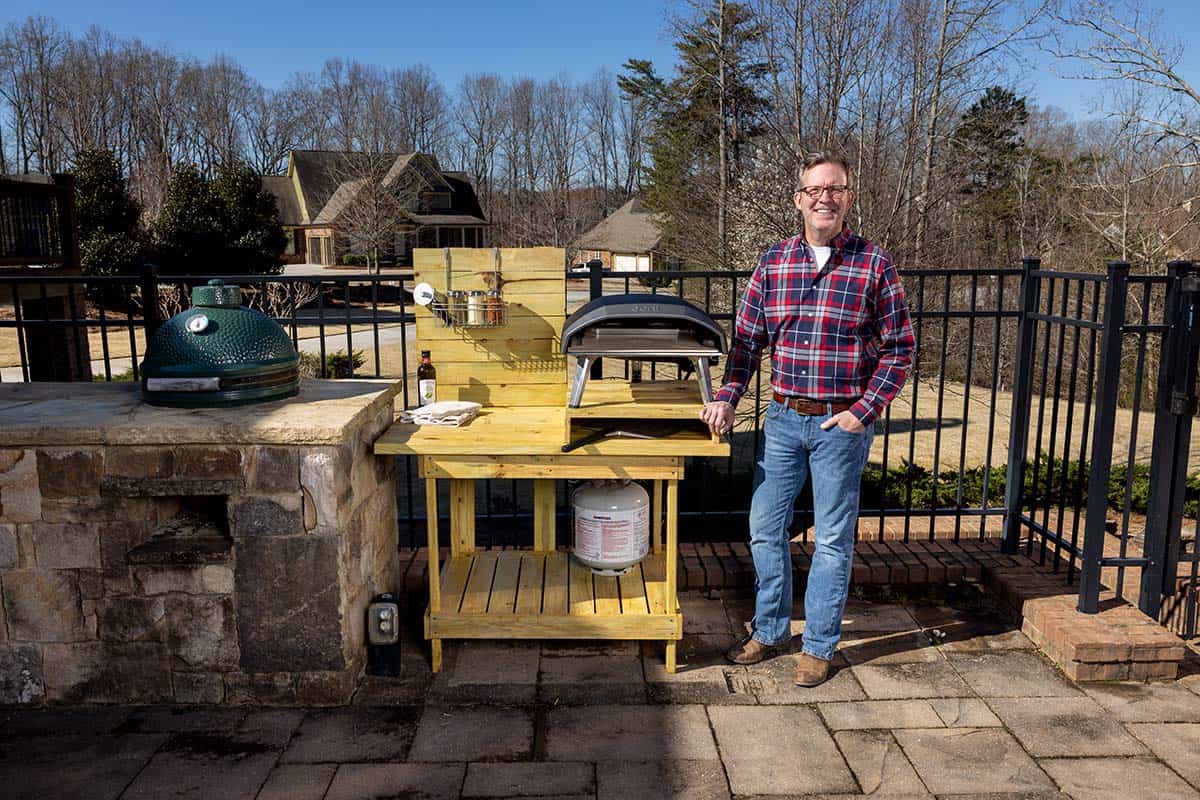
No backyard party is complete without two things: a beautifully manicured lawn, courtesy of your Exmark mower, and pizza—it’s the perfect topping to a day full of family, friends and fun. So, join landscape designer and Done-In-A-Weekend Projects host Doug Scott as he walks you through building your own outdoor pizza oven stand. Once complete, you’ll be able to enjoy a perfect slice of the backyard life!
Tools
- Miter saw
- Screw/Drill bits
- 1¼ in. screws
- 1⅝ in. screws
- 2 in. screws
- Tape measure
- Marking pencil
- Eye and ear protection
Pre-Cut Materials
Legs
- (4) 2 in. x 2 in. x 32 in. Pressure-Treated Boards
Frames
- (4) 1 in. x 4 in. x 26¼ in. Pressure-Treated Boards
- (4) 1 in. x 4 in. x 34½ in. Pressure-Treated Boards
- (1) 1 in. x 4 in. x 24½ in. Pressure-Treated Board
Cleats
- (2) 1 in. x 2 in. x 31½ in. Pressure-Treated Boards
- (2) 2 in. x 2 in. x 21¾ in. Pressure-Treated Boards
Top
- (5) 2 in. x 6 in. x 48 in. Pressure-Treated Boards
Shelf
- (10) 1 in. x 4 in. x 24½ in. Pressure-Treated Boards
Riser
- (7) 1 in. x 4 in. x 21 in. pressure-treated boards
- (2) 1 in. x 4 in. x 24½ in. pressure-treated boards
Back Board
- (9) 1 in. x 4 in. x 24 in. Pressure-Treated Boards
- (2) 1 in. x 4 in. x 53½ in. Pressure-Treated Boards
Pizza Oven Station Build Steps
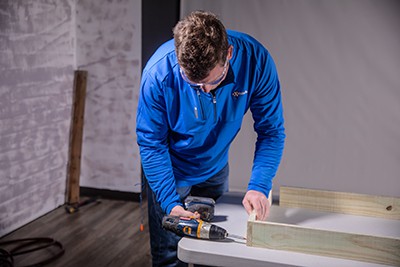
- Take two of the 2 in. x 2 in. leg boards and one of the 1 in. x 4 in. x 34½ in. frame boards. Place the 2 in. x 2 in. boards on both ends of the 1 in. x 4 in. board, making sure to align the edges and corners.
- Then, take the other 1 in. x 4 in. board and repeat the step above for the other end of the 2 in. x 2 in. leg boards, but instead aligning approximately 5 in. from the end of the leg board. Screw a 1 in. x 2 in. cleat horizontally along this second 1 in. x 4 in. board, making sure it’s aligned between the 2 in x 2 in. leg boards.
- Repeat steps 1 and 2 for the second pair of legs.
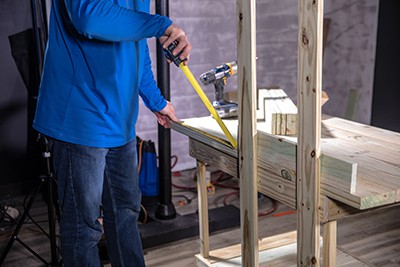
- Stand up both sets of legs, making sure the ends with the 1 in. x 4 in. boards are flush with the ground, and that the sides with the cleats are pointed inwards. Then, take the 1 in. x 4 in. x 26¼ in. frame boards and use them to connect the two sets of legs, screwing them into the corners of all four frame boards.
- Flip the build over.
- Then, take two of the 1 in. x 4 in. shelf boards and cut out a 2 in. x 2 in. square on the corner of each end of both boards. (Note: these squares should be on the same side of the boards.)
- Take your newly cut boards and nest them in between the top frame boards, making sure the square you just cut out is flush with the leg boards. Then screw them into the 1 in. x 2 in. cleats.
- Then, take the remainder of the shelf boards and screw them in between the two you just placed.
- Screw the 1 in. x 4 in. x 24½ in. frame board, aligned horizontally, into the middle of the top 1 in. x 4 in. x 34½ in. boards.
- Screw 1 in. x 2 in. cleat boards on the front and back of the very top of the build.
- Take all five of the top boards and screw them into place, using the cleats you just installed.
- Take the 1 in. x 4 in. x 53½ in. back boards and screw one to line-up vertically with the back left corner of the build. Then screw the next board in, spaced out approximately 5 or 6 in. to the right of the first.
- Take the other 1 in. x 4 in. x 21 in. riser boards and screw them horizontally in front of the vertical boards you just installed, aligning them so the right vertical support is 1 in. off the end of the 1 in. x 4 in. x 24 in. boards.
- Finally, put together the riser by placing the 1 in. x 4 in. x 24½ in. boards on their sides (long ways) and screwing the 1 in. x 4 in. x 21 in. boards to adjoin them, making sure all the corners are flush.
Of course, no build is complete, even a simple outdoor pizza oven stand, without the paint or stain to match your backyard aesthetic, and the necessary sealer to help it withstand everything Mother Nature will throw at it.
Now that your outdoor pizza oven stand is assembled, you might want to consider where everyone is going to eat. We suggest looking at our picnic table build for a little inspiration!