How to Build a Pergola
Done-In-A-Weekend Extreme Project: Made In The Shade
Want to learn how to build a pergola, complete with floor decking? Then, join landscape design expert and Done-In-A-Weekend Extreme Projects host Doug Scott to see how it’s done. And, thanks to the help of Mike Jones and his team at Jones Refinishing, we mean done right! We also have a pergola build plan download if you want to give this project a try.
Reasons to Consider Building Your Own Pergola
Pergola’s increase your outdoor living space by giving you additional comfortable, protected outdoor gathering space. Pergolas also increase yard and home beauty and interest and giving you a place to hang those potted plants. In this video, Doug tags along as Mike and his crew build a 10-foot x 12-foot x 8-foot pergola and decked floor.
Pergola Build: Day 1
Mike begins day 1 by walking Doug through the initial build steps. After determining the pergola’s yard placement, grade stakes and masonry twine are used to square the base. This is done prior to digging postholes to ensure the pergola’s base is square. Mike notes that if step one’s not square, the finished product won’t be, either. Once all four post holes are dug, posts will then be set, although temporarily at this point. Mike explains the importance of first placing, squaring, and bracing each post before setting them with cement.
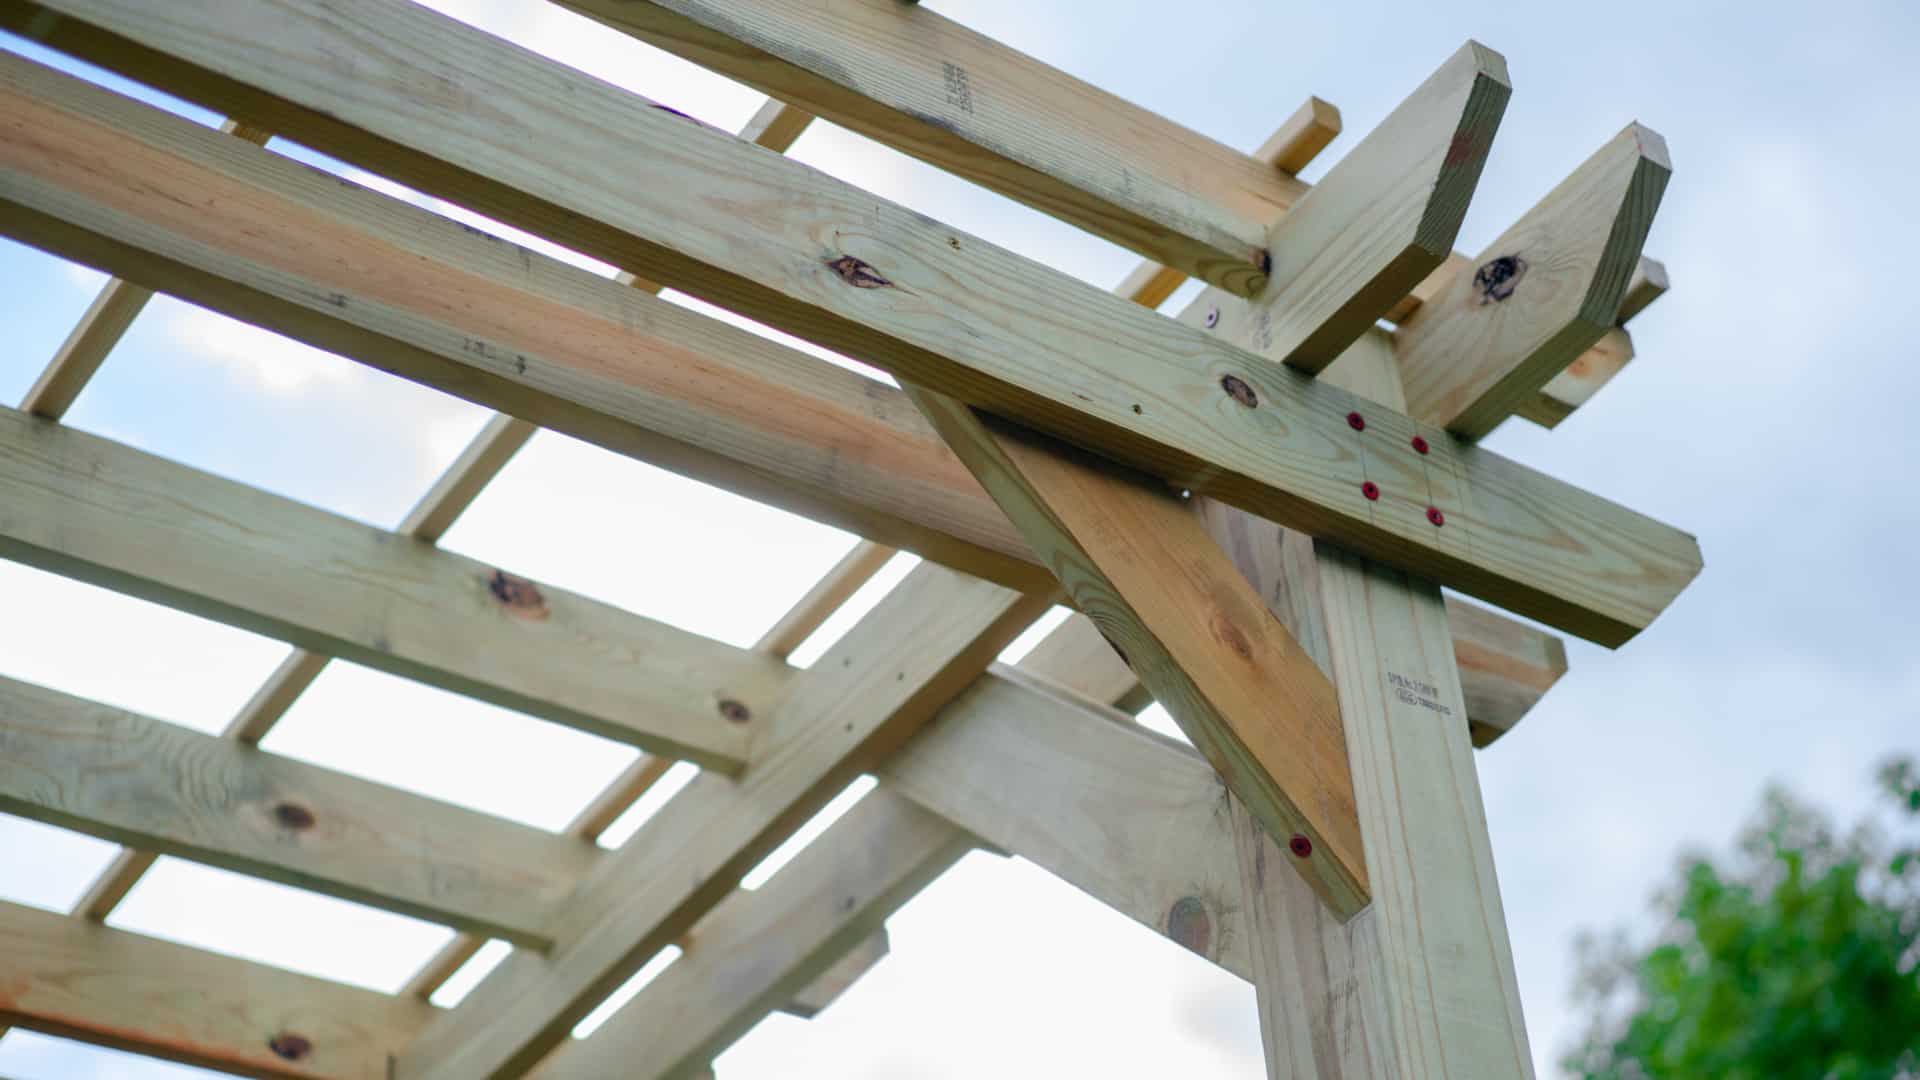
Before moving on, Doug asks Mike about the materials used in this pergola project. Mike notes it’s a pretty basic lumber list. They’re using 6x6s for the posts, 2x6s for the cross-braces and rafters, and 2x2s to finish off the top. For complete pergola materials, cut lists and build steps, reference this downloadable.pdf.
Once all four posts are squared and braced, cross beams are permanently bolted in place. Concrete is then poured into all four postholes, and left to set for approximately one hour. In the meantime, rafters are cut and notched to fit the pergola’s bracing. After the concrete has set, each rafter is then secured across the top of the pergola.
Building the Pergola Deck: Day 2
Day 2 of the build begins with the installation of one final pergola rafter. Mike jokes that someone miscalculated the lumber list. And, that it “could have been him!” Once installed, 2x2s are then cut and secured to the top of the pergola.
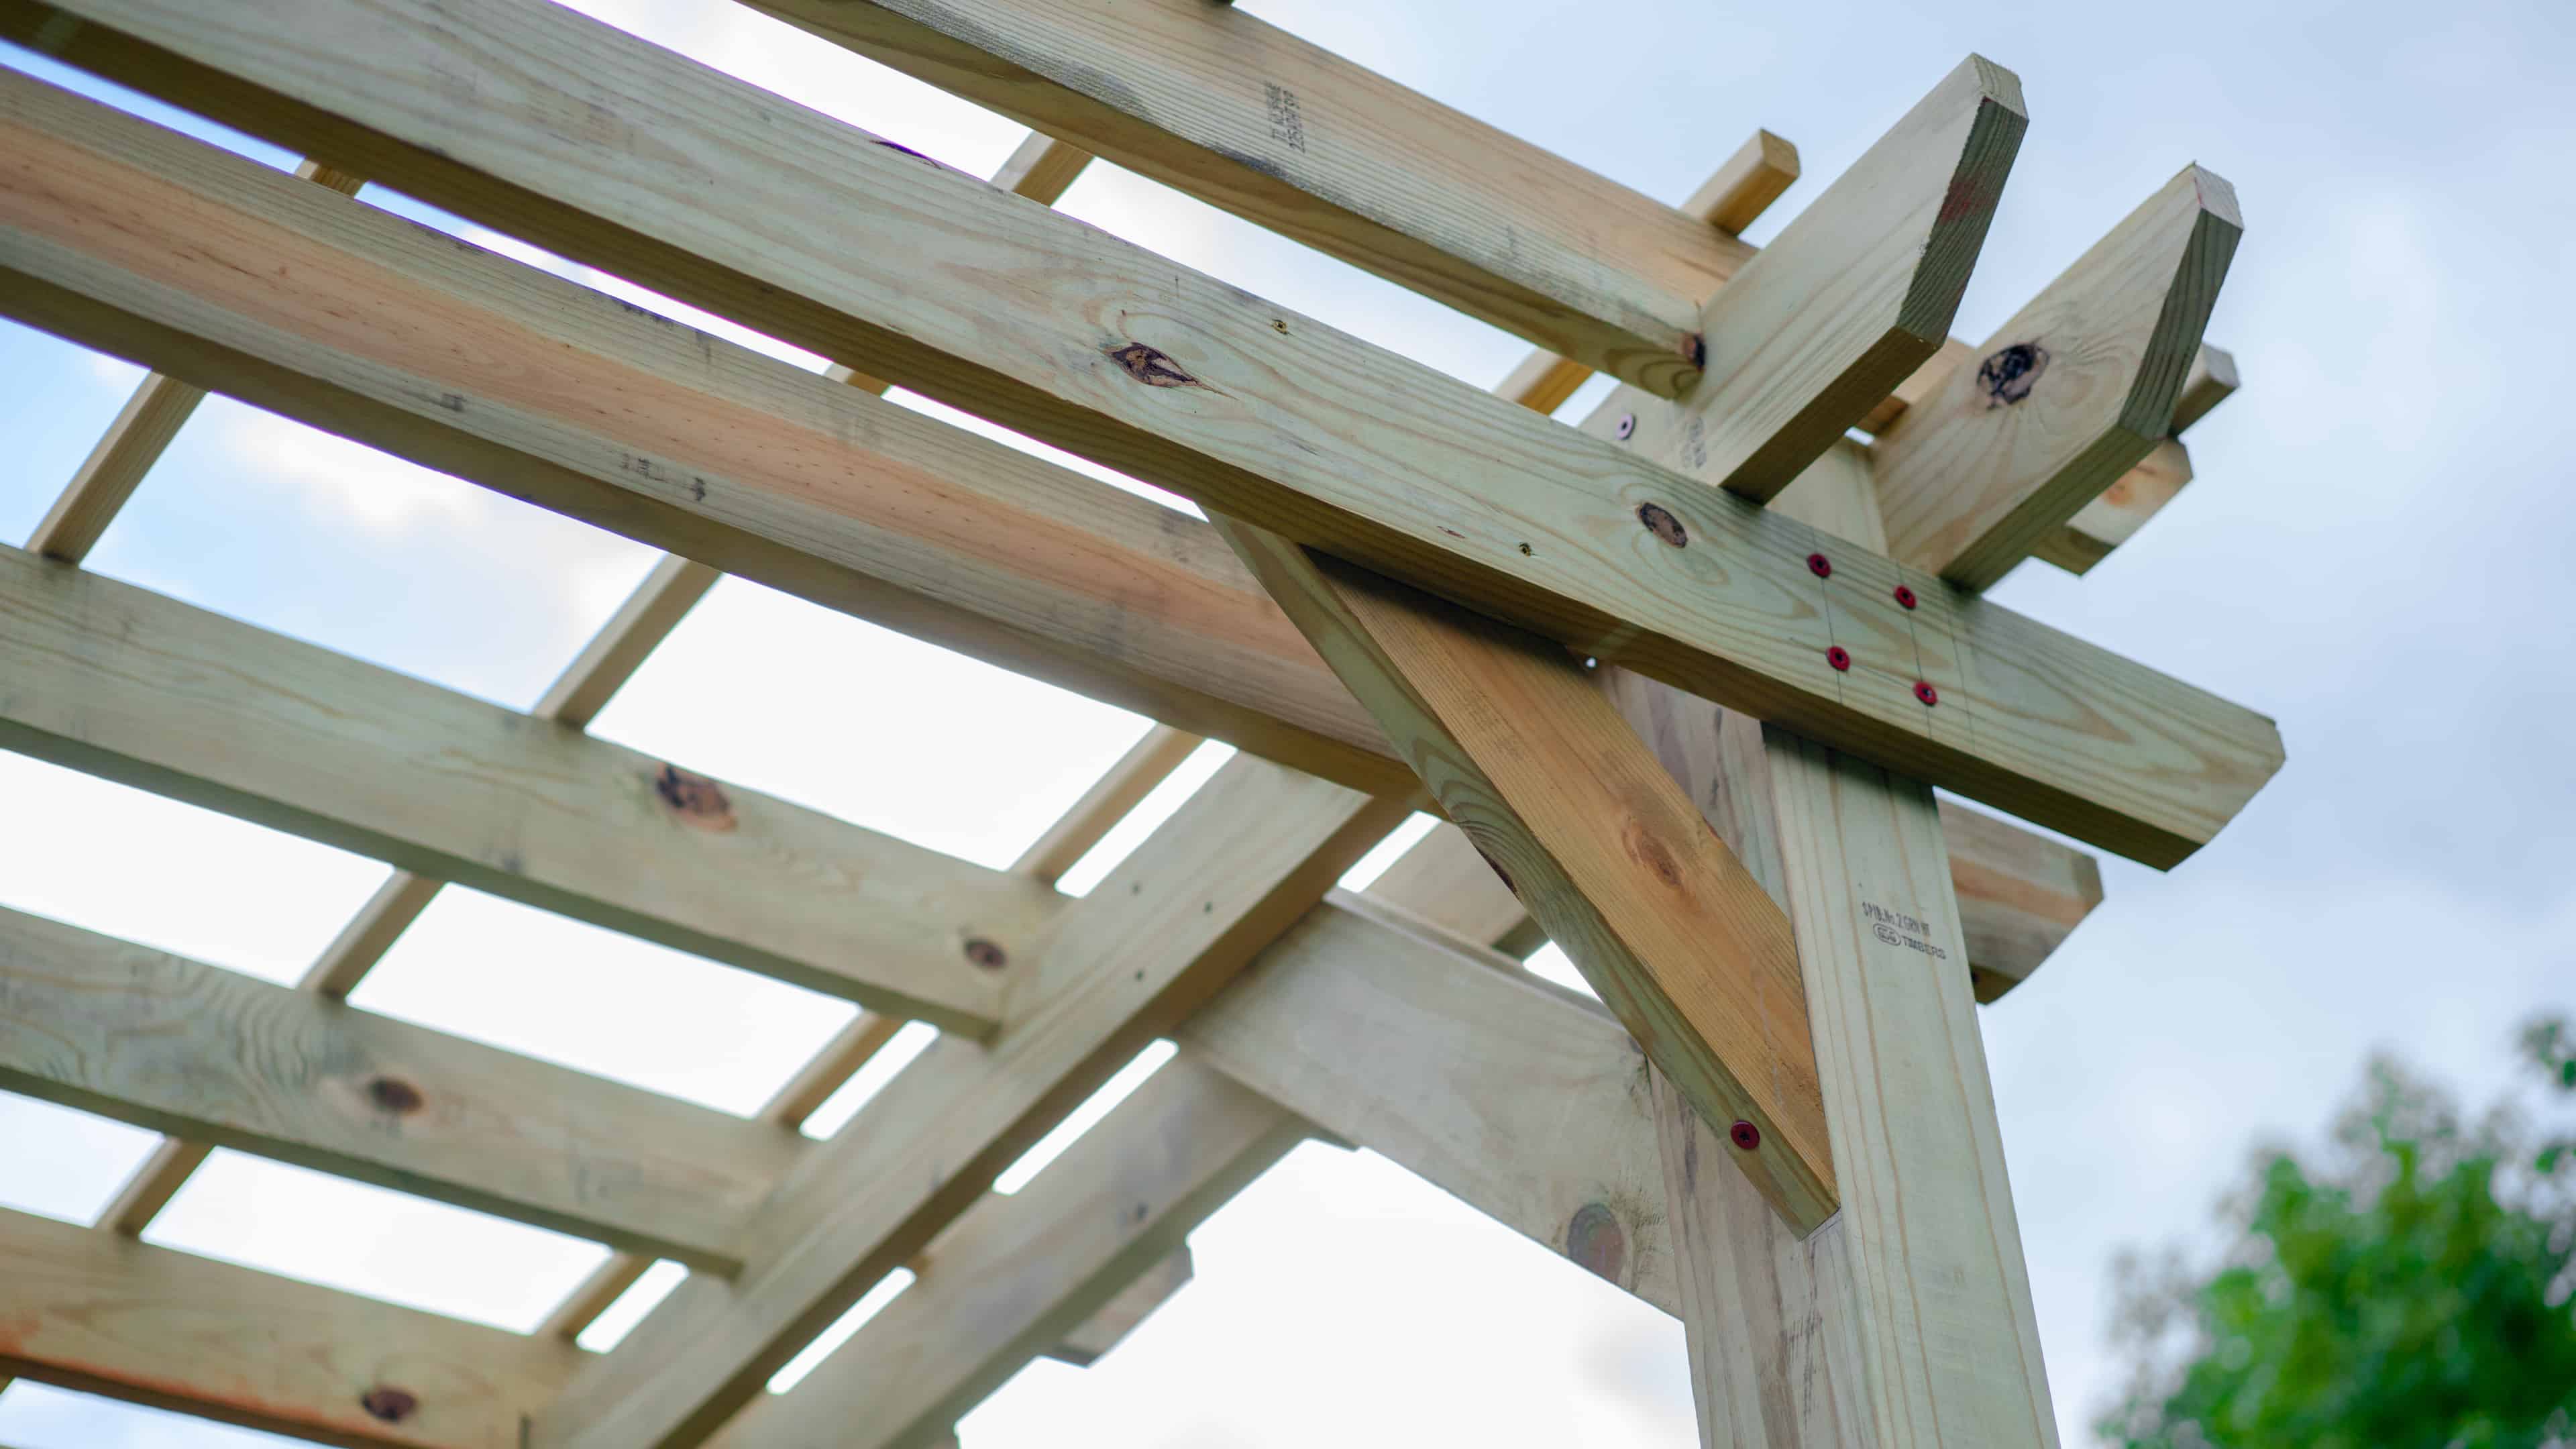
Now, it’s time to move on to the pergola deck. Mike provides a basic lumber rundown: 2x10s, 2x8s and 5/4” decking boards. Once the deck’s completed, decorative corner bracing is installed to provide structural integrity—and a stylish, finished look. Download the DIY Pergola Build plans here.
With the pergola finished, Doug comments on how incredible it looks. Mike’s equally happy with how it turned out. And, that the homeowners he and his crew built it for are pleased.
To learn more about Jones Refinishing, visit the company’s Facebook page.