Exmark Z Turf Equipment Backyard Life
  • Skip to primary navigation
  • Skip to main content
  • Skip to primary sidebar

Exmark's Backyard Life

Living Happens Outdoors

  • Mowing
  • Outdoor Living
  • Lawn + Garden
  • Ambassadors
  • Originals
  • About Exmark
  • Subscribe to Backyard Life
Search

Guacamole with a Twist: Broccomoli

January 23, 2020 by Exmark

Guacamole with a twist: guacamole. Served in a bowl with corn chips.

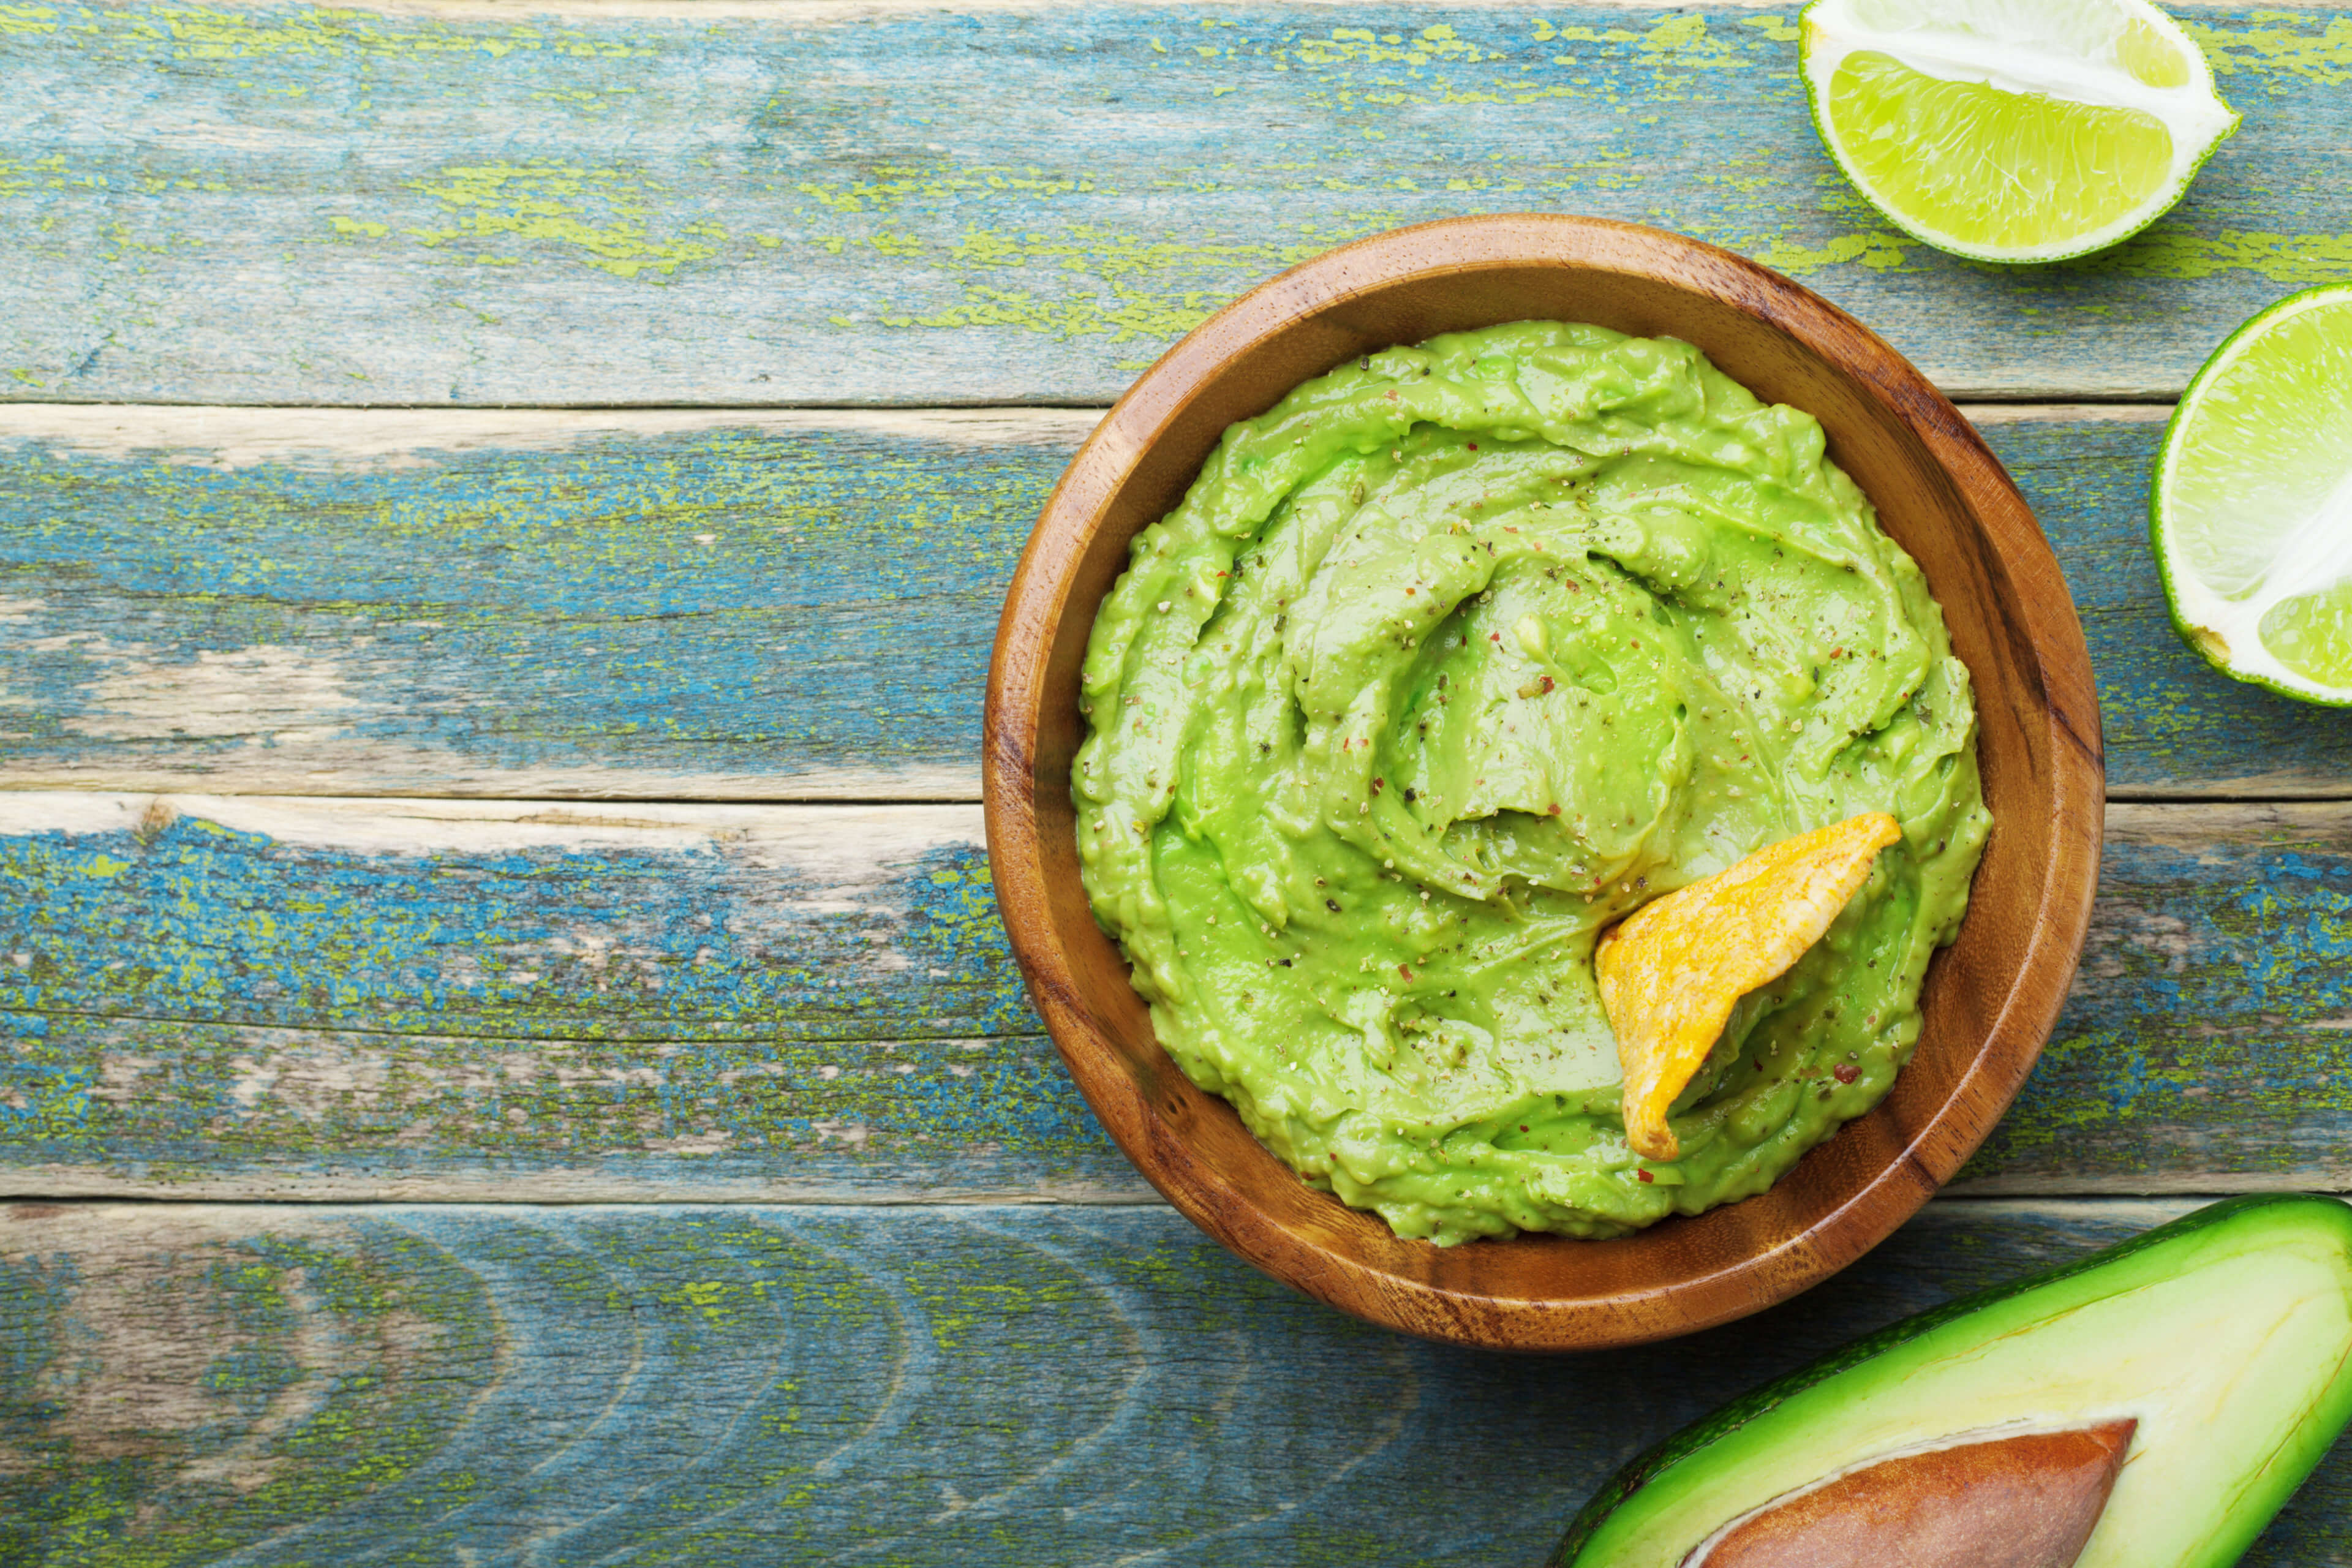
Looking to mix up your dip offerings at the next big game gathering? Try this guacamole with a twist: broccomoli. It’s easy to whip up and still manages to be as satisfying as the original. Your friends, and your kids, don’t have to know it’s broccoli. This delicious dip can be used with chips, veggie sticks, or even in your favorite burritos or tacos. It might be a different veggie, but it’s just as versatile as the traditional recipe.

Guacamole is an undeniable necessity on taco night, but it’s so tasty it can, and should, be enjoyed anytime. Broccomoli makes the delicious recipe a little more accessible for your wallet. As most avocado-lovers unfortunately know, they aren’t the cheapest of veggies on the market. Because broccoli is much more affordable, and just as wonderfully healthy, this is a great option if you’re feeding a large group of people or if you’re trying out new recipes for your picky kids. No more going broke on football nights, backyard events, or parties just to feed all of your friends and family some delicious dips.

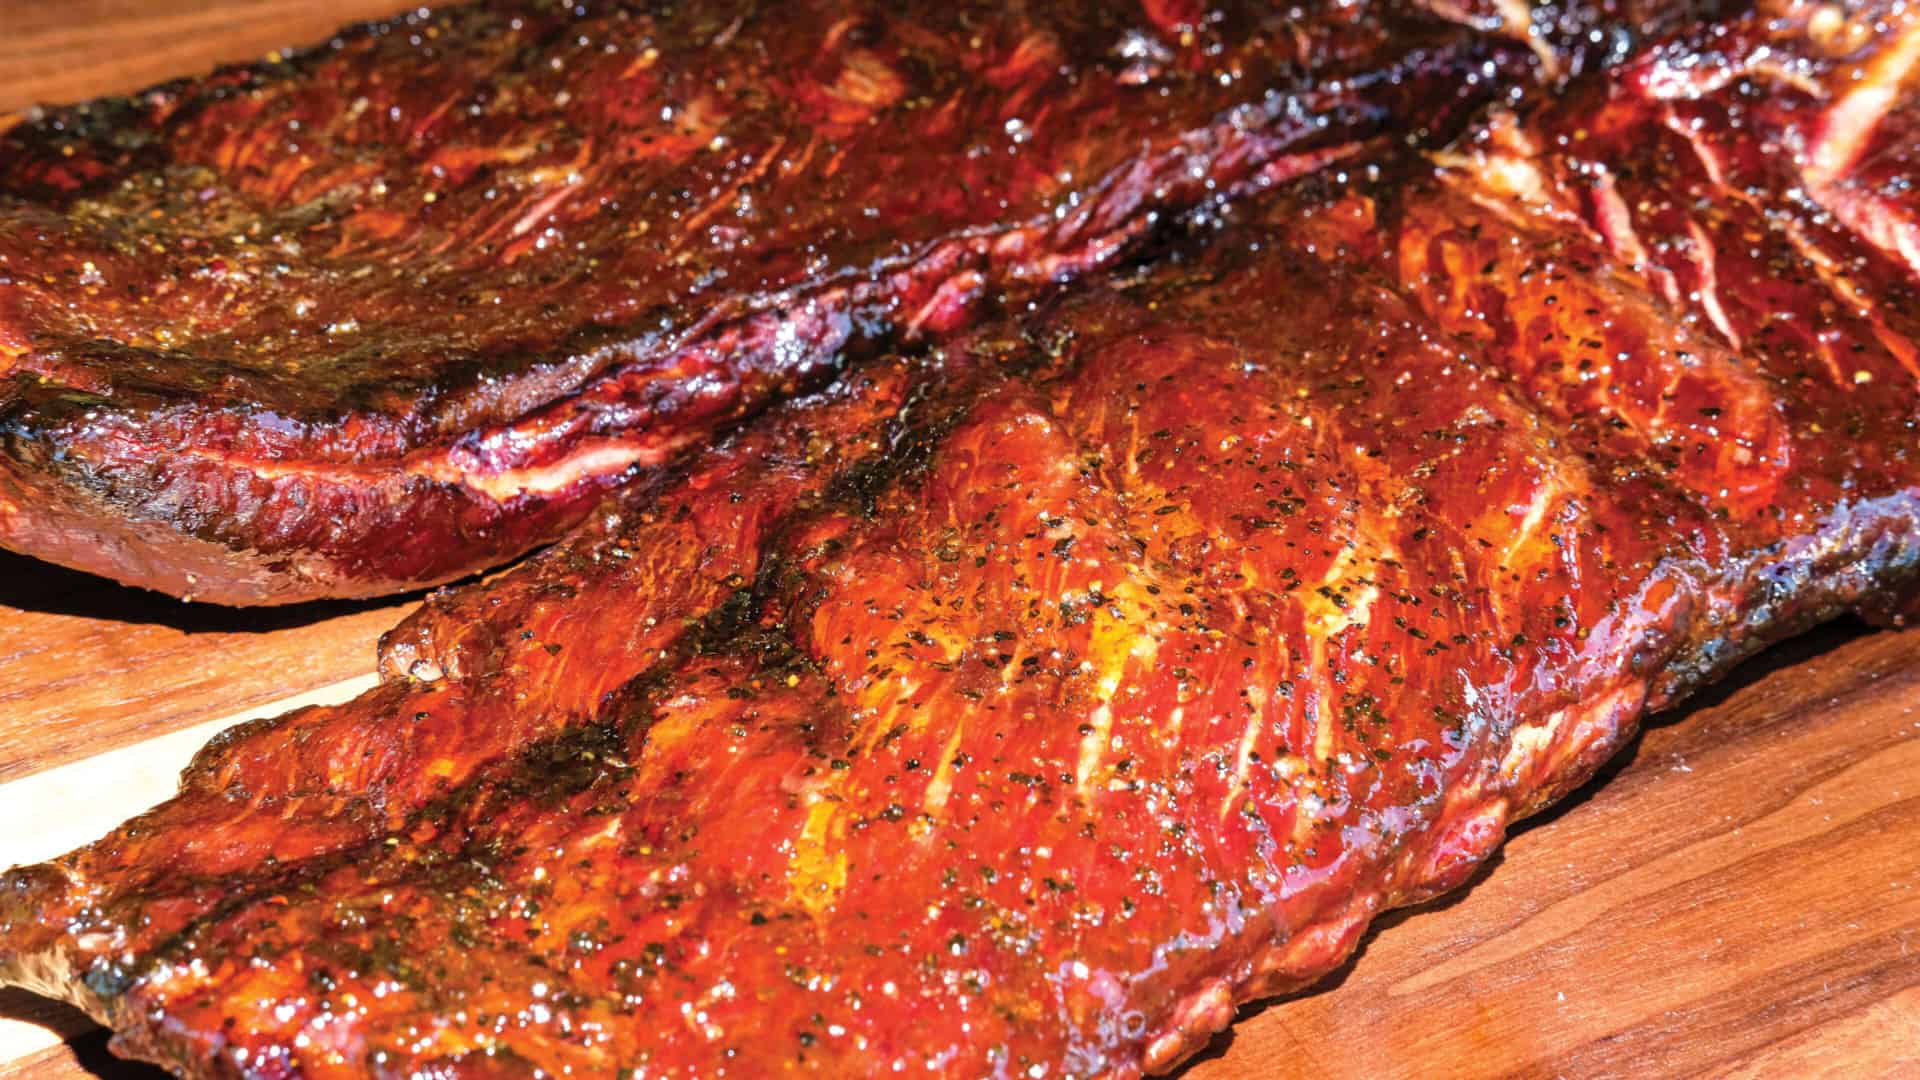
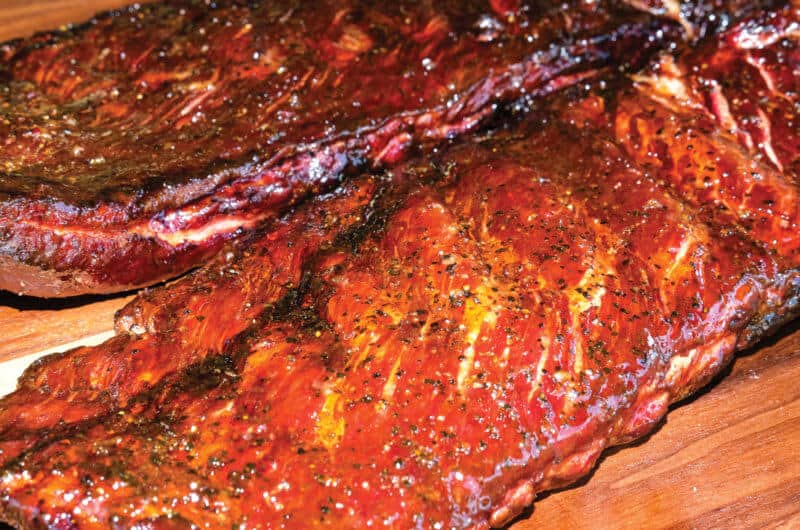
One of the best ways to eat this delicious Broccomoli is on The Best Grilled Mahi Mahi Fish Tacos or on this delicious White Bass Taco Recipe. You’re going to want to keep both of these recipes on hand for future parties and events. They’ll be so popular that everyone will ask you to make them at all your events!

Guacamole with a Twist: Broccomoli
Pin
Print

Guacamole with a Twist: Broccomoli

Servings

8

servings
Total time

20

minutes

Ingredients

  • 3 cups Chopped broccoli

  • 1 Jalapeno (or Anaheim pepper, which is less spicy) seeded and chopped

  • 1 Tbsp Green onions chopped

  • 1 tsp Olive oil

  • 2 ounces Sour cream or cream cheese

  • 1/4 tsp Salt

  • 1/8 tsp Black pepper

  • 1/4 tsp Garlic powder (or 1 garlic clove minced)

  • Pinch of chili powder

Directions

  • Steam broccoli until soft. [To do so, boil 2-3 inches of water in a frying plan or pot. Place broccoli in a steaming dish or metal cauldron and place in water. Bring water to a boil and reduce to medium-high heat. Cover broccoli with a lid.] Approximately 5 minutes.
  • Place steamed broccoli in a food processor and blend until smooth.
  • Add the rest of the ingredients to the food processor and blend until smooth.
  • Adjust spices to your liking.
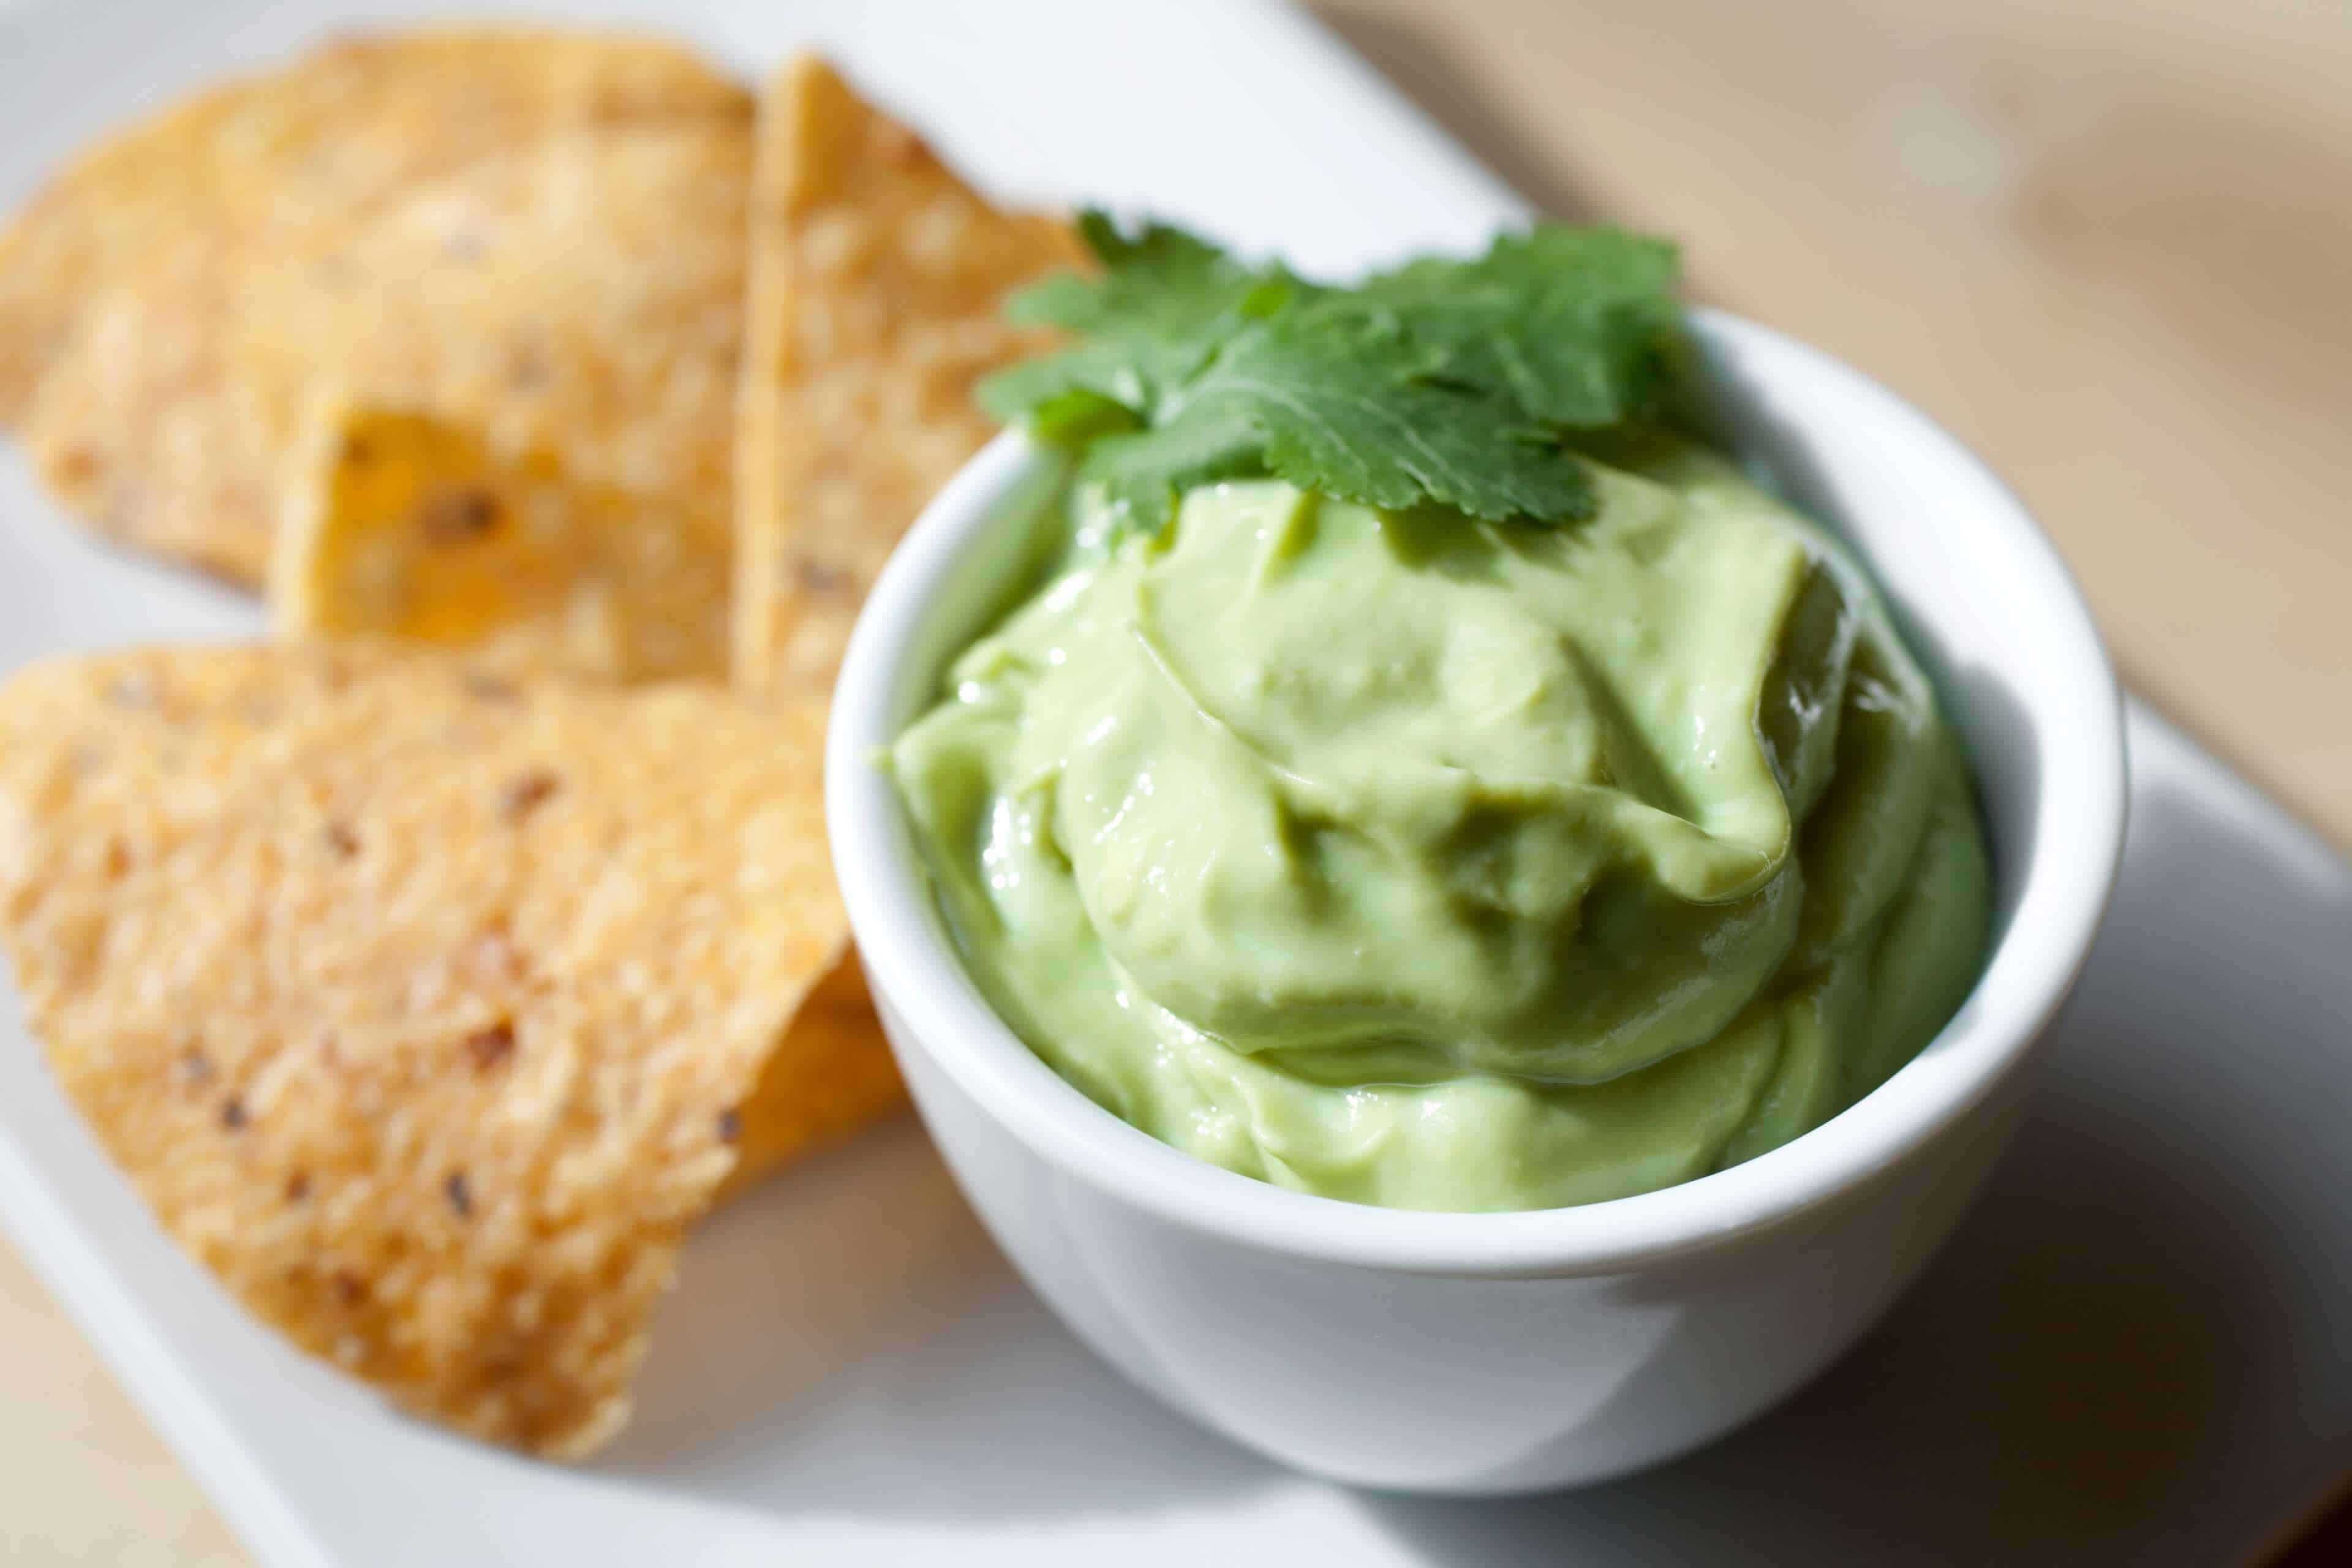
  • Serve in a bowl as a dip with chips or cut veggies or spread on thin slices of toasted baguette and place a thin slice of Roma tomato on top.

Now you’re armed with this delicious guacamole with a twist: Broccomoli. You’ve got an easy and simple recipe you can share at your next backyard event, use it for your next taco night, and even share it with your friends who aren’t a fan of the avocado.

More Like This:

  • Back to the Basics: Homemade Guacamole
  • Grilled Pompano and Pickled Peppers Recipe
  • Easy Snacks: Homemade Potato Chips

Filed Under: Outdoor Living Tagged With: cook, Game Day

Mango, Pineapple, Ginger Glazed Pork Spare Ribs Recipe

January 21, 2020 by Greg Mrvich

Mango Glazed Spare Ribs
Mango-Pineapple Glazed glazed pork spare ribs recipe from Ballistic BBQ

In this Backyard Life recipe and video, Ballistic BBQ host Greg Mrvich smokes up some glazed pork spare ribs using his mango-ginger glaze recipe. And, he’s doing so right from his own backyard pit barrel cooker (PBC)!

Mrvich uses pre-jarred mango pineapple spread for his glaze base. If you can’t find a mango pineapple blend, Mrvich suggests going with either mango jam preserve or pineapple preserve. But, he says you don’t have to stick with these flavors. Just let your imagination, and taste buds, dictate what you use to make this glaze recipe your own.

Next, add some apple cider vinegar to the jam for a sweet, acidic kick. Then, add fish sauce to enhance the flavor, yet not taste too fishy. Add in some kosher salt, fresh grated ginger, paprika, finely minced Fresno peppers, black ground pepper and ginger beer. Ginger beer is similar to root beer in that it’s non-alcoholic, but has a little bite and an herbal taste.

Mix the glaze ingredients together, then bring them to a boil in a stovetop pot before reducing to a simmer.

Now, it’s time to start prepping your St. Louis spare ribs. Begin by removing the membrane on the back of the ribs. However, be sure not to remove the fibrous portion of the membrane, as doing so can loosen up the bones. Once properly trimmed, season both sides with a little kosher salt and black pepper. Then, simply hang each rack by their third bone, add some small hickory chips, close the lid and begin cooking.

Once it’s time to glaze your spare ribs, remove them from the cooker and place directly onto a foil-covered tray. And, keep the lid on the cooker after doing so. Glaze the backs first, then the fronts, then place them back onto the cooker to set the sauce.

Finally, remove your smoked ribs from the cooker once their fully cooked. Then allow them to rest for a bit before digging in!

Mango Pineapple Ginger Glazed Pork Spare Ribs by Ballistic BBQ
Pin
Print

Mango Pineapple Ginger Glazed Pork Spare Ribs by Ballistic BBQ

Course: DinnerCuisine: BarbequeDifficulty: moderate

Ballistic BBQ recipe for glazed pork spare ribs using a mango pineapple ginger glaze cooked in a PBC (pit barrel cooker).

Ingredients

  • 2 racks pork spare ribs, St Louis trimmed

  • Glaze
  • 9.5 ounces mango pineapple preserves (substitute any tropical preserve)

  • 1 tbsp. apple cider vinegar

  • 1 tbsp. fish sauce (enhances flavors)

  • 2 tsps. kosher salt

  • 1 tsp. fresh grated ginger

  • 1 tsp. paprika

  • 1 tsp. chopped and seeded Fresno (or Thai) chili

  • 1/2 tsp. ground black pepper

  • 1/2 cup ginger beer

Directions

  • Mix ingredients for glaze in a medium saucepan and bring to a boil over high heat. Reduce to low heat and simmer 20-30 minutes, until glaze reaches the consistency of warm honey.
  • Remove membrane from the back of the ribs and trim off loose ends and excess fat. Then, season both sides of ribs with kosher salt and ground black pepper.
  • If using a Pit Barrel Cooker (PBC), hang ribs in the pre-heated pit and add a small handful of hickory chips.
    If using a conventional cooker, place ribs in pit pre-heated to 250ºF.
  • If using a PBC, remove ribs from the pit after about 3 hours and glaze both sides. Place ribs back in the cooker and allow the glaze to set for 20-30 minutes in the pit.
  • In a conventional cooker, remove ribs once they are “probe tender” and meat is pulling back from the bones. Glaze and place back on the pit for about 30 minutes.
  • After ribs are done, allow them to “rest” 10-15 minutes before slicing.

Recipe Video

Filed Under: Outdoor Living Tagged With: Backyard Grilling, Ballistic BBQ, cook, Game Day

Easy Snacks: Homemade Potato Chips

January 19, 2020 by Exmark

You'll love these delicious homemade potato chips.
Fresh Homemade Potato Chips

Potato chips belong at any event, but especially any backyard event. When was the last time you went to a cookout that didn’t have potato chips? They’re just quintessential snacking fare in the US of A where we eat 1.85 billion pounds of them a year! Who can blame us? They’re delicious and they go with everything.

Believe it or not, potato chips used to be a delicacy found only in high-end restaurants. Restaurants made them by hand and served up in delicious batches to the masses. It took quite some time before the potato chip made it’s way into our grocery stores. That means if you wanted their delicious, crispy, salty taste in your life, you had to make them on your own.

While making your very own homemade potato chips may sound intimidating, it’s actually pretty simplistic. You already know you’ll need a potato of some sort (russet or sweet work the best), and from there you’ll need some olive oil or salt. There’s really nothing to it. Plus, minimal ingredient recipes are always the best to keep on hand to impress your guests.

If you’re looking to spice things up, try using cayenne pepper or some extra cracked pepper. There are plenty of seasoning combos you can try to create a deliciously irresistible chip you’ll want to make over and over again. This recipe is awesome for your next backyard event. And, it’ll go especially well with this delicious burger recipe Greg Mrvich created.

Homemade Chips
Pin
Print

Homemade Chips

Servings

4

servings
Total time

40

minutes

Whether you choose to bake or fry your homemade potato chips, they’ll still be delicious. Serve them solo or with ranch dip. Make a platter with dip, homemade chips and sliced veggies.

Ingredients

  • 4 Russet potatoes

  • 3 Tbsps Olive oil

  • Salt to taste

  • Optional: Parmesan and parsley, other flavorings.

Directions

  • Wash potatoes and slice them into 1/8-inch thick slices.
  • Place potato slices in bowl. Drizzle with olive oil and sprinkle with salt (or seasonings of your choice).
  • Line a baking sheet with parchment paper. Place potatoes on parchment paper.
  • Bake for 15-20 minutes on 400 degrees Fahrenheit. After 15 minutes check potatoes. They should be crispy and slightly golden when done.
  • If you choose to fry them, slice potatoes, then place 1/2 cup vegetable or olive oil in a skillet or Dutch oven on medium-high heat. Cook until crispy and lightly golden, approximately 3 to 4 minutes. Remove and place on paper towel to soak up extra oils. Add seasonings.

Notes

  • Although we suggest russet potatoes, you could really use any potatoes for this recipe, even sweet potatoes.

Now that you know how easy it is to make these delicious homemade potato chips, you’re prepared for any event you may have. Or for a Tuesday night. These tasty snacks are good for any time!

More Like This:

  • David Bancroft’s Smoked Venison Jerky Recipe
  • Easy Game Day Snacks and Sides
  • Backyard Bacon Cheeseburger Recipe by Ballistic BBQ

Filed Under: Outdoor Living Tagged With: cook, Game Day

Back to the Basics: Homemade Guacamole

January 19, 2020 by Exmark

easy guacamole recipe
Green guacamole with avocado, lime, and nachos on wooden vintage table top view. Traditional Mexican food.

From gameday gatherings to holiday festivities, or neighborhood parties to “just because,” making homemade guacamole is a time-honored tradition for any get-together under the sun. However, when making it at home, there is one key aspect to consider—making sure you make enough.

As we all know, once you start eating guac, it’s hard to stop (especially if it’s out-of-this-world good). And if it’s homemade? You might as well just say goodbye as soon as you get done making it. So, read on for the lowdown on how to make your own homemade guacamole with just three simple ingredients—and a little avocado backstory, to boot.

A Little Avocado Lesson

With over four hundred different variants of avocado plants out there, your (incredibly delicious) options are quite nearly endless. Before you start making decisions, why not begin with a bit of a lesson, first?

Avocados are widely considered a super fruit. Not only are they healthy source of fat—they’re a great source of fiber, potassium, and vitamin E, besides.

The Aztecs considered the avocado to be an incredibly important fruit—one they called ahuacate—which led to the Spanish desiring it. Which, again, led to this fan favorite exploding in popularity, becoming a commercially traded fruit that’s taken over the world.

Now that you know the history and biology behind this superfruit, now’s the time to put it to work! Don’t worry, this homemade guacamole is incredibly easy to make—so if you run out, it’s easy to whip up another batch. Keeping your guests happy, and letting you enjoy the game from someplace other than the kitchen.

Homemade Guacamole
Pin
Print

Homemade Guacamole

Servings

8-10

servings
Total time

20

minutes

Ingredients

  • 4 avocados

  • 1/2 white onion diced

  • Salt to taste

Directions

  • Peel and pit avocados. Place in bowl and mash up with a fork.
  • Dice white onion into small pieces. Add to avocado.
  • Add salt to taste.
  • Serve with chips and veggie sticks, spread on sliders, add to tacos.

Now that you have this amazing side, you can get to work on whipping up some delicious batches for your next backyard event or as a side with this mahi mahi fish taco recipe from Ballistic BBQ host and barbeque aficionado Greg Mrvich.

More Like This:

  • Guacamole with a Twist: Broccomoli
  • White Bass Taco Recipe
  • Easy Game Day Snacks and Sides

Filed Under: Outdoor Living Tagged With: cook, Game Day

Game Day Party Sliders

January 17, 2020 by Exmark

Delicious game day party sliders everyone's sure to love!
Mini kobe beef burgers on black background

Game day is the best day no matter what sort of sport it is, that’s a fact. It’s also a fact that a game day gathering of any kind requires some forethought and effort. Most of us don’t have the time to waste cooking up quality snacks. Fortunately, this delicious party sliders recipe is easy to make and sure to satisfy all your guests. Plus, they’re not too much food so no one has to deal with that belt-loosening fullness. And the best thing about these game day party sliders? Everyone can customize them with their favorite toppings in a snap. 

Fun fact about sliders: they were created by Walter Anderson, founder of White Castle, in 1916! They’re a true classic. Sliders can be thin, almost crispy patties, thicker, mini-burgers, tiny fried chicken breasts, or even veggie burgers. They’re a truly versatile category of snack foods, but the best out there is the traditional burger slider. It’s important to pick high-quality meats for your game day sliders. The last thing you want to do is disappoint your guests with chewy sliders! The bun choice matters, too. Make sure you keep your eyes peeled for soft and delicate mini-buns for your sliders.

If you’re looking for something delicious to pair with your sliders and expand your game day table, try these turkey nuggets from David Bancroft and Michael Waddell. Between the party slider recipe and this delicious turkey nuggets recipe, you’re sure to be crowned king of the game day eats.  

Super Bowl Party Sliders
Pin
Print

Super Bowl Party Sliders

Servings

16

servings
Total time

30

minutes

Ingredients

  • 2 pounds ground beef (or buffalo)

  • 6 cloves garlic

  • 1 white onion, chopped

  • 2 Tbsps Worcestershire sauce

  • Salt and pepper to taste

  • Mini slider buns 1 per slider

  • Condiments as desired.

Directions

  • In a bowl, mix all ingredients together. Add jalapenos, cheddar cheese, bacon bits, or any extras you desire. You can also save those items for toppings.
  • Divide meat into 16 mini patties (approximately 8 per pound). Flatten patties.
  • Place in skillet or grill on medium-high heat. Cook for approximately 3-4 minutes per side.
  • While sliders are cooking, heat up the buns. When sliders are ready to eat, place your slider on a bun.
  • Top your party sliders with cheese, pickles, red onions, tomatoes, bacon, mustard, ketchup, sauerkraut, Anaheim peppers…the options are endless, and yummy.

Notes

  • These sliders can be made with ground beef, buffalo meat or even ground turkey or chicken. For turkey and chicken, skip the Worcestershire sauce and just add salt and pepper. Whatever your meat preference, these party sliders will still taste great.

See? This party sliders recipe is simple, but they’re absolutely delicious. This is going to be your go-to game day recipe. You’ll spend less time by the grill or stove and more time hanging out with your friends, watching the game. 

More Game Day Recipes:

  • Easy Snacks: Homemade Potato Chips
  • Back to the Basics: Homemade Guacamole
  • Grilling Curry Chicken and Veggie Kabobs with Joe Thomas

Filed Under: Outdoor Living Tagged With: Backyard Grilling, cook, Game Day

How to Cook a BBQ Beef Brisket

January 10, 2020 by Greg Mrvich

If you’ve been wondering how to cook a beef brisket, we have the recipe for you! Greg Mrvich from Ballistic BBQ shows you a no-fail way to create a mouthwatering brisket that the whole family’ll love.

Giving you a hint for how he makes the magic happen, Mrvich starts with a 10- to 18-pound beef brisket. To kick off the cook, he uses a custom marinade that he injects once every square inch throughout the entire brisket. And, to cover every part of the meat, he alternates the injections with and against the grain. He suggests seasoning it liberally with the beef rub of your choice. Or, he also offers up a quick salt, garlic, and black pepper mix. 

When it’s time to cook, place the meat with the fat-cap in the direction of the heat source to protect it. Then, close your cooker lid and let it cook until “the bark has set.” In other words, says Mrvich, the seasoning is firm enough so that you can’t scrape it off with your fingernail.

At this point, the brisket should have a nice mahogany color. Remove it from the pit and wrap it—along with a little beef broth—tightly in two sheets of aluminum foil. Then, place the brisket back on the pit.

Continue cooking the brisket until either a meat probe or toothpick can be pushed into the meat and removed with little to no resistance. It should feel almost like it’s going into warm butter, says Mrvich. At this point, it’s time to finish up the brisket. Pull it off the grill, vent the foil, and let it rest for about 30 minutes prior to slicing. Now, it’s simply time to kick back and enjoy the (tasty) fruits of your labor.

How to Cook a Brisket with Ballistic BBQ
Pin
Print

How to Cook a Brisket with Ballistic BBQ

Servings

4

servings
Total time

1

hour 

30

minutes

Make your own mouthwatering BBQ beef brisket with this recipe from Greg Mrvich of Ballistic BBQ.

Ingredients

  • 1 beef brisket in the 10–18 pound range

  • 2 cups injection of your choice (optional)

  • SPG Rub
  • 1 cup Kosher salt

  • 1/2 cup garlic powder

  • 1/4 cup black pepper

Directions

  • Inject marinade, then season brisket liberally on all sides. Allow it to sit at room temperature so it can “sweat” through the rub.
  • At the same time, pre-heat your cooker to 250° Fahrenheit, using the wood of your choice.
  • Place the brisket with the fat-cap in the direction of the heat source, to protect the meat. Close the lid on your cooker and let it cook until the bark has set, for approximately 7 hours. In other words, the seasoning is no longer a paste, and is firm enough so that you can’t scrape it off with your fingernail.
  • Once the bark is set and the brisket has that nice mahogany color, remove the brisket from the pit and wrap it tightly in two sheets of aluminum foil, along with a little beef broth. Place the brisket back on the pit.
  • Continue cooking the brisket until it is “probe-tender.” In other words, a meat probe (or toothpick) can be pushed into the meat and removed with almost no resistance. It should feel almost like it’s going into warm butter.
  • Once the brisket is done cooking, pull from the pit, vent the foil and let rest about 30 minutes prior to slicing.

Filed Under: Outdoor Living Tagged With: Backyard Grilling, Ballistic BBQ, cook, Game Day

  • « Go to Previous Page
  • Go to page 1
  • Interim pages omitted …
  • Go to page 9
  • Go to page 10
  • Go to page 11
  • Go to page 12
  • Go to Next Page »

Primary Sidebar

Stay Connected

Keep living your best backyard life all year round. Get alerts on the latest Original Series updates, along with the inspiration and know-how you need to enjoy backyard life to the fullest!

Loading
  • Home
  • Mowing
  • Outdoor Living
  • Lawn + Garden
  • Ambassadors
  • Originals
  • Subscribe
  • Facebook
  • x
  • Instagram
  • YouTube
  • Pinterest

Copyright © 2025 EXMARK - Backyard Life

  • Privacy Policy
  • Terms of Use
  • DMCA

Trending