Award-winning chef, restaurateur, and Prime Cuts host David Bancroft is known for his mouthwatering recipes that look as good as they taste. And, for this cook, he’s back to show you how to prep, cook, and plate his delicious beef brisket melt. (And, it comes complete with his signature Alabama white BBQ sauce.) With this brisket sandwich recipe in hand, your next backyard party is bound to be one to remember.
Prepping the Beef Brisket
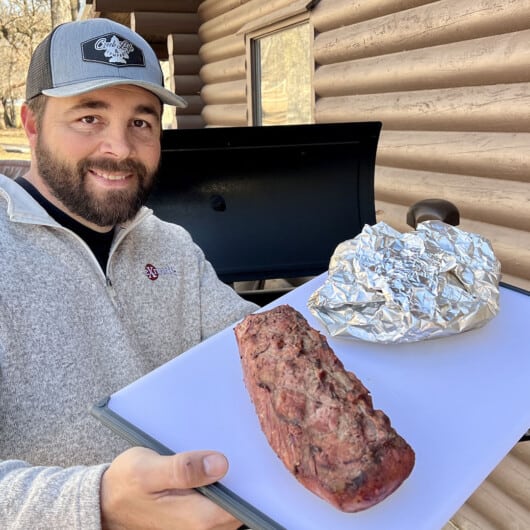
David starts with a full upper 2/3 choice or prime brisket (with the deckle on)—weighing in at about 12 to 15 lbs. He then trims off all the hard exterior fat, leaving only about ¼ in. left from the meat. Once trimmed, he rubs his brisket down with his homemade brisket rub.
After applying the rub, David smokes the brisket at about 215º to 220º F for about 11 hours (or until the internal temperature reaches 180º F). He then removes the brisket, wraps it up in butcher paper, and places it back on the smoker for another 2 to 3 hours (or until the internal temperature reaches 205º F). Once it hits the desired time or temperature, David removes the brisket and lets it rest for about an hour. To top off this portion of the cook, he separates the point from the flat and cuts across the grain.
Alabama White BBQ Sauce
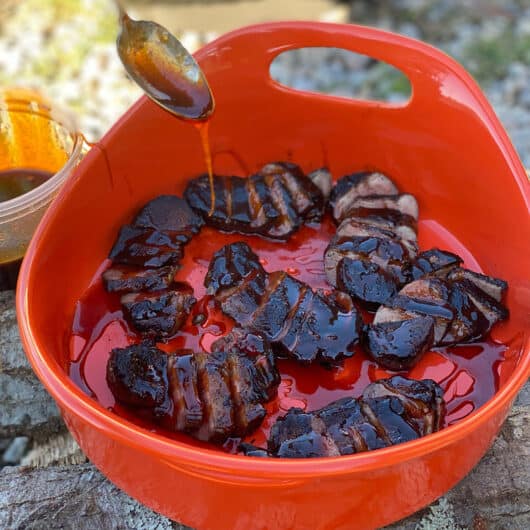
While his brisket is on the smoker, David assembles his BBQ sauce. He first purees onion, garlic, apple cider vinegar, and white vinegar in a blender until it reaches a smooth texture. He then drops in the rest of the ingredients and fully blends it until smooth. Afterwards, he places the sauce aside and keeps it chilled in the fridge.
Building The Beef Brisket Sandwich
Once the brisket had been prepped, rubbed down, and smoked—and the BBQ sauce made—it’s time to build a brisket melt! David first slices off fresh, warm brisket from the fatty end and puts it aside for the melt. He then takes a warm skillet and toasts two slices of bread in butter.
After the bread has been toasted, he lays the slices to the side. He then grabs the brisket, and shingles it onto the griddle, laying two slices of cheese on top to melt. After melted and warmed, he transfers the cheesy brisket to the toast, layering it with pickles, jalapeños, and crispy hash browns. Before finishing the sandwich off with the other slice, David drizzles his homemade Alabama white BBQ sauce on top.
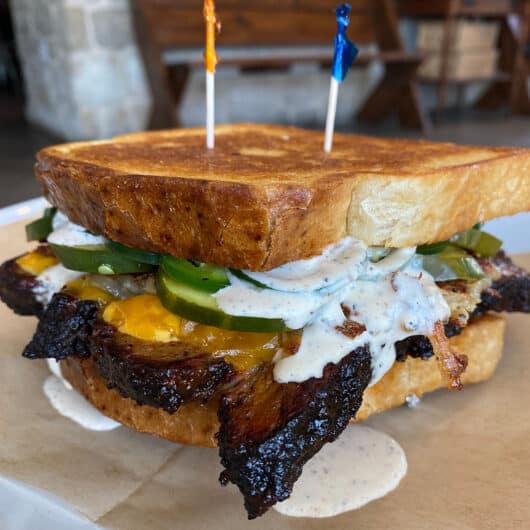
David Bancroft’s Beef Brisket Melt
Award-winning chef, and restaurateur, David Bancroft is known for his mouthwatering recipes that look as good as they taste. With this delicious beef brisket melt, complete with his signature Alabama white BBQ sauce, your next backyard party is bound to be one to remember.
Ingredients
- Brisket Rub Ingredients
200 g Ancho chili powder
200 g Paprika
150 g Granulated garlic
500 g Fine kosher salt
200 g Brown sugar
150 g Black pepper
- Alabama White BBQ Sauce Ingredients
1 qt Duke’s mayonnaise
¾ cup Apple cider vinegar
¼ cup White vinegar
2 Garlic cloves
½ tbsp Creole mustard
½ cup Diced white onion
1 tbsp Black pepper
¾ tbsp Horseradish
½ tbsp Ground white pepper
½ tbsp Sugar
½ tbsp Hot sauce
¾ tbsp Kosher salt
2 tsp Coriander
1 tsp Cayenne
- Brisket Sandwich Ingredients
2 slices Thick cut buttered toast
¼ lb Sliced fatty brisket
2 slices American cheese
6–8 Thin sliced jalapenos
6–8 Pickle slices
2 oz Crispy hashbrowns (or potato chips)
1–2 oz Alabama white BBQ sauce
Now that you have the know-how to make your own beef brisket sandwich, all there’s left to do is grab the ingredients and fire up the smoker! However, before taking a bite, David recommends having plenty of napkins handy—this cook is not one to leave you clean-handed.